Microsoft HoloLens II
Getting Started
Welcome to the Glartek mobile application getting started guide. Here you will find information on the following topics:
| 1. Installation |
| 2. Account & Log In |
| 3. Create AR Mapping |
| 3.1. Create New Folder |
| 3.2. Create New Area |
| 3.3. Mapping Area |
| 3.3.1. Add Anchors |
| 3.3.2. Add Markers |
| 4. Execution |
1. Installation
- Request APK from Glartek
- Connect the computer to the Microsoft HoloLens II through the Windows device portal
- Install the supplied APK by deploying it on the device portal
Note: To find out more about this procedure, please click here.
2. Account & Log In
2. Create an access QR code.
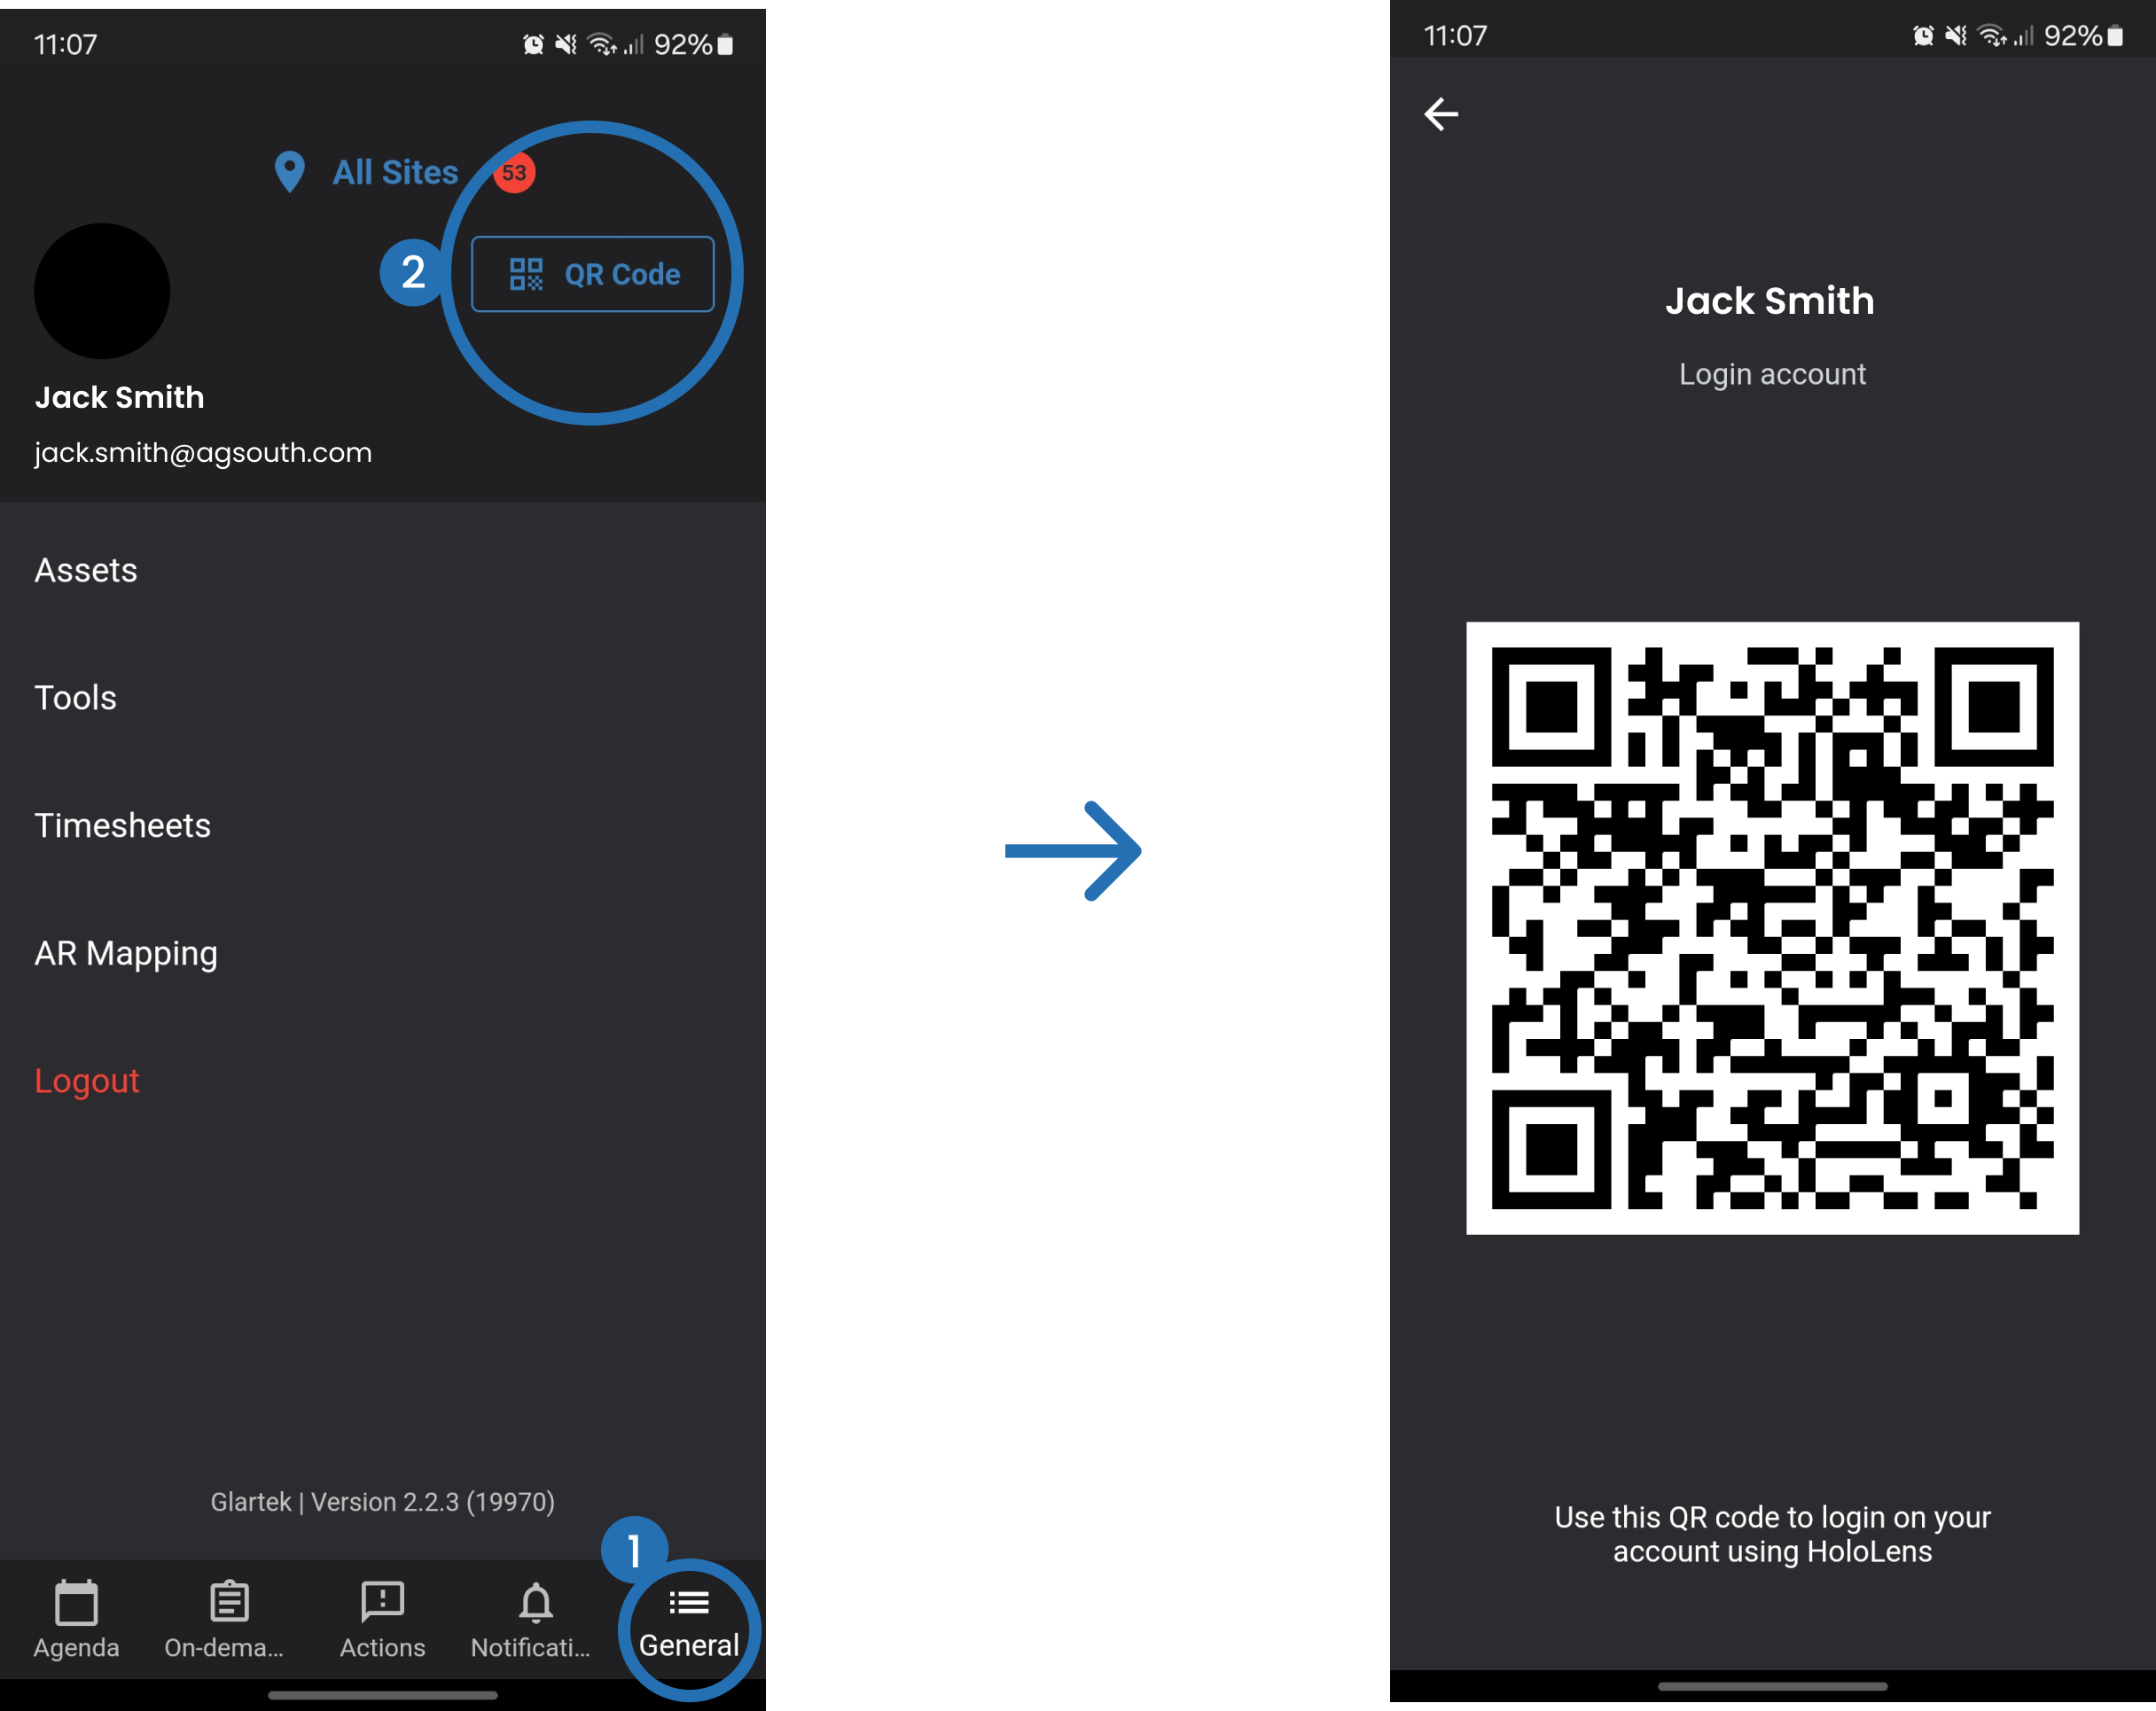
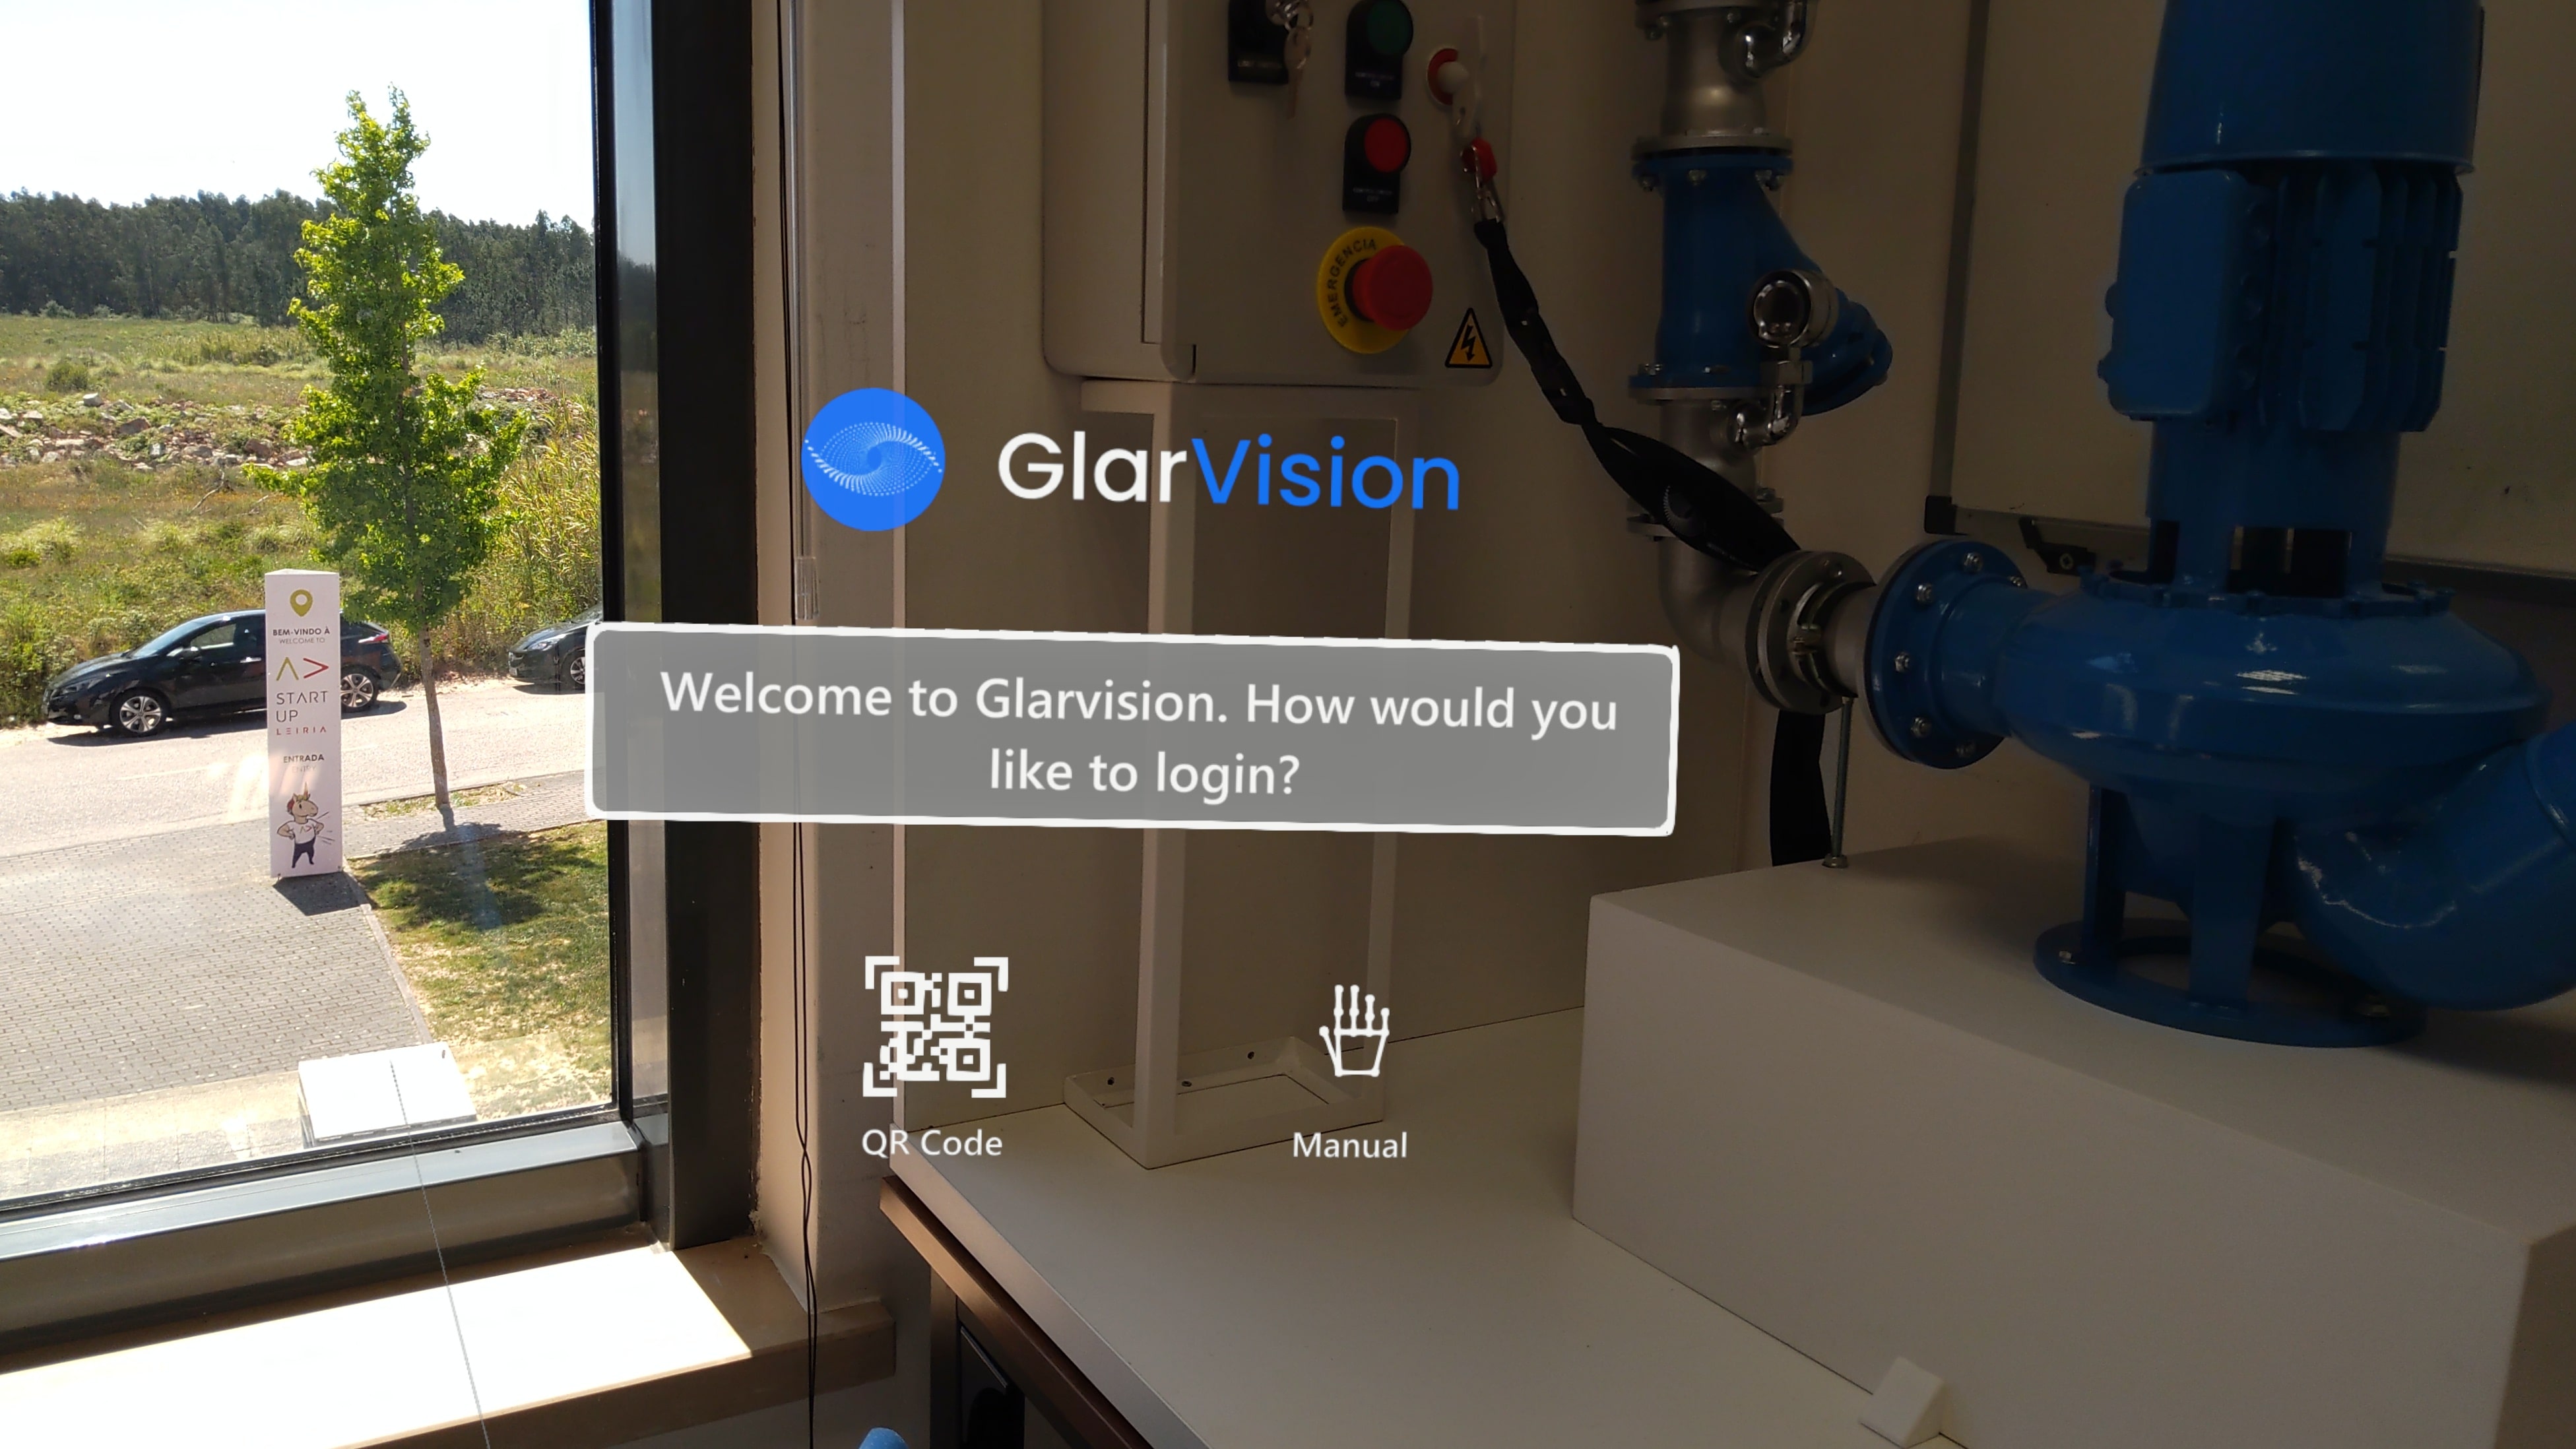
5. Scan the QR code created.
3. Create AR Mapping
To carry out procedures using the Microsoft HoloLens II, it is first necessary to create folders that will contain areas. These areas are mapped with Anchors and Markers to provide guidance during the execution of the procedures.
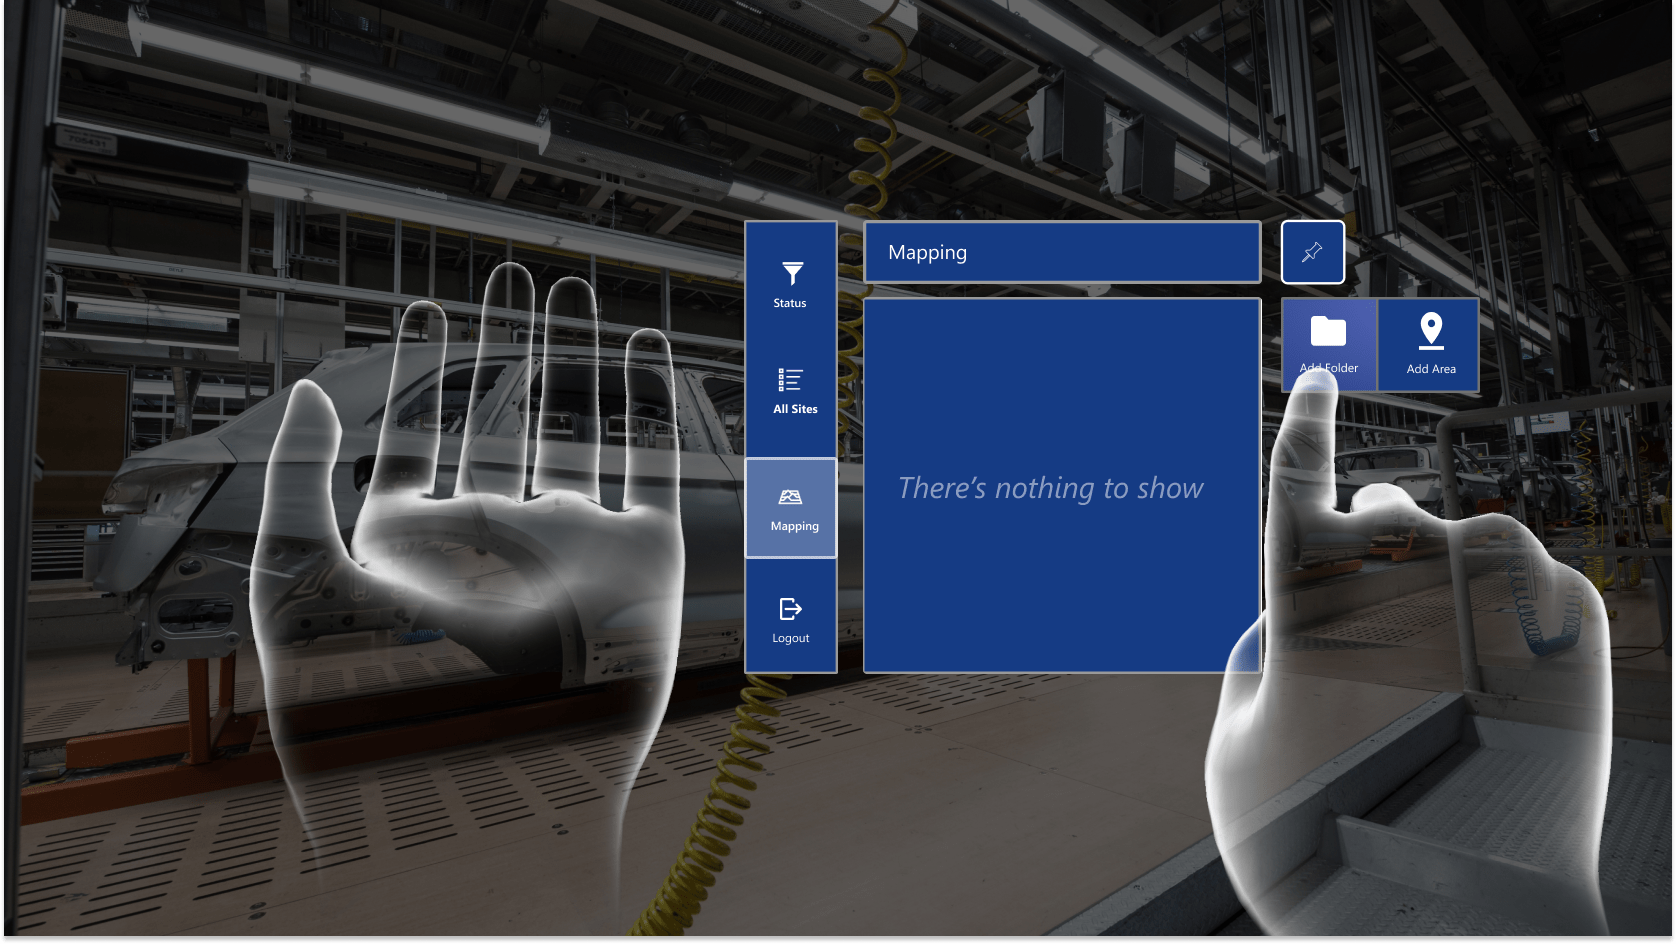
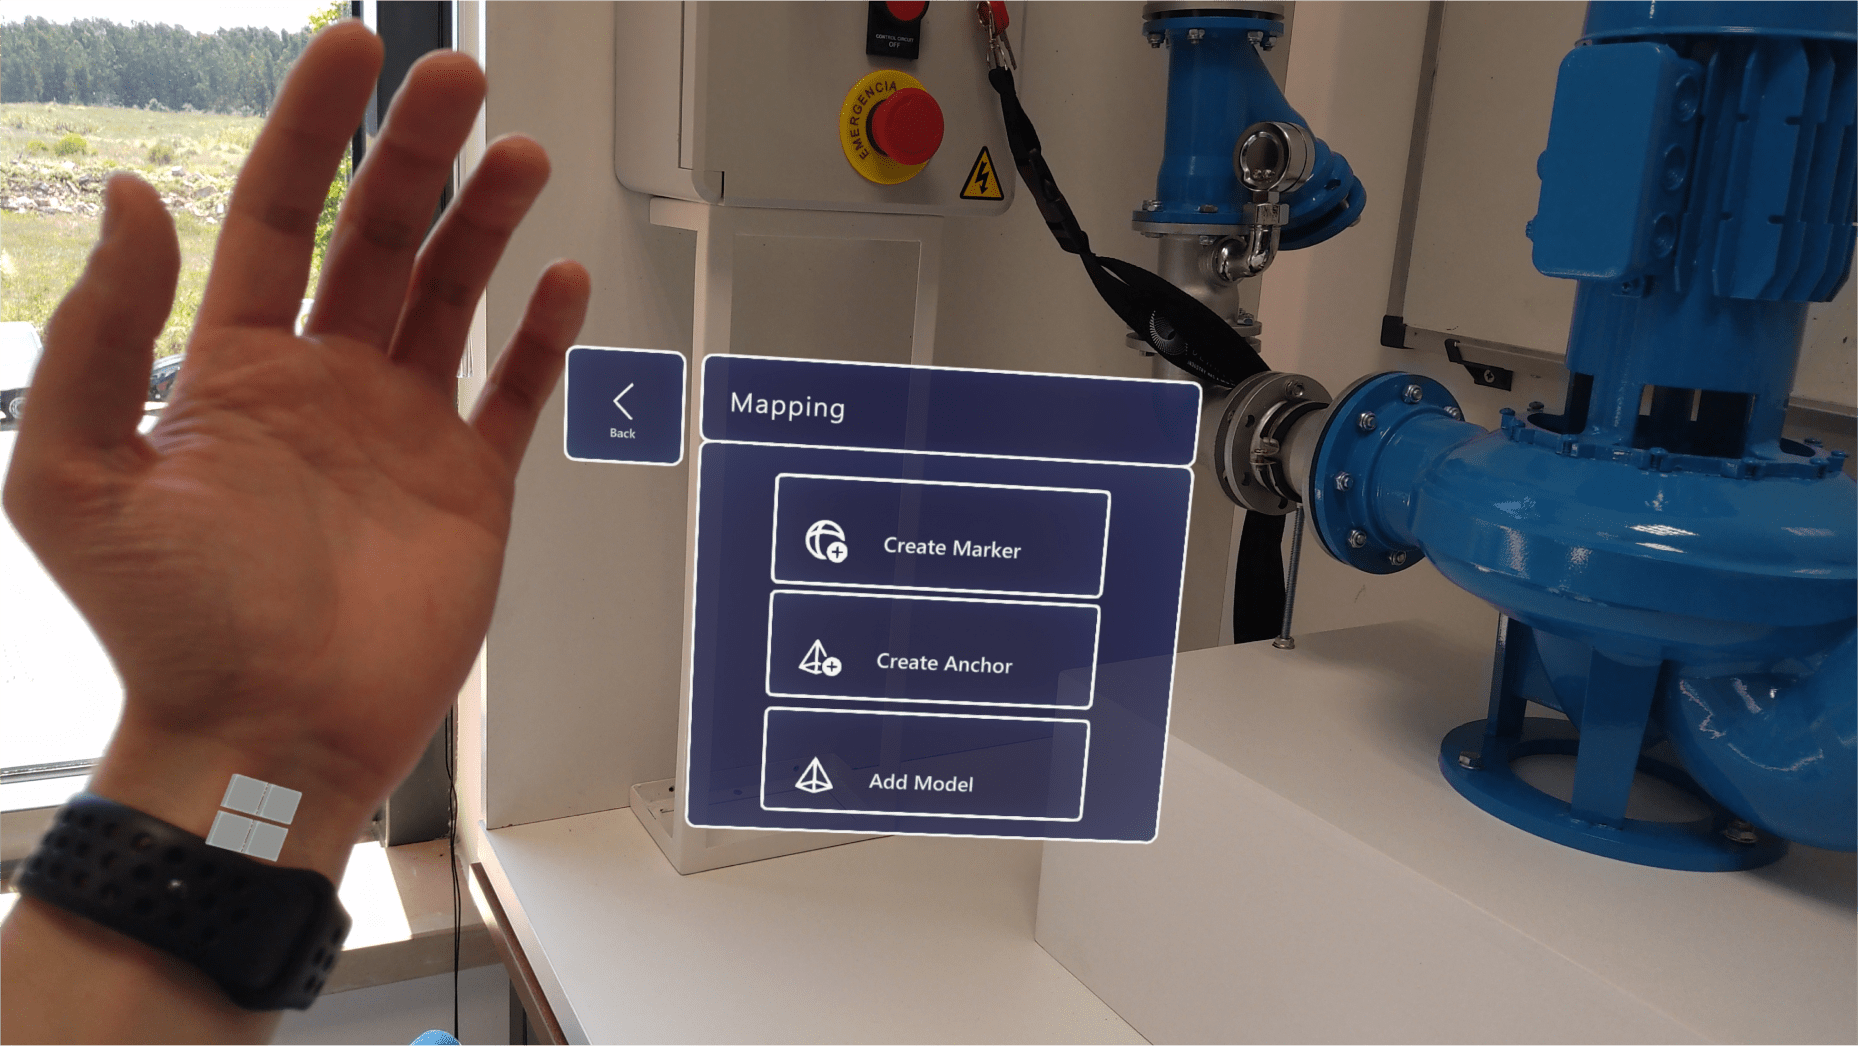
Select the "Mapping" tab in the left menu to start your mapping journey.
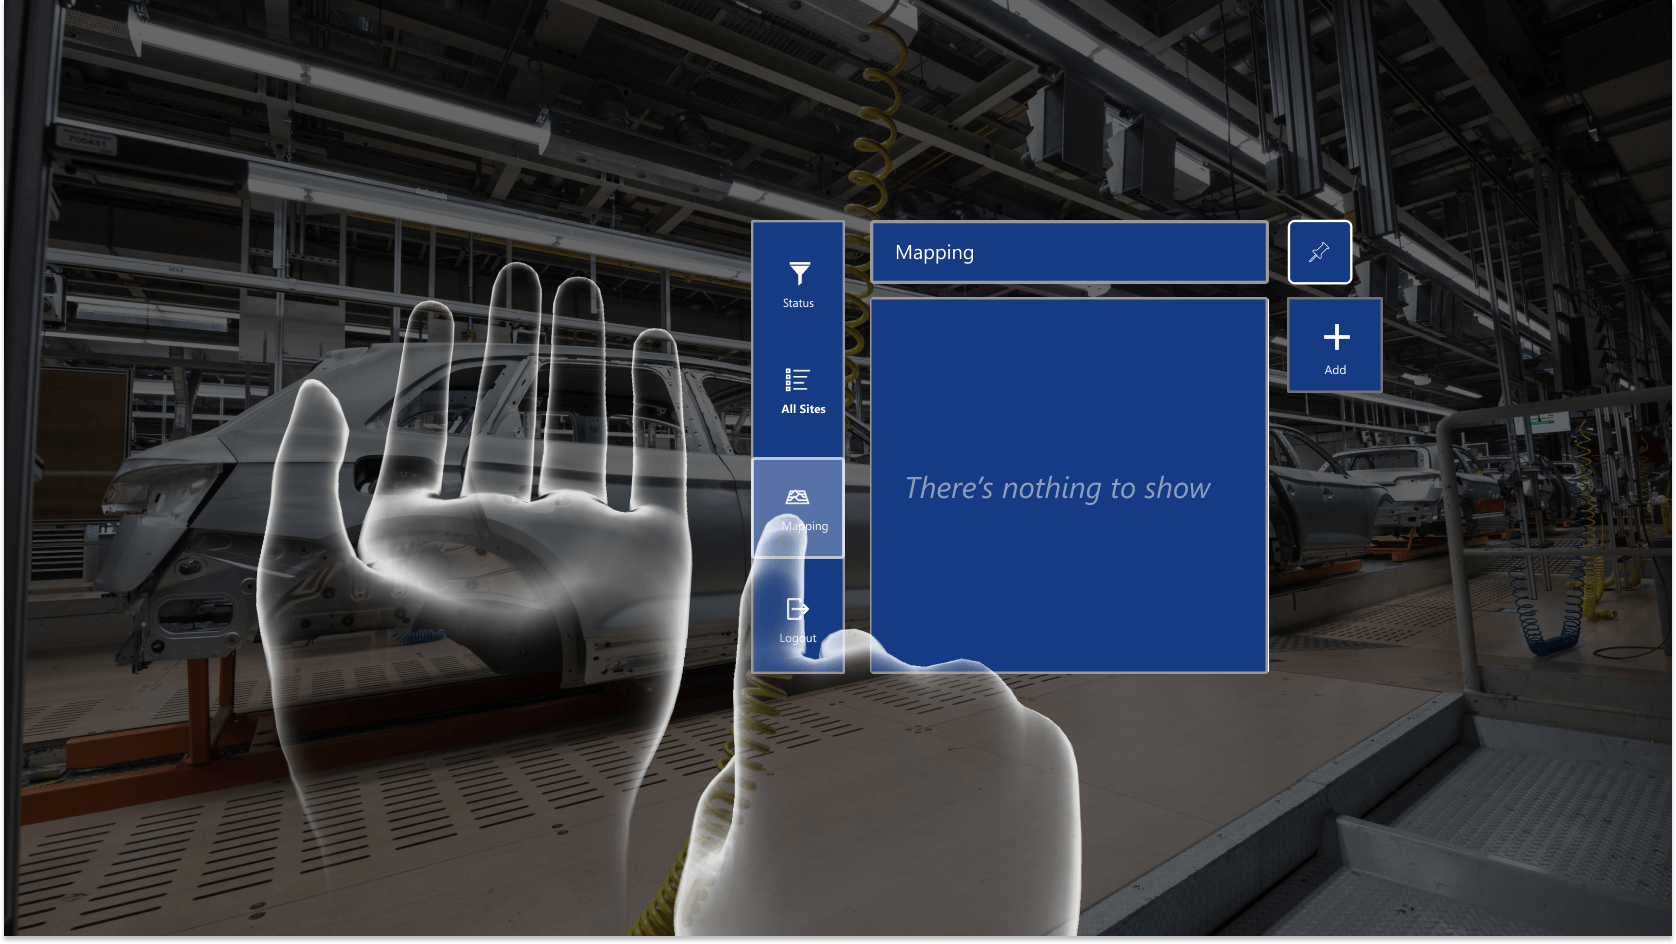
If this is the first time you are accessing the mapping menu, it is possible that you don't have any folders or areas. Folders are useful for organizing your areas. Within each folder, you can have several areas grouped.
Note: If you already have folders/areas created, you can skip ahead to section 3.3.
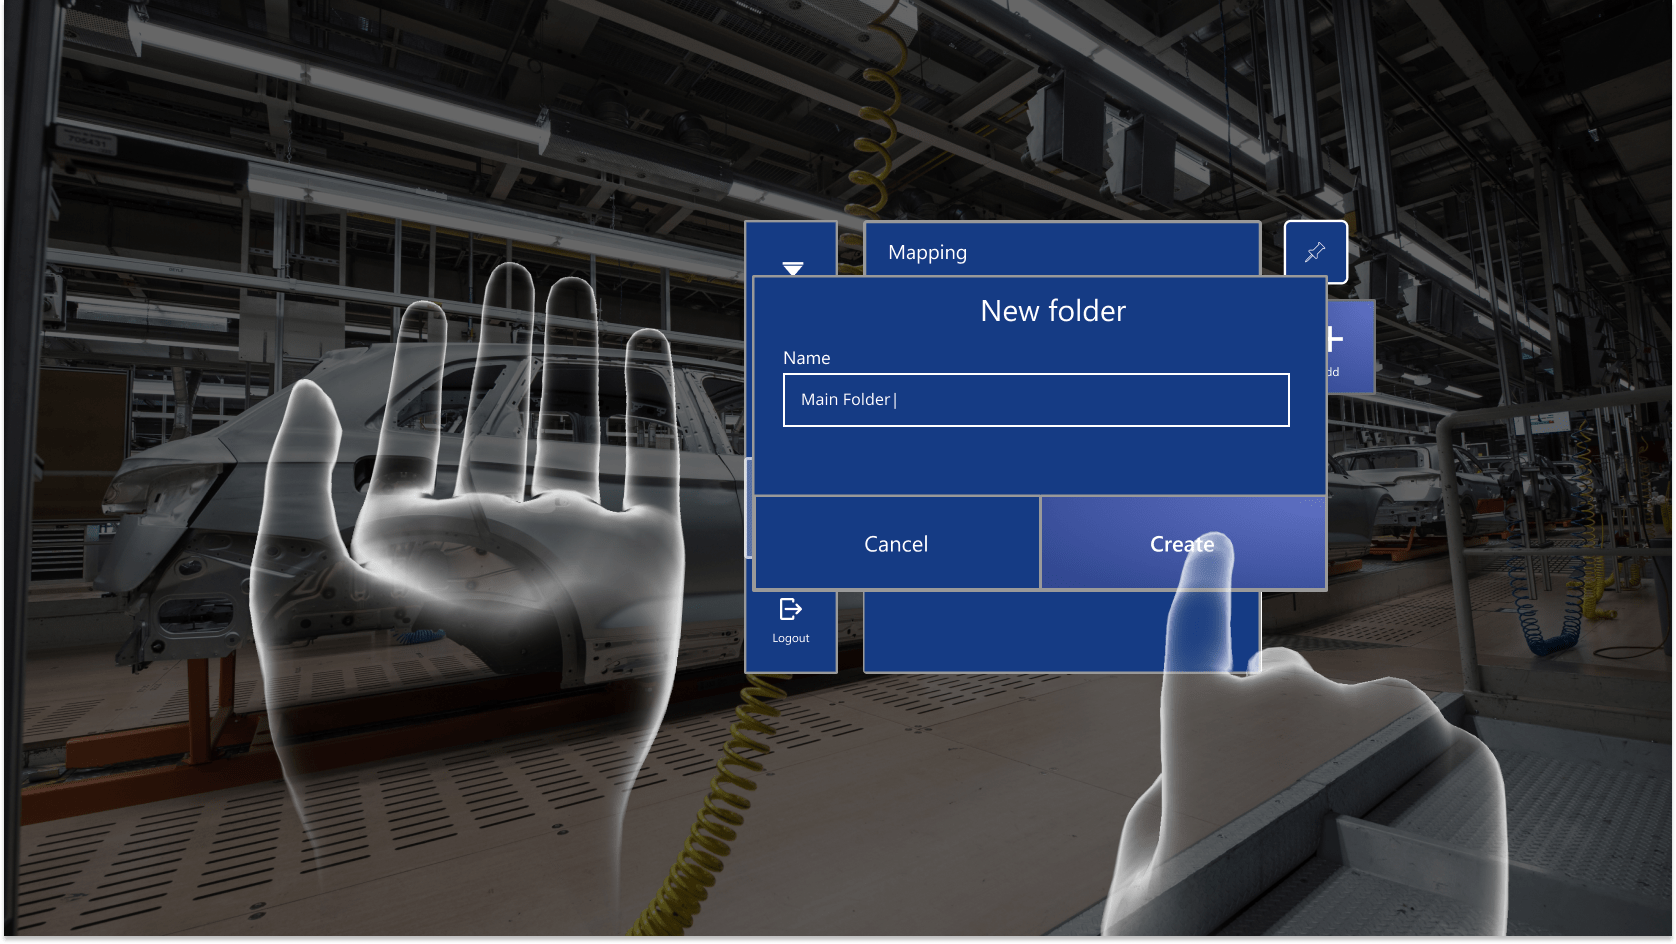
3.1. Create New Folder
3. Give your new folder a name and press "Create".
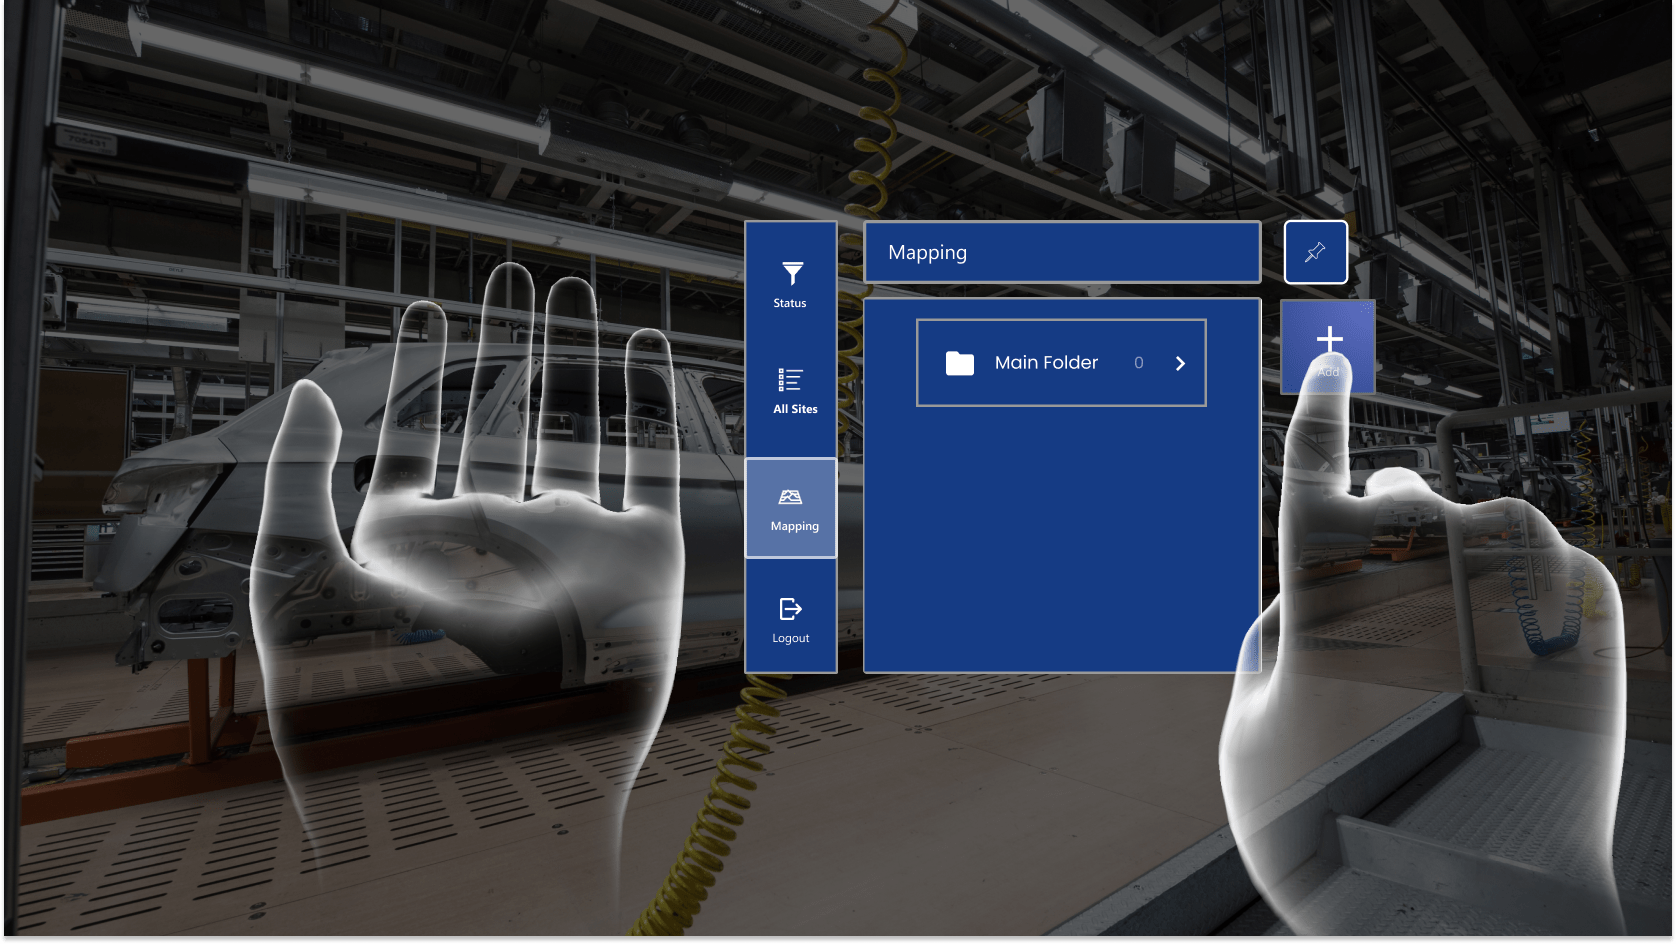
The new folder will then appear on your table.
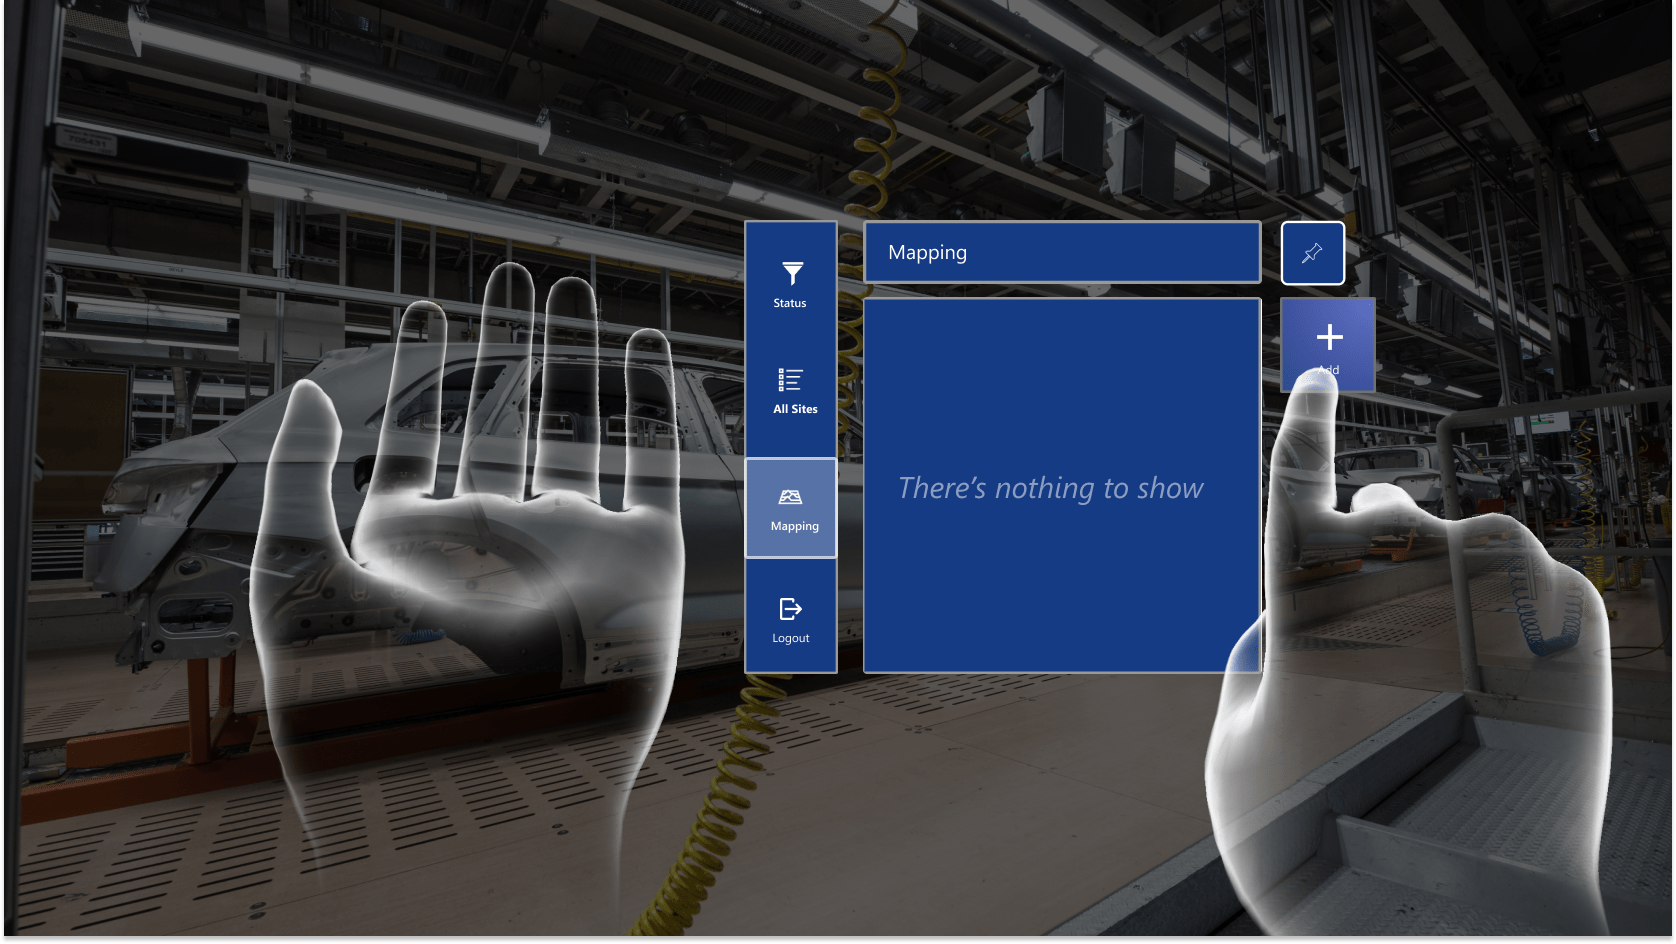
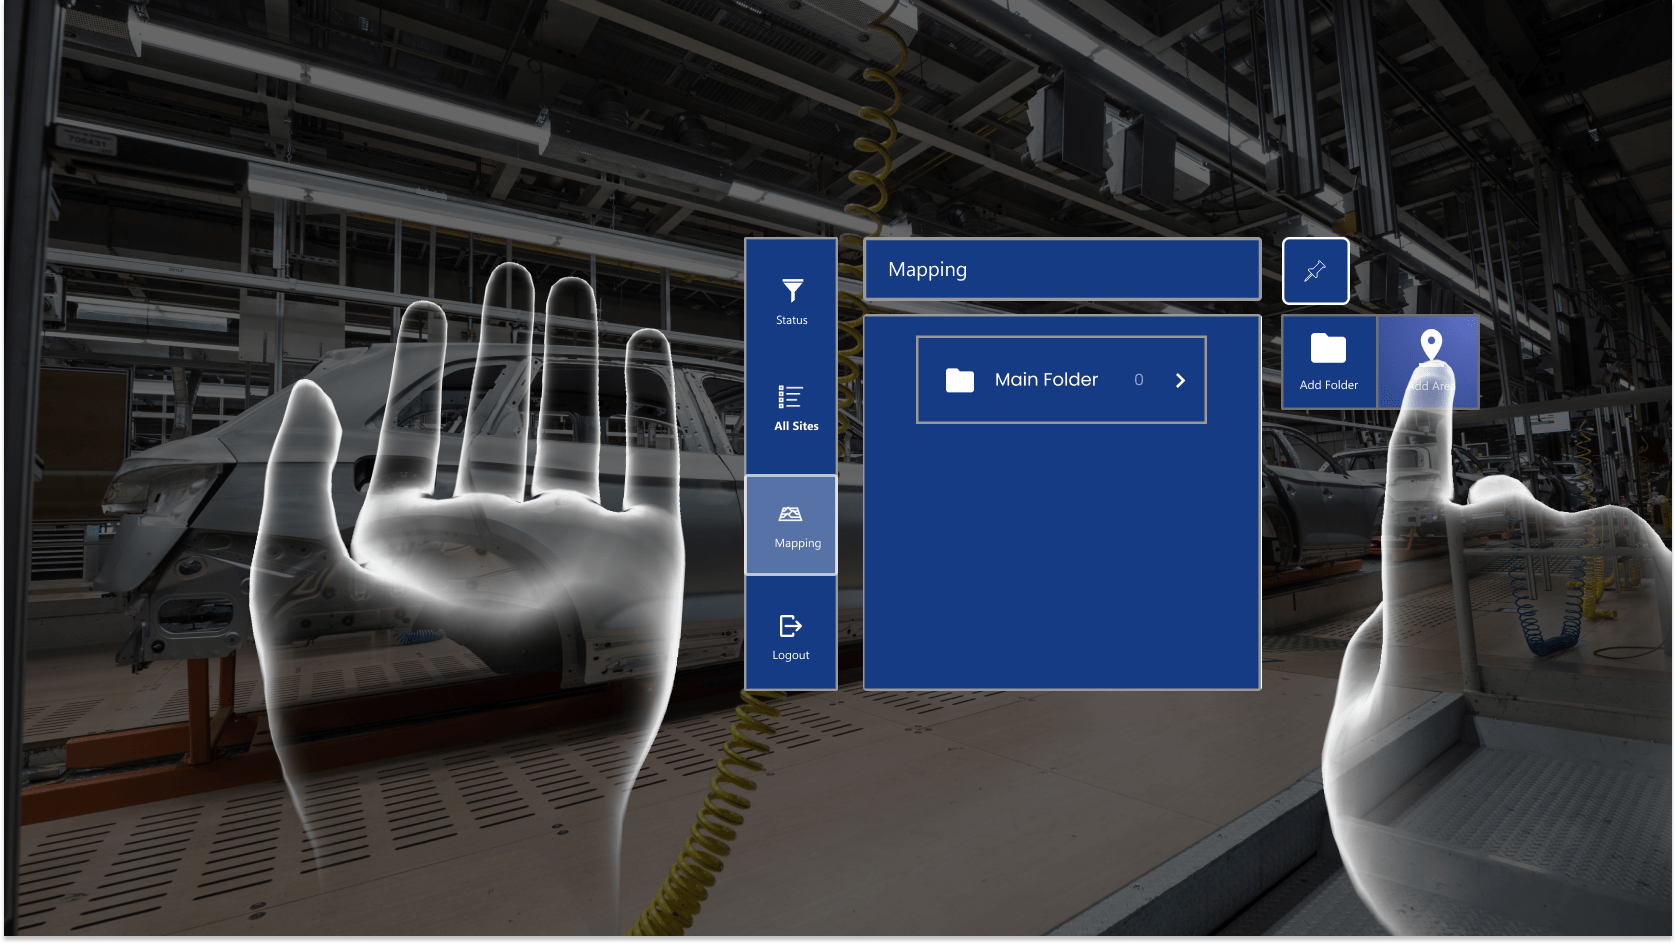
3.2. Create New Area
You can create new areas directly on the mapping menu or inside a folder for optimal organization.
1. Press "Add".
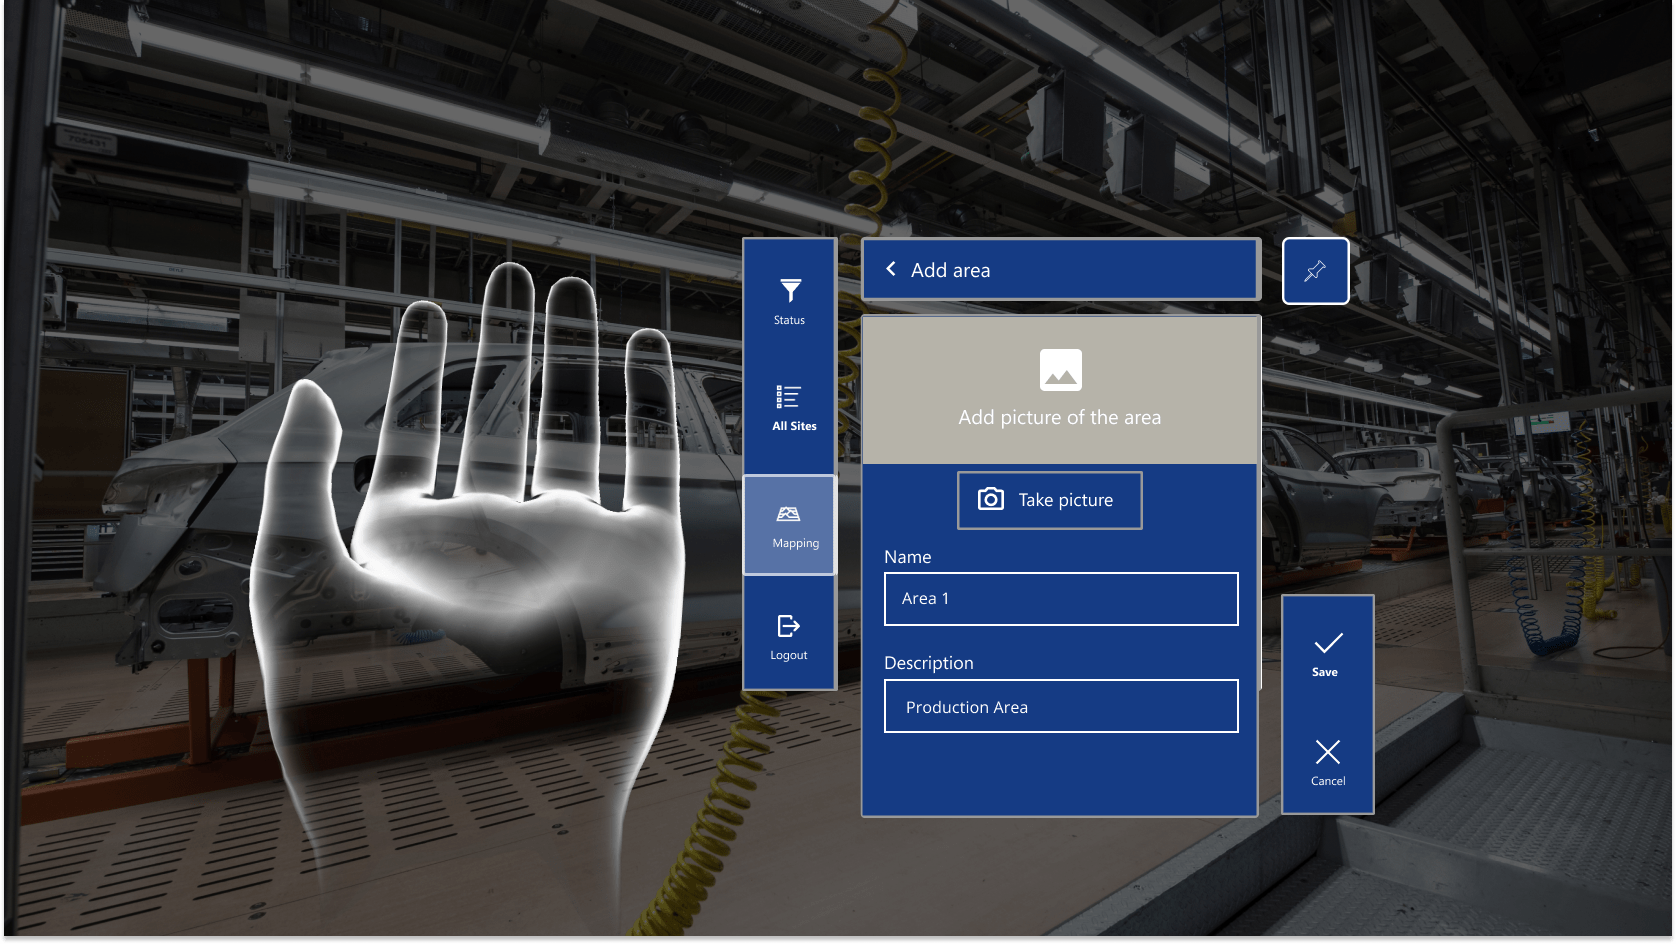
3. Enter information about your new area.
Note: It is possible to capture and upload a cover photo by snapping a picture, assigning it a name, and providing a brief description.
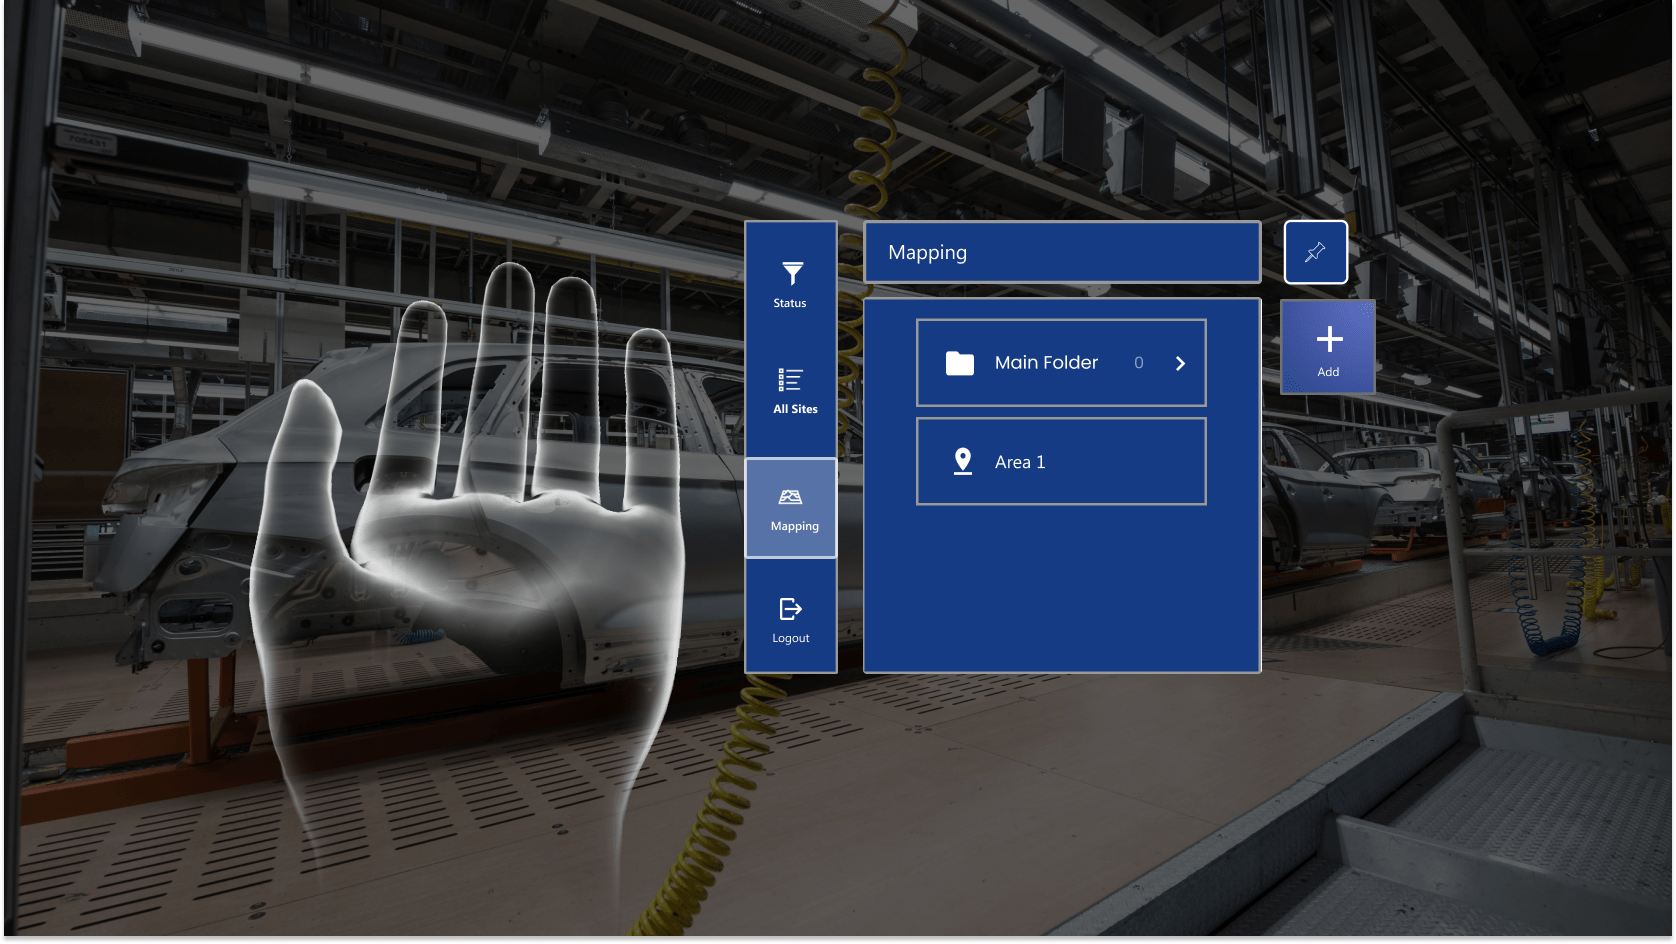
The new area will then appear on your table (or inside the folder where you created the area).
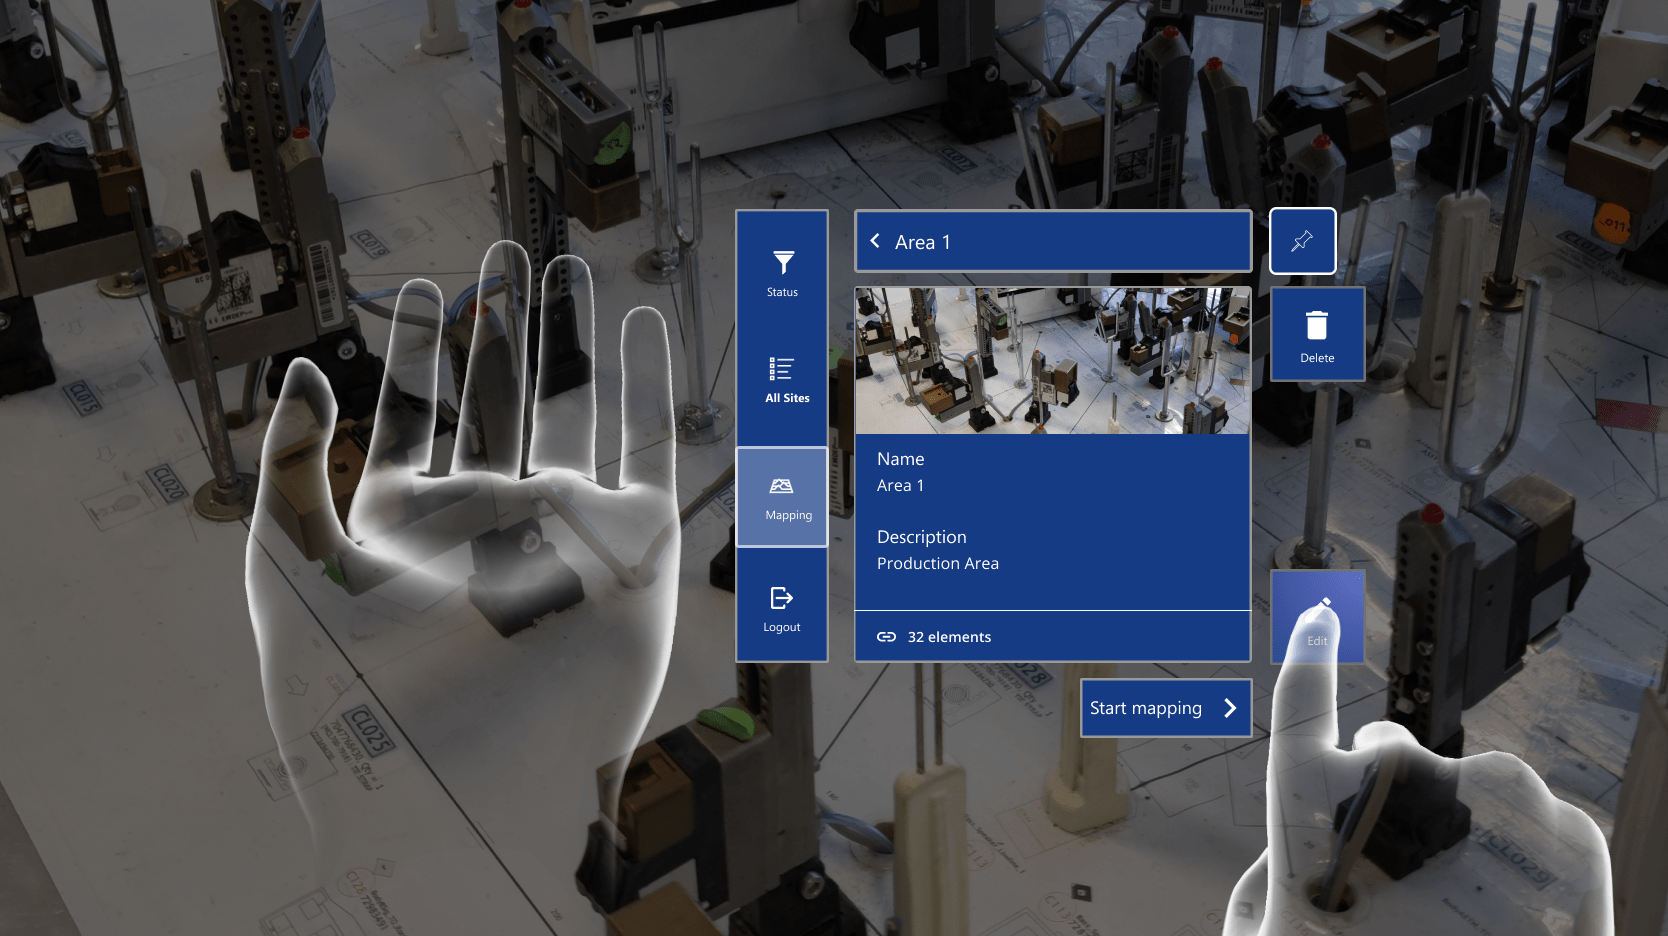
Note: Edit an Area Profile
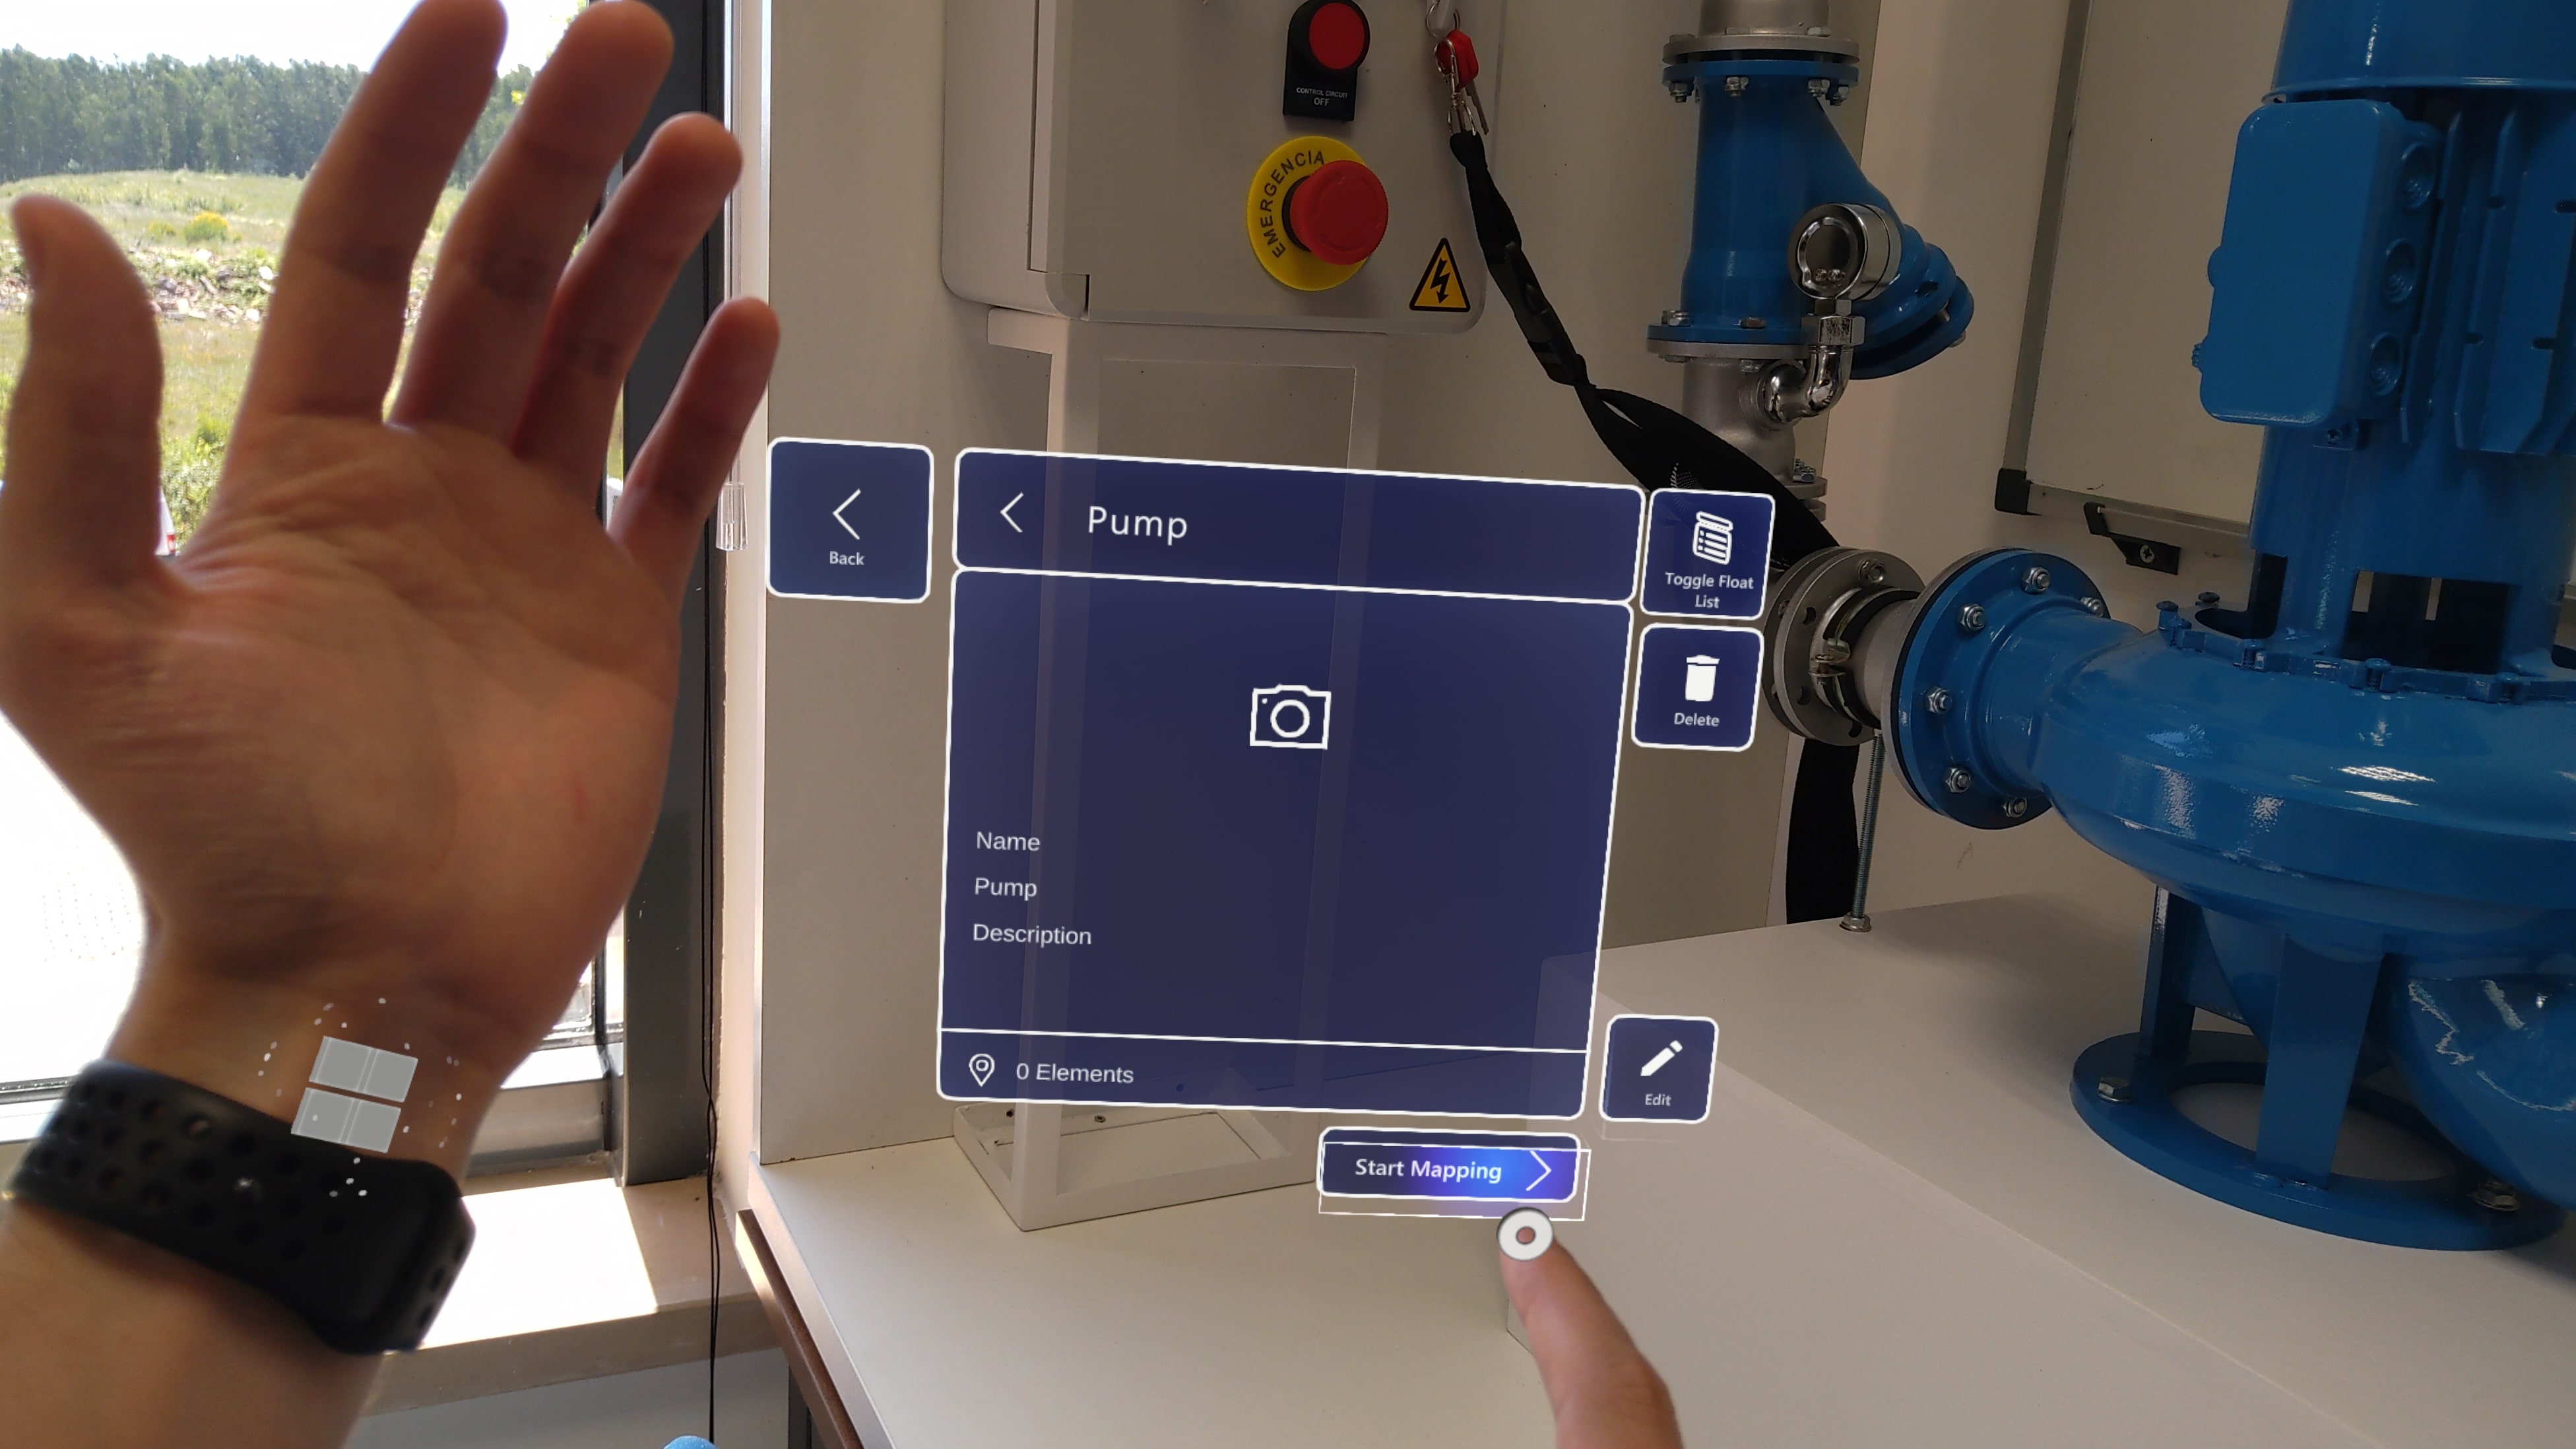
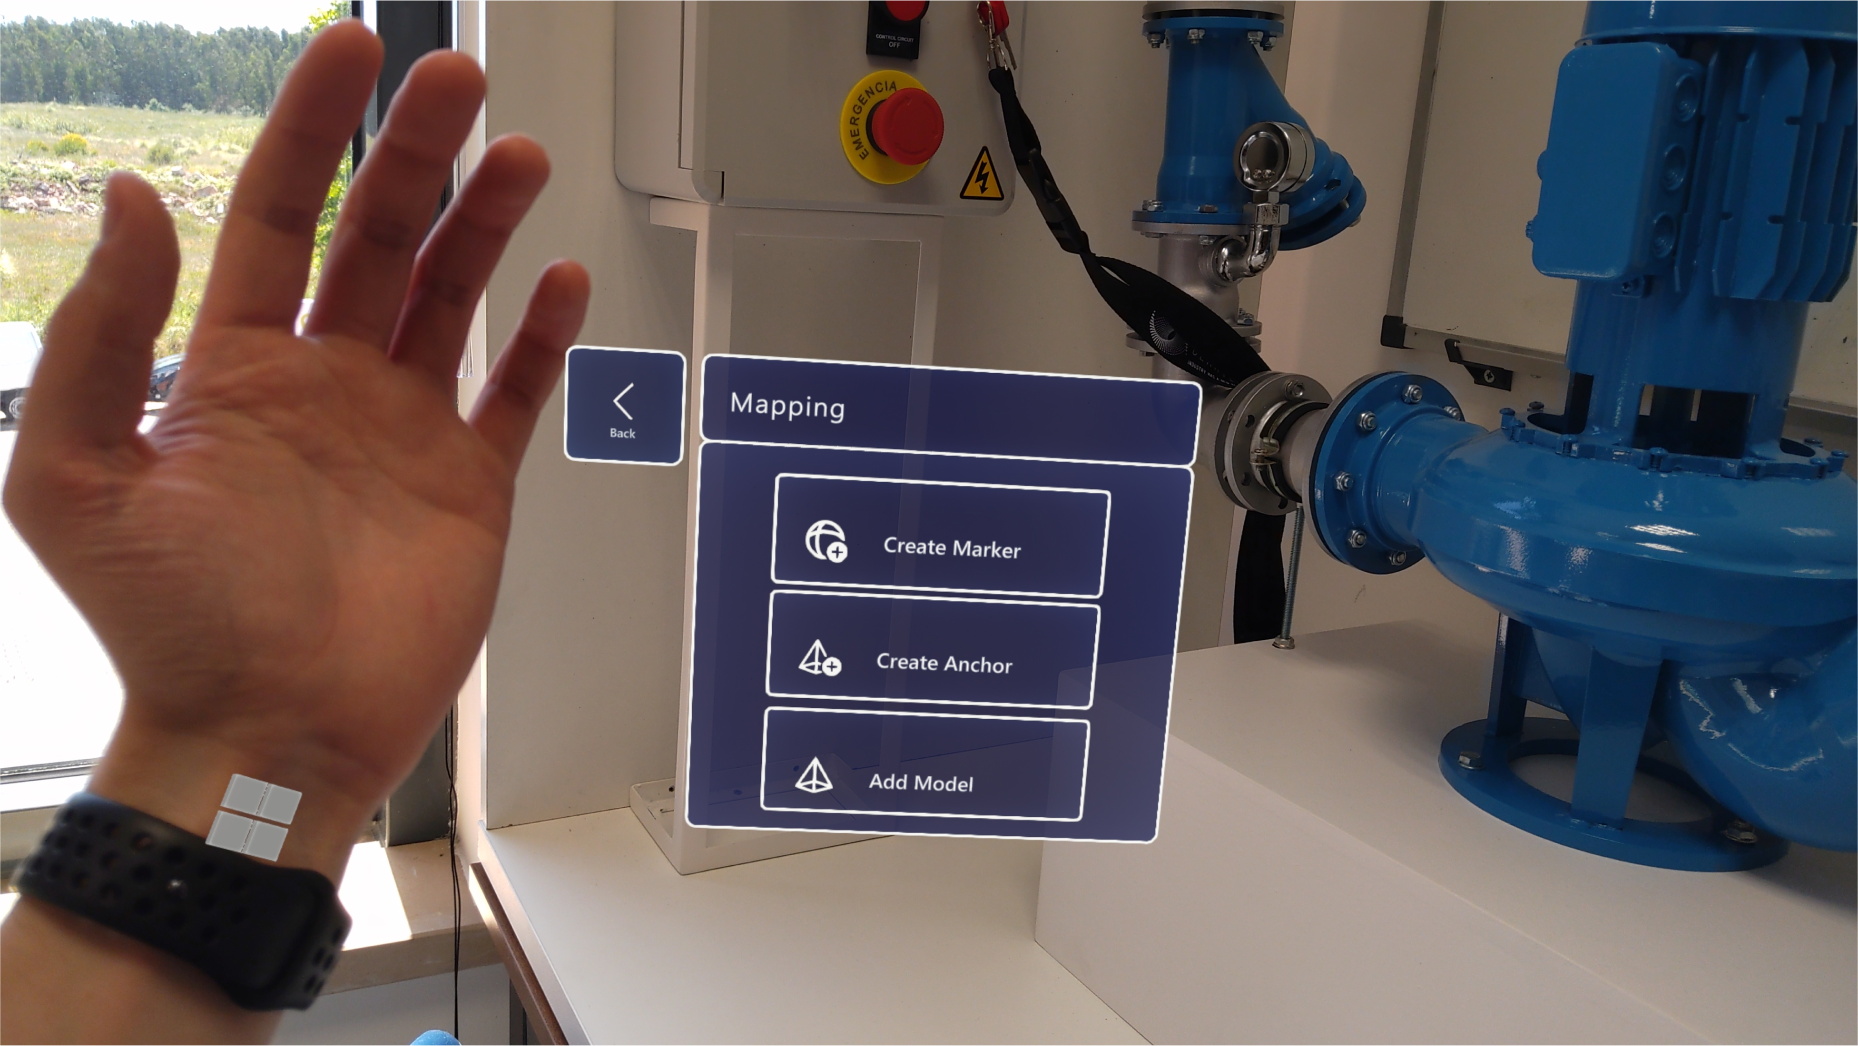
3.3. Mapping Area
Enter in the area you want to start mapping and click "Start Mapping".

- Anchors: Anchors need to be created first as they are responsible for identifying all markers within 3 meters.
- Markers: Once the anchor is created, we can create markers. Markers are augmented reality representations of where elements are in space. They need to be within 3 meters of the anchor.
3.3.1. Add Anchors
Note: You can create several anchors, it’s better to cover all sides of the machine/equipment.
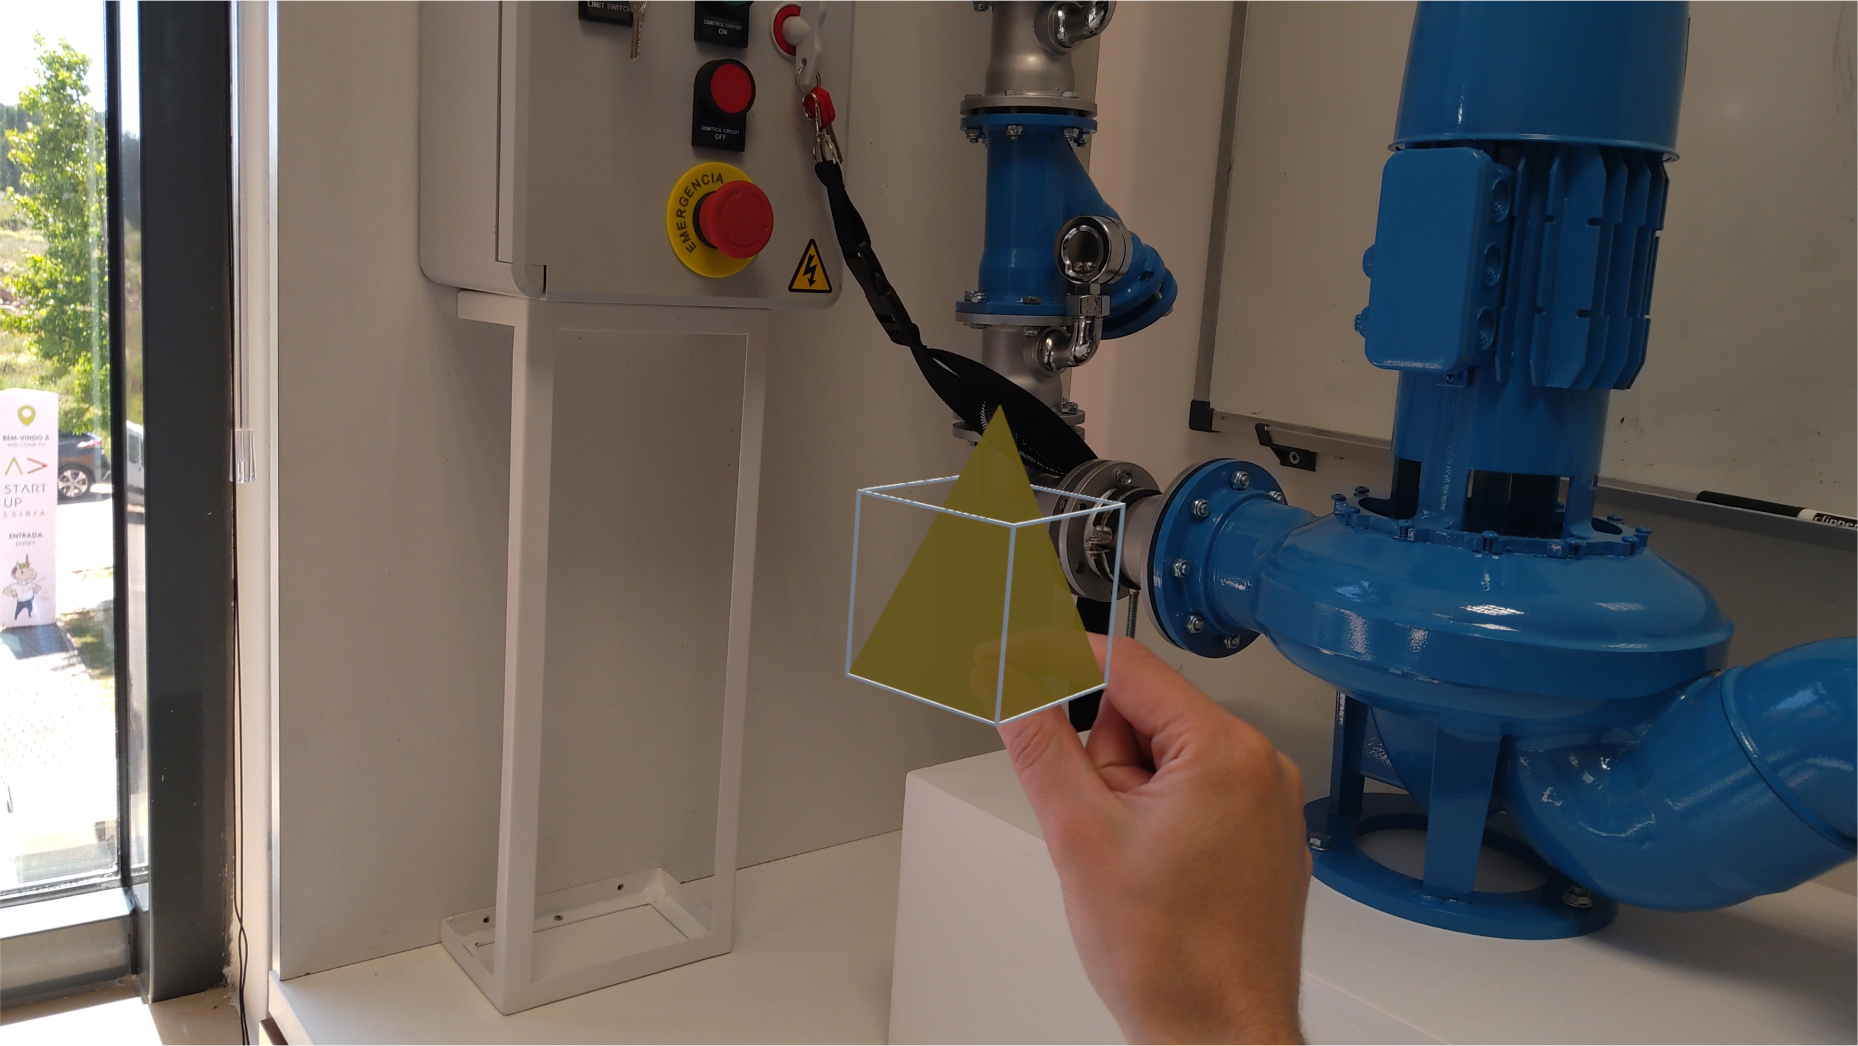
3. Confirm the position using the hand menu.

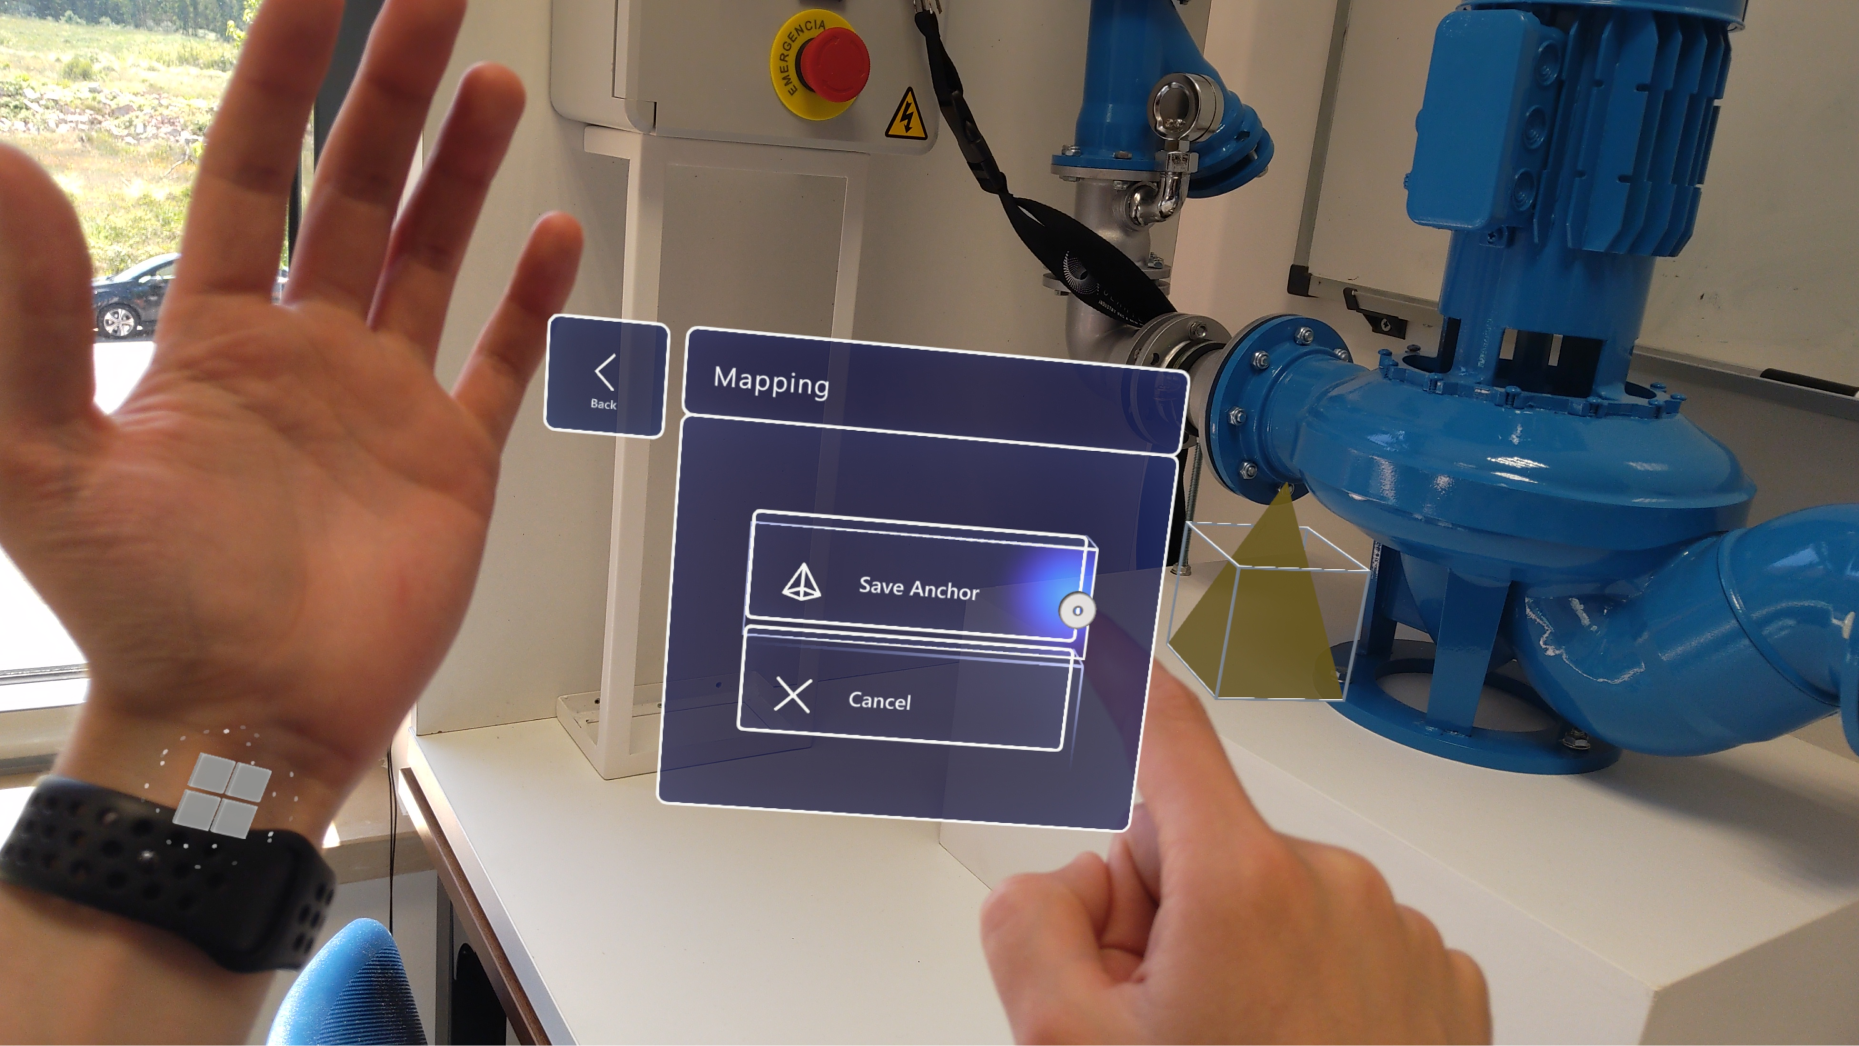
Once finished, a confirmation message will appear to indicate that the anchor has been created and the anchor will change its color to green.

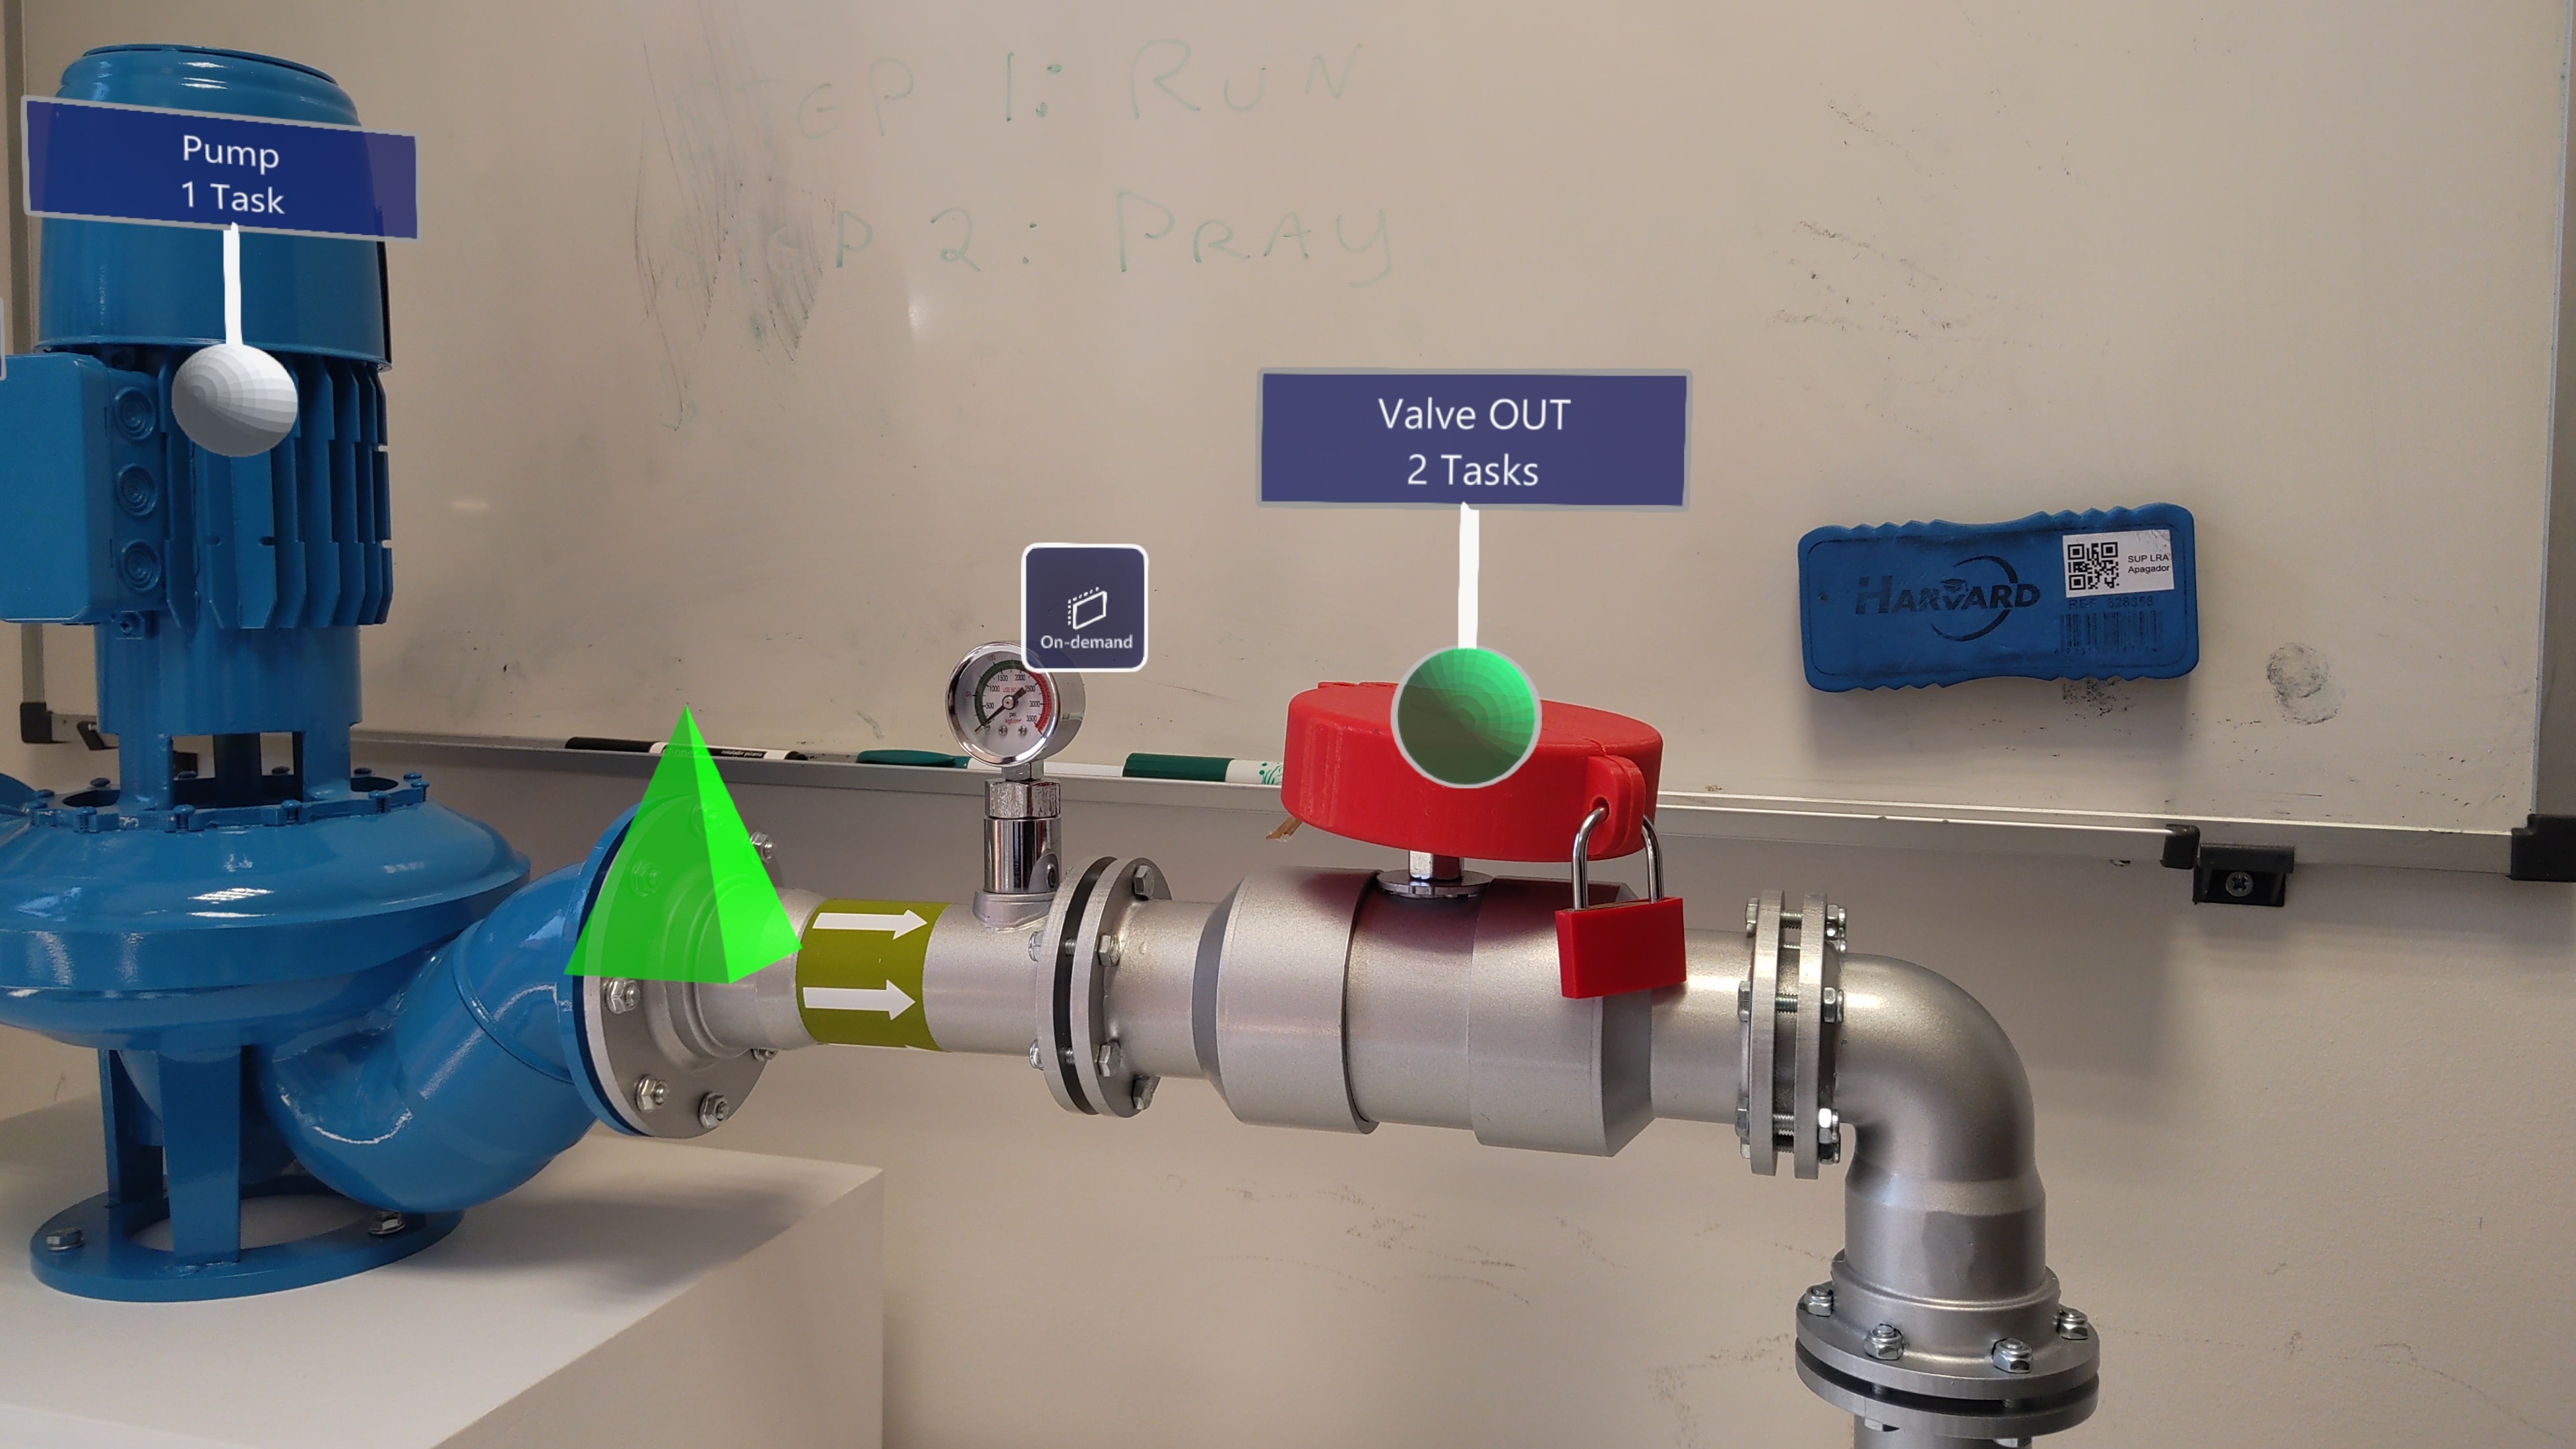
3.3.2. Add Markers
Markers are augmented reality representations of where elements are in space.
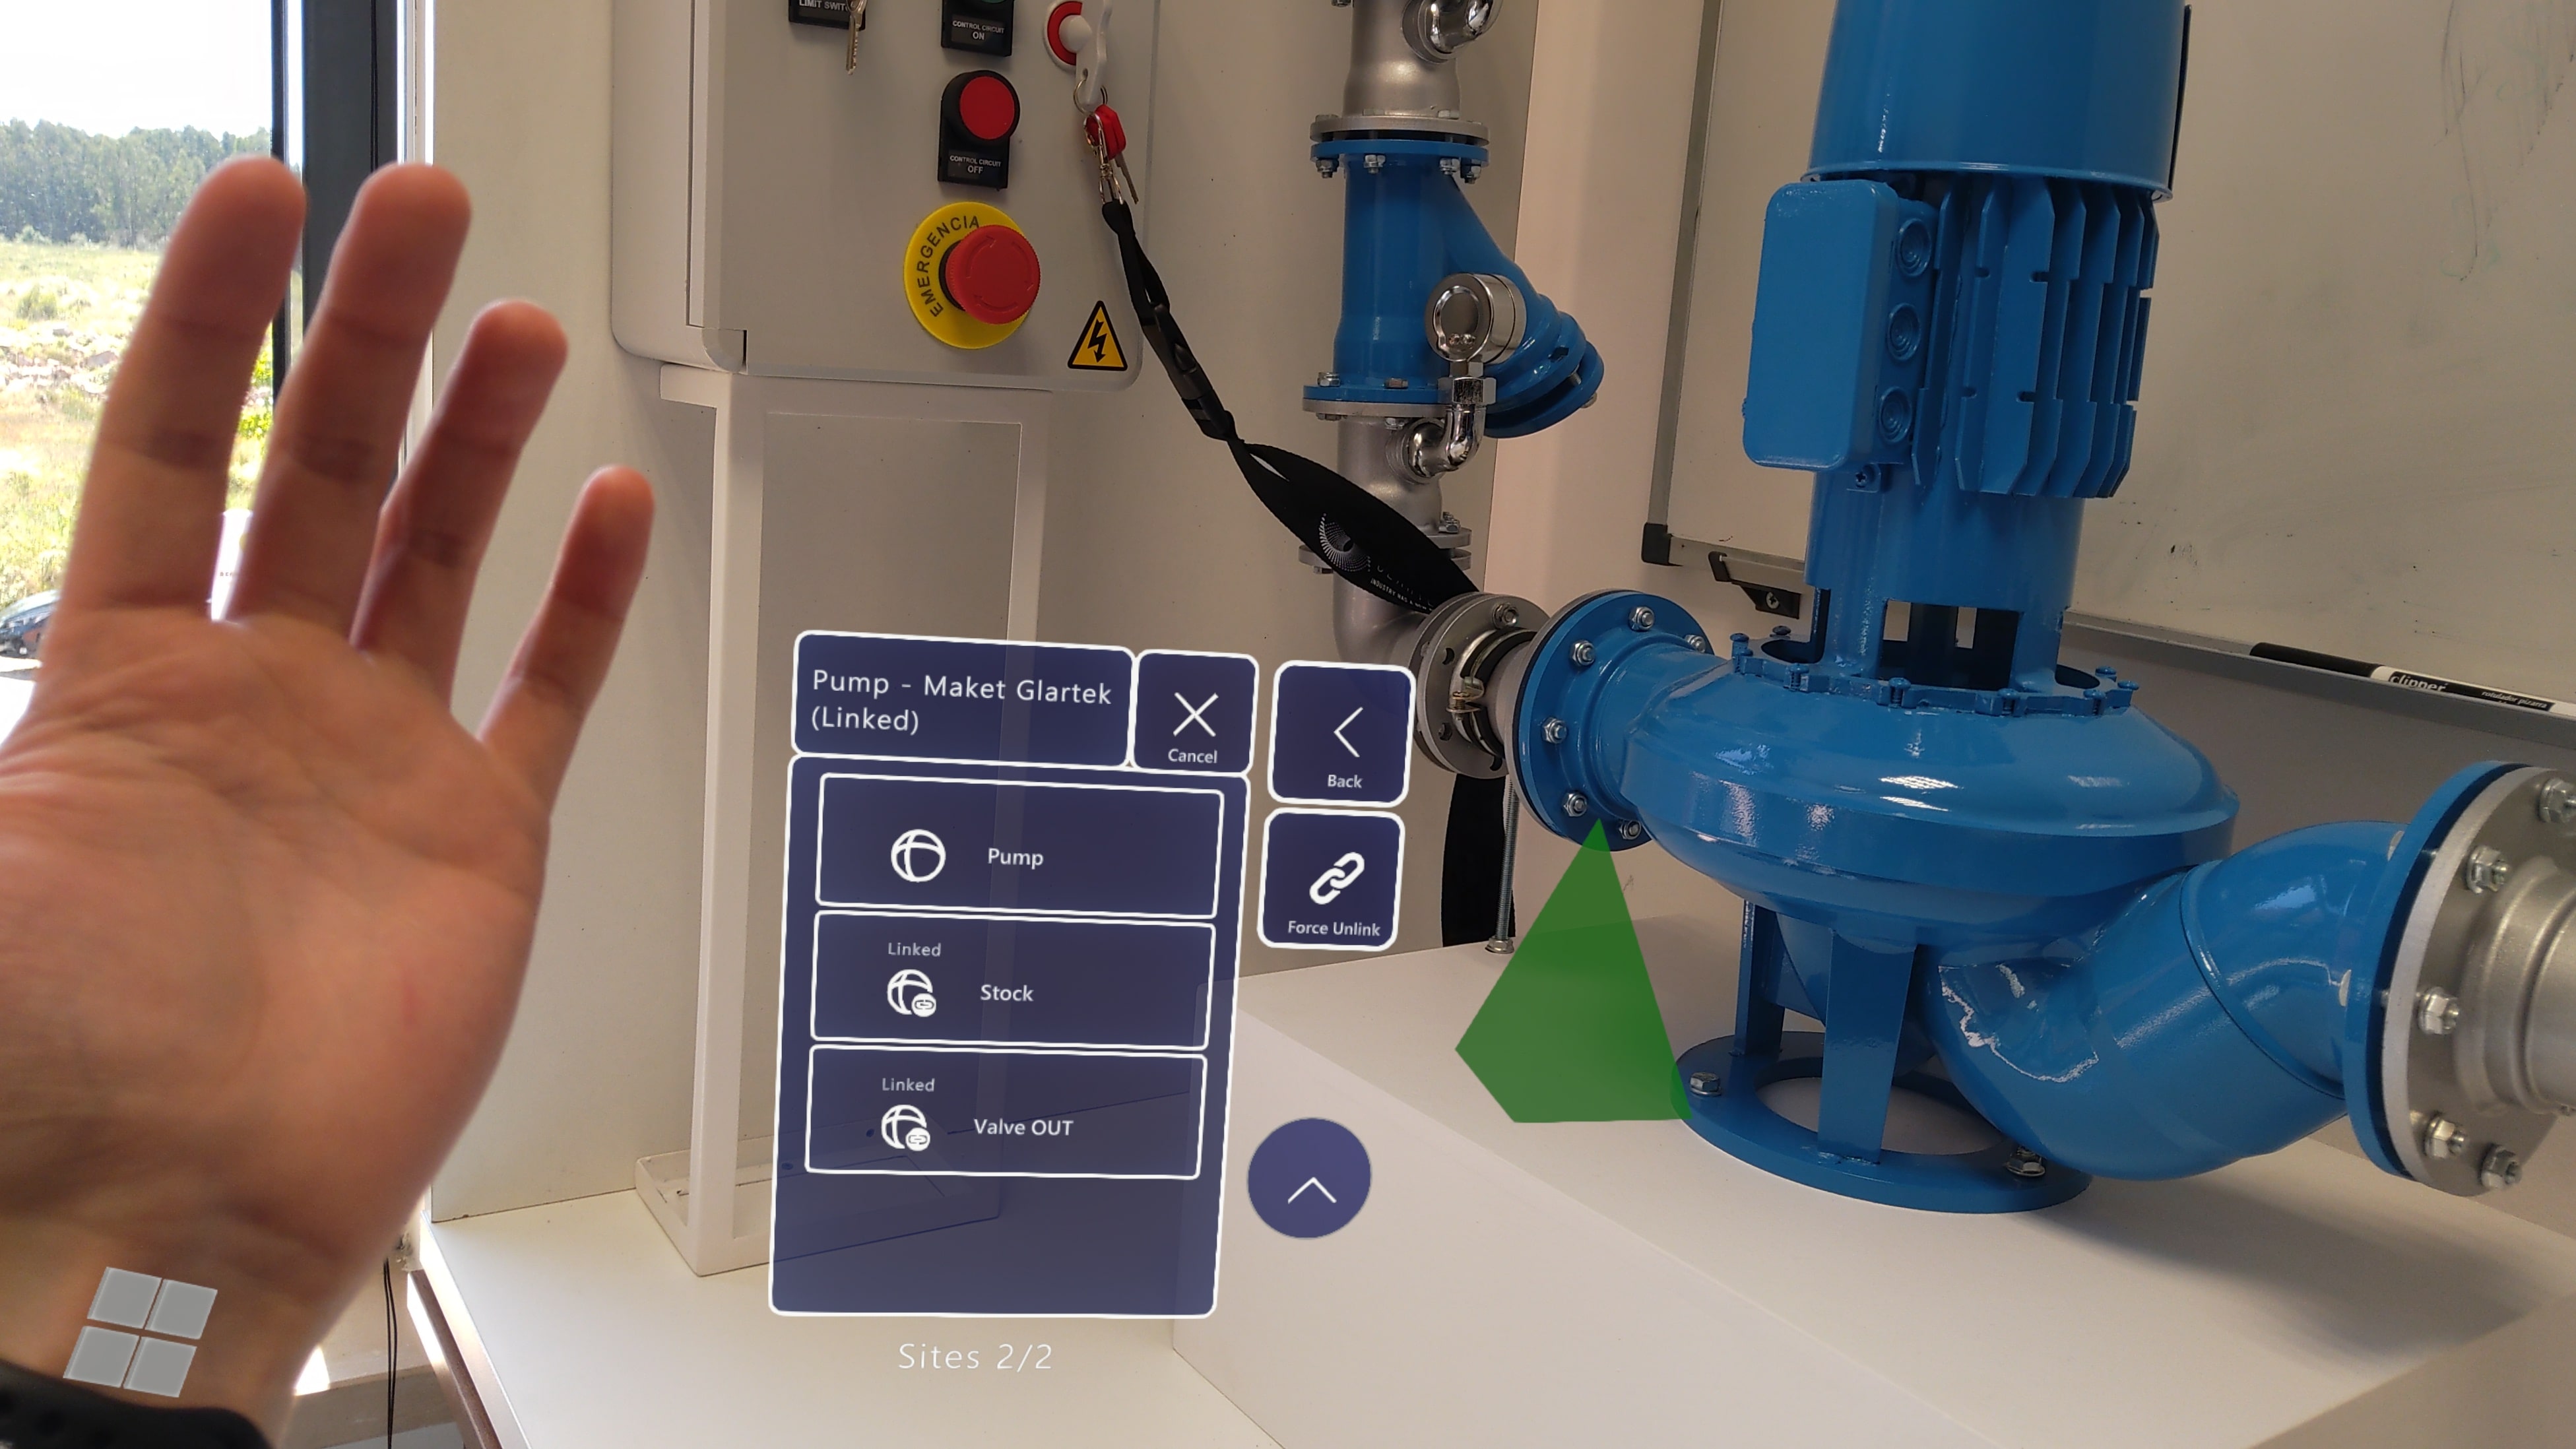
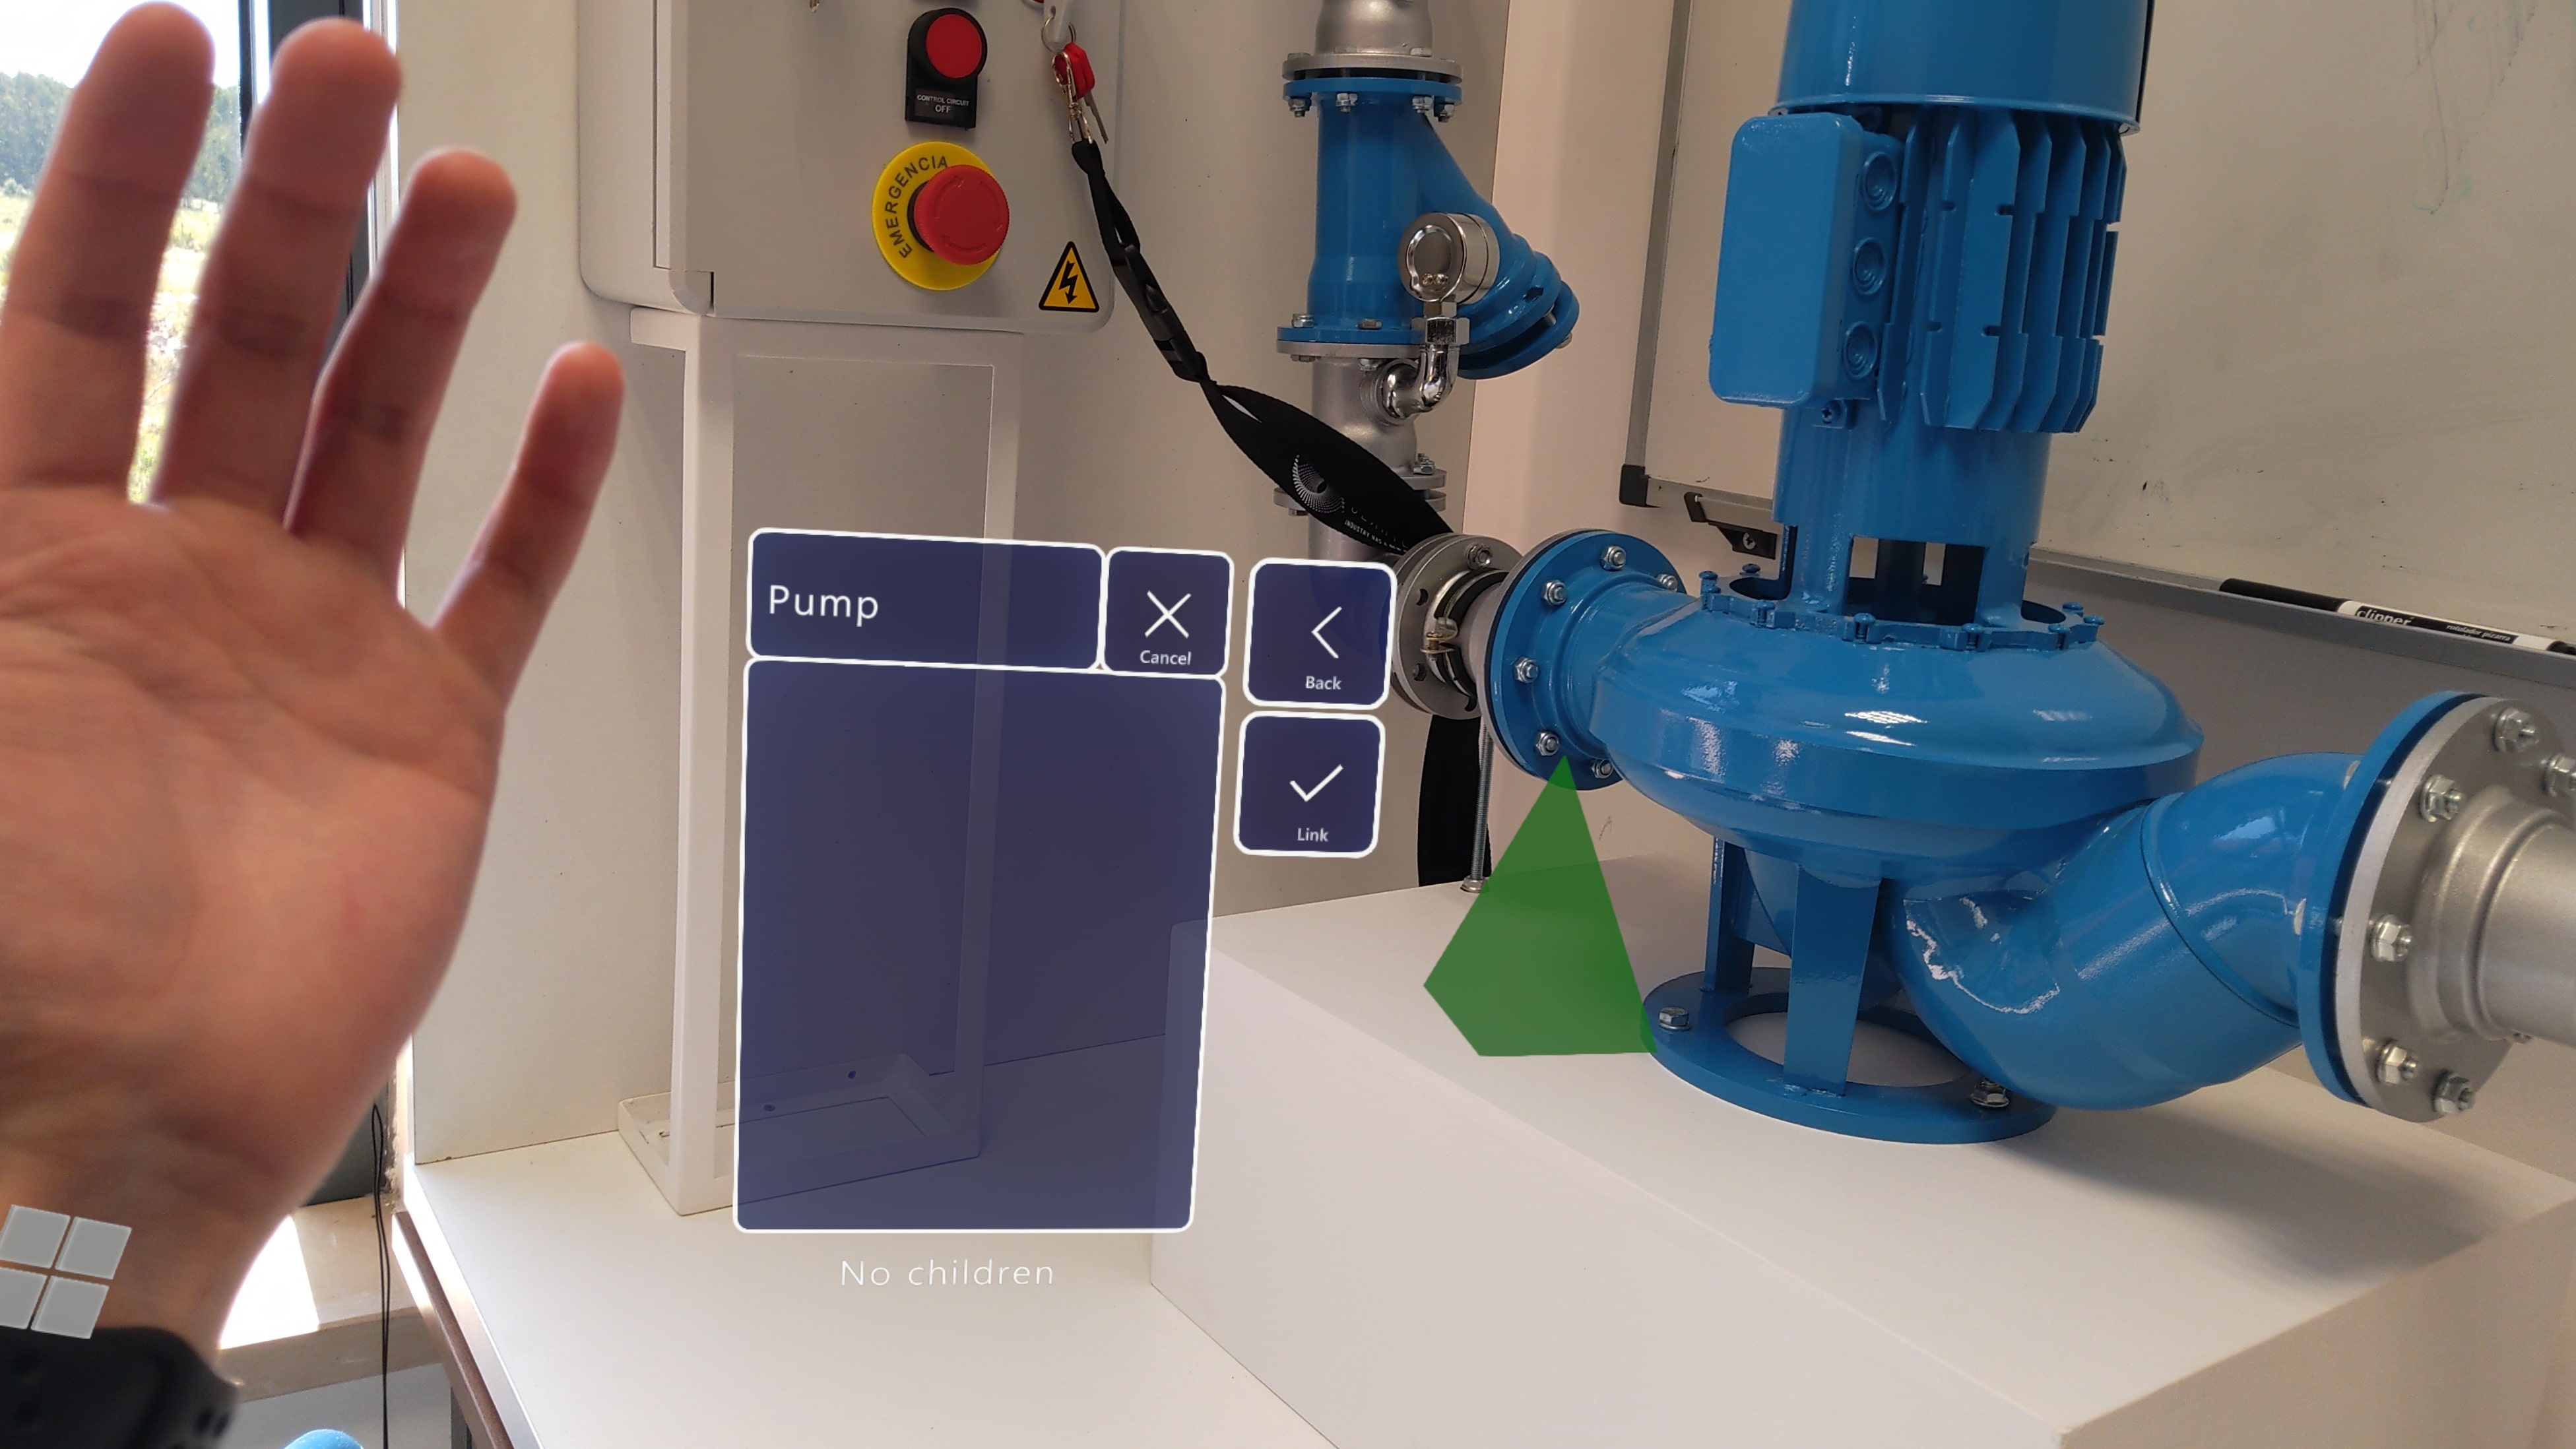

5. Confirm the position using the hand menu and click "Save".

4. Execution
Note: Then choose on-demand or schedule (depending on which procedure you want to start).
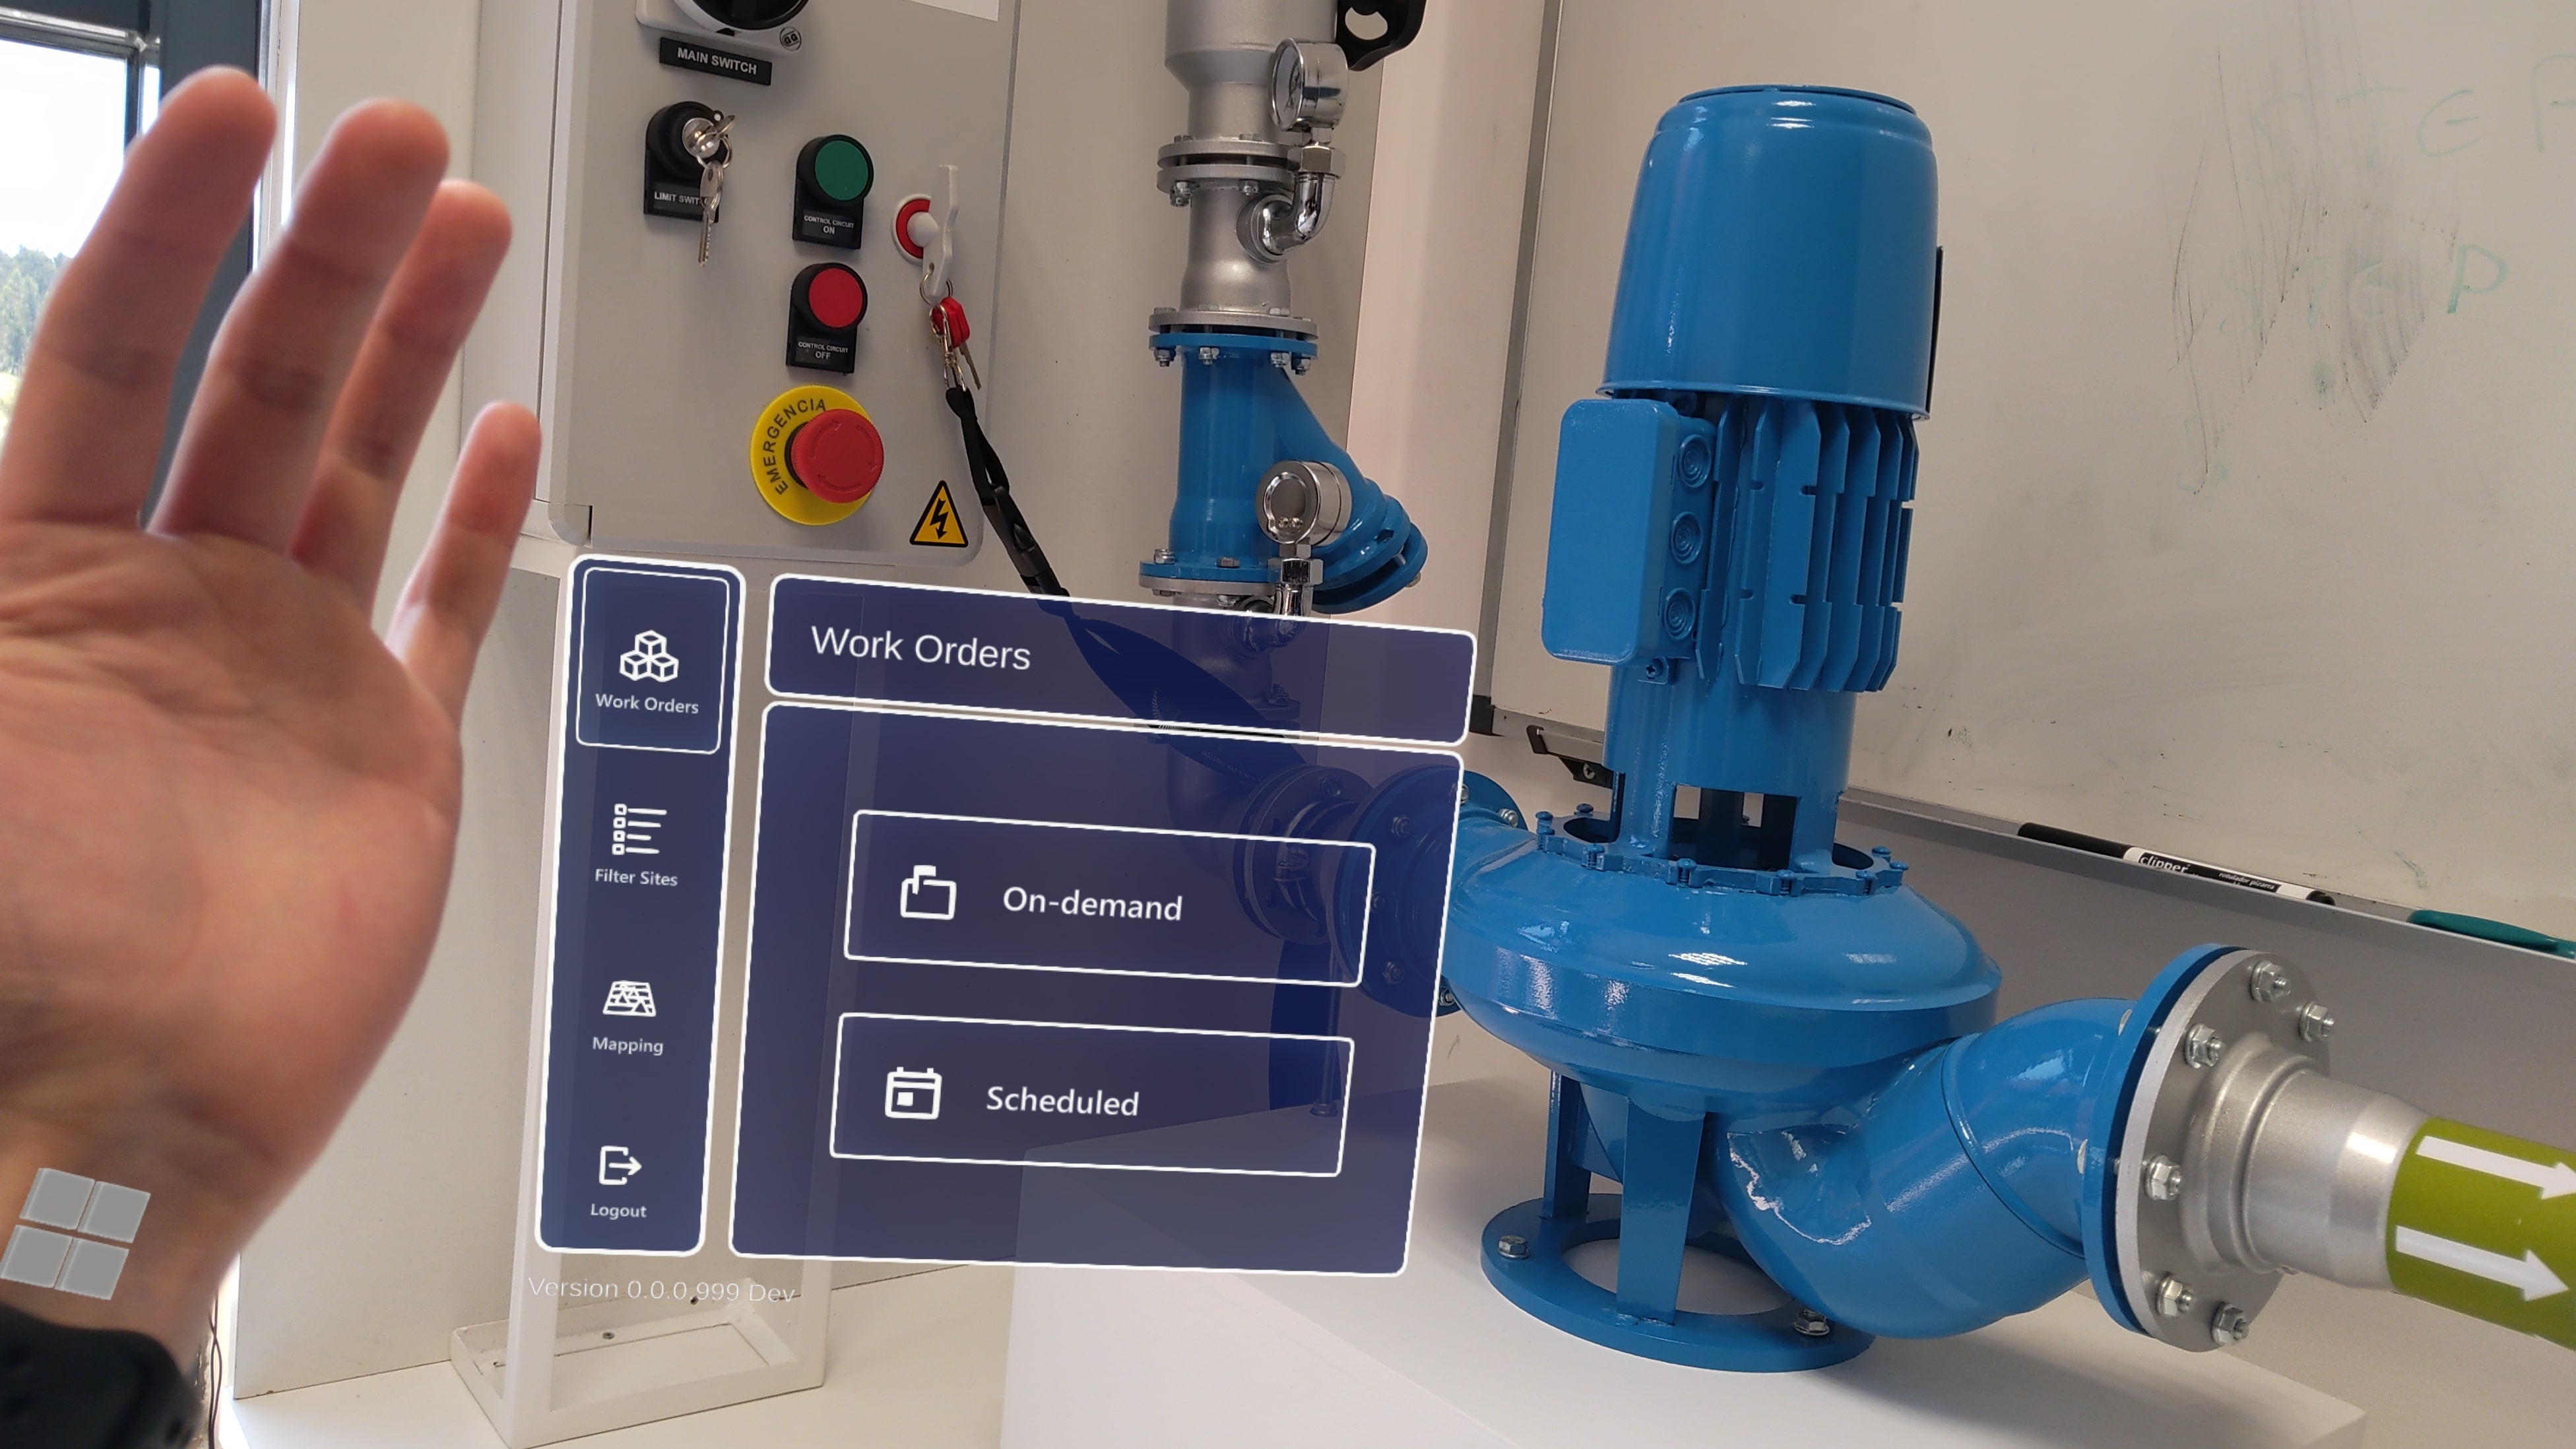
2. Choose the procedure you want to start.

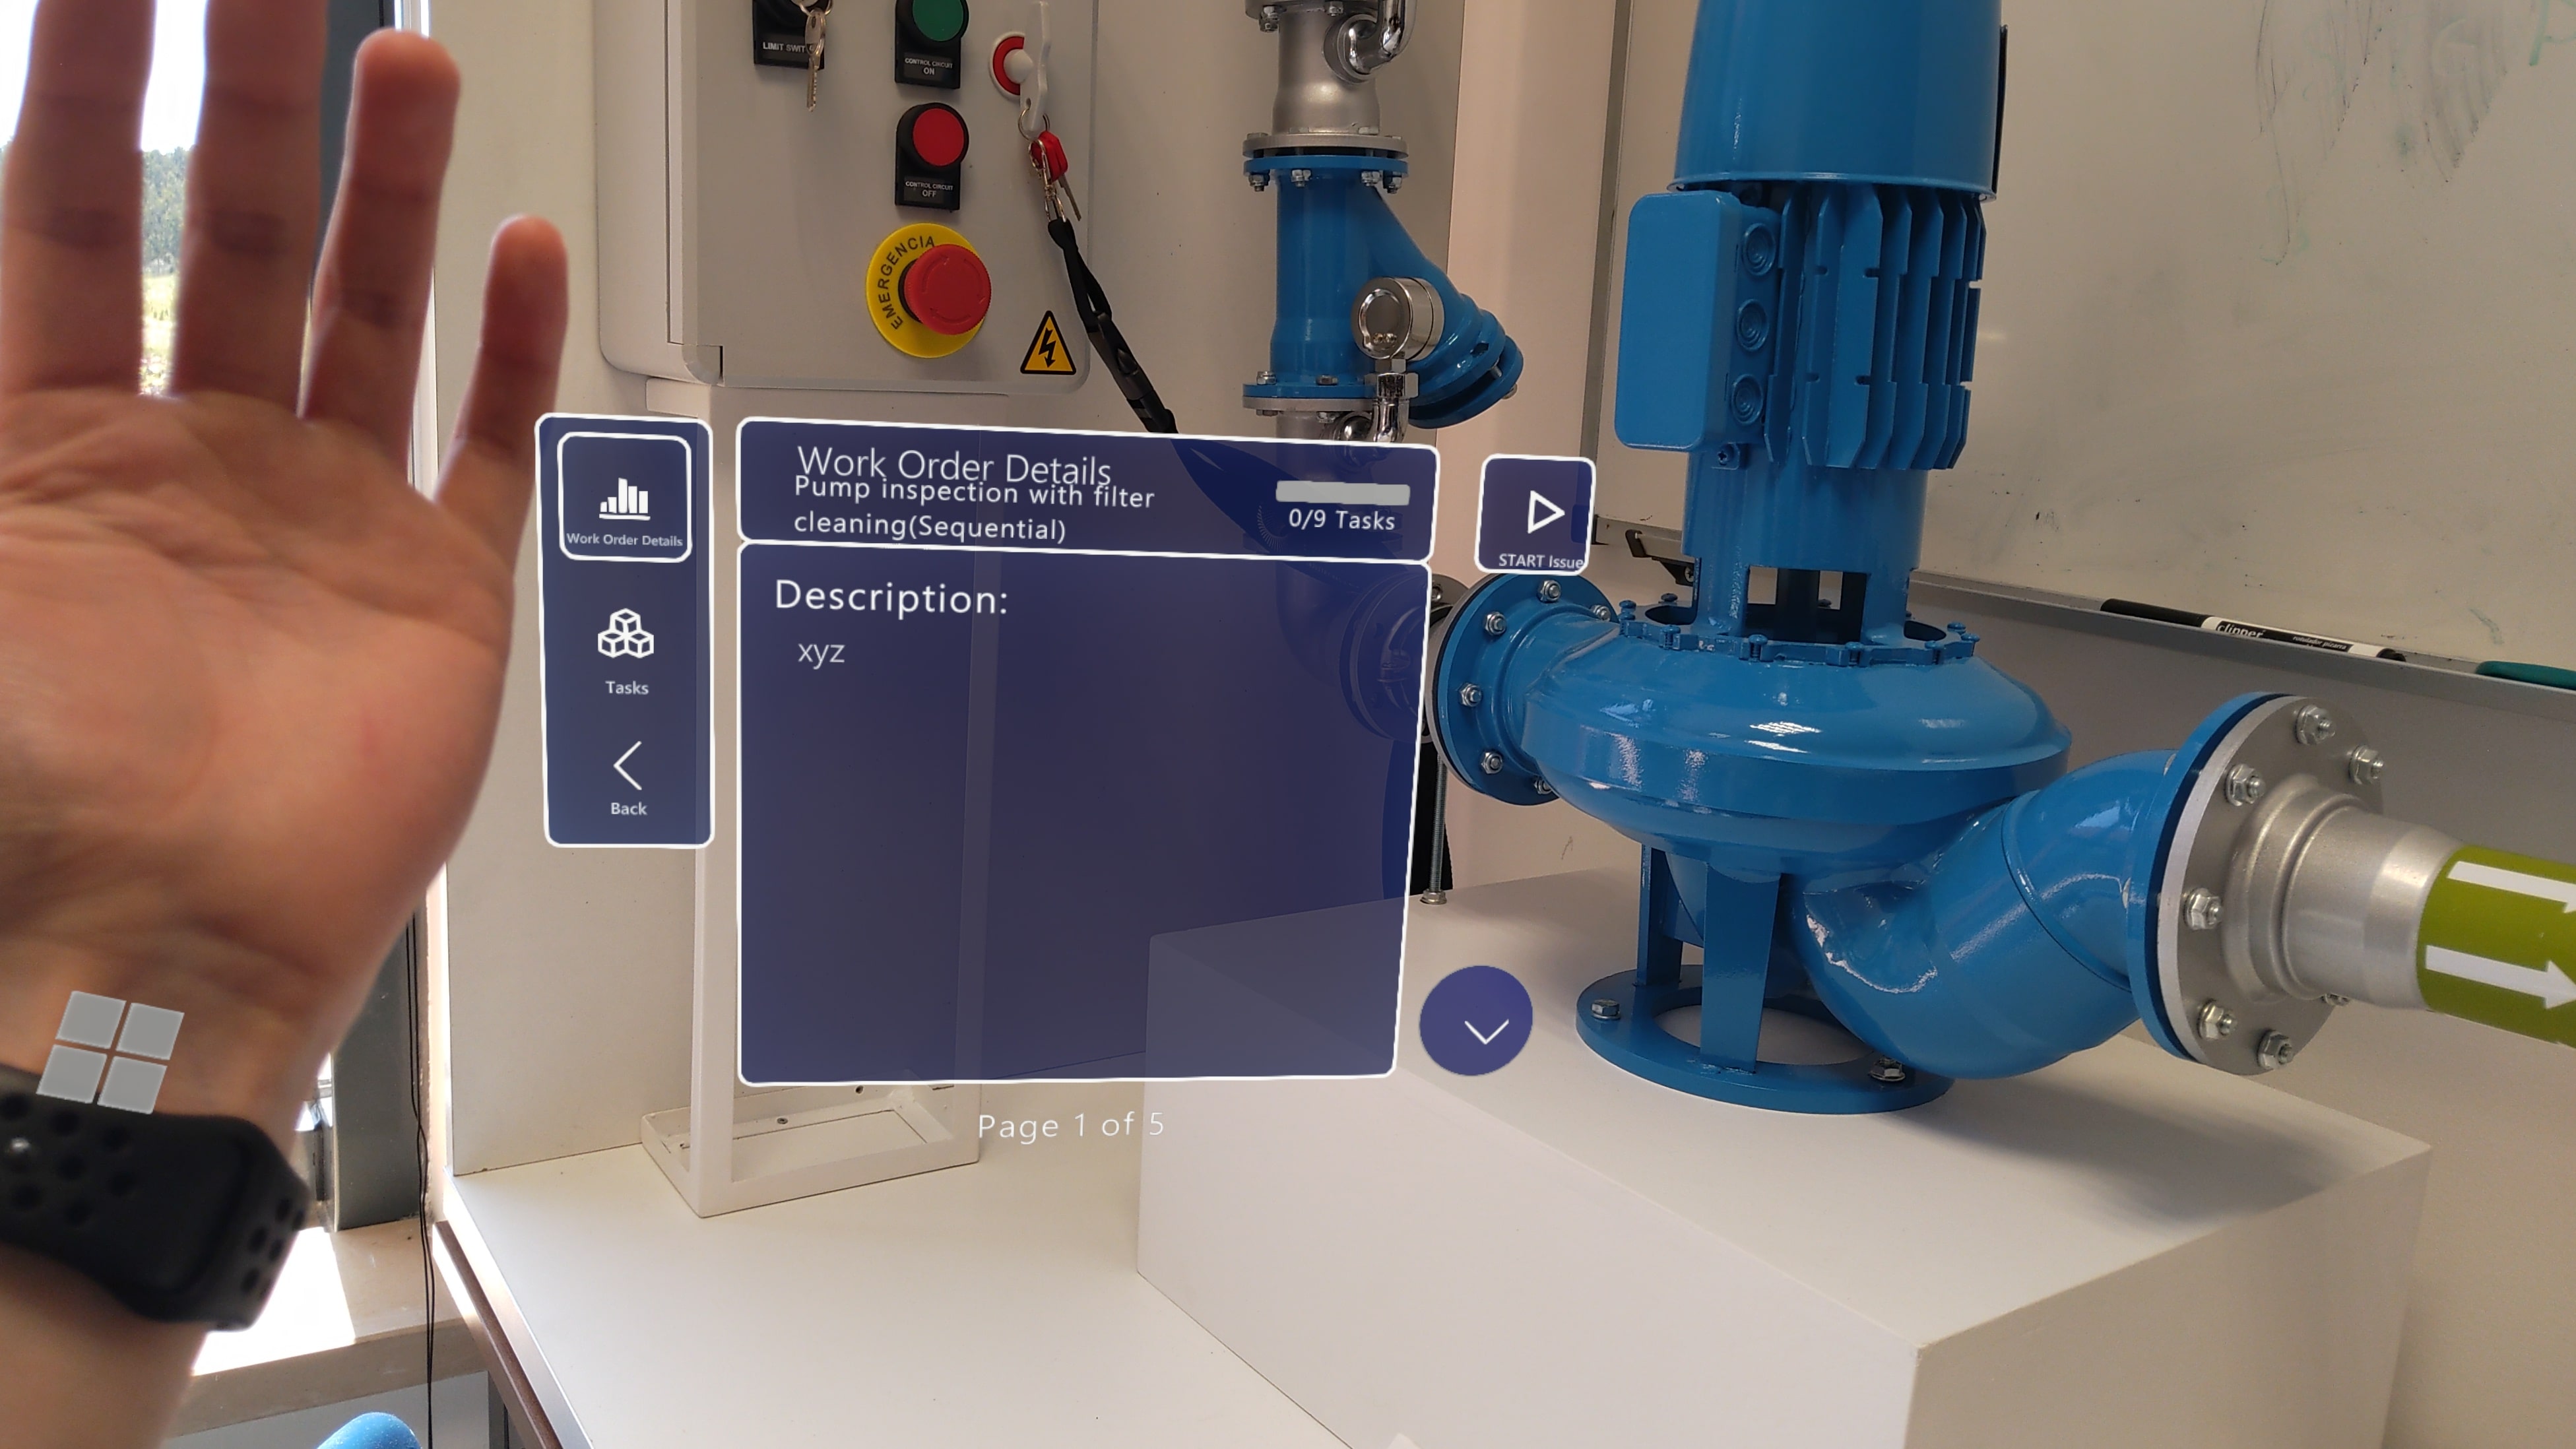
3. Once inside the procedure, click “Create New” on the left menu.
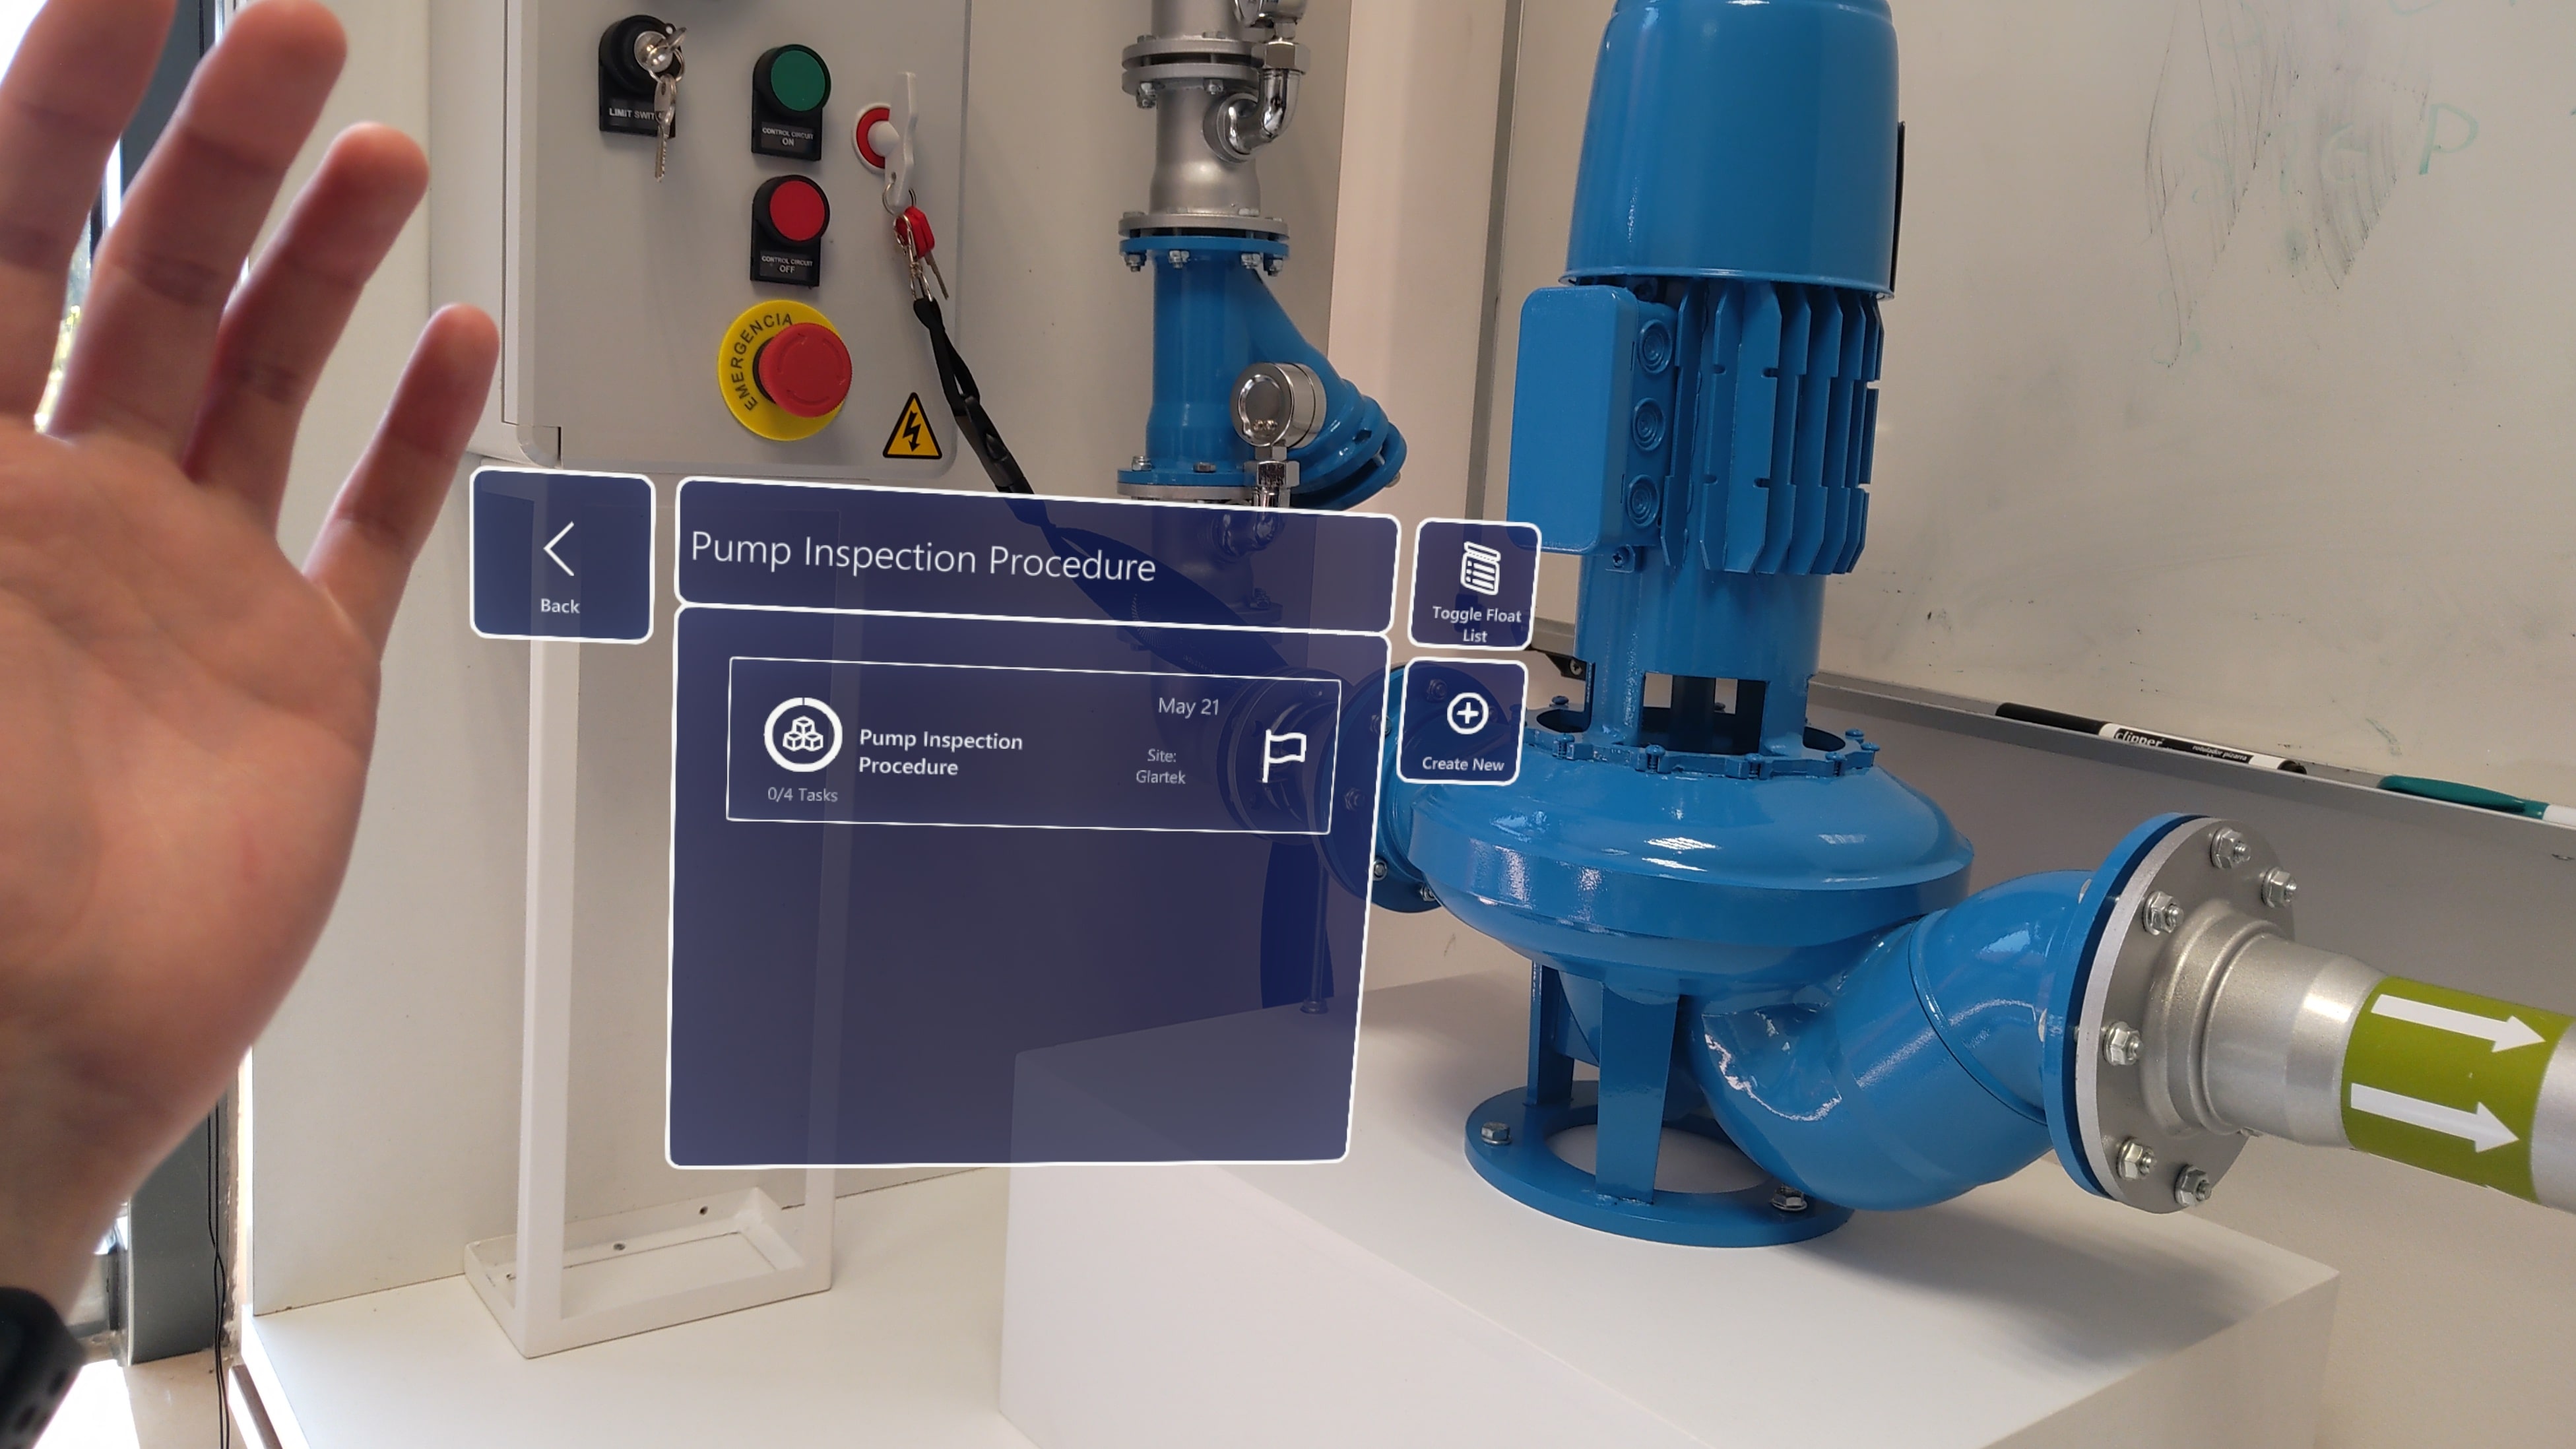
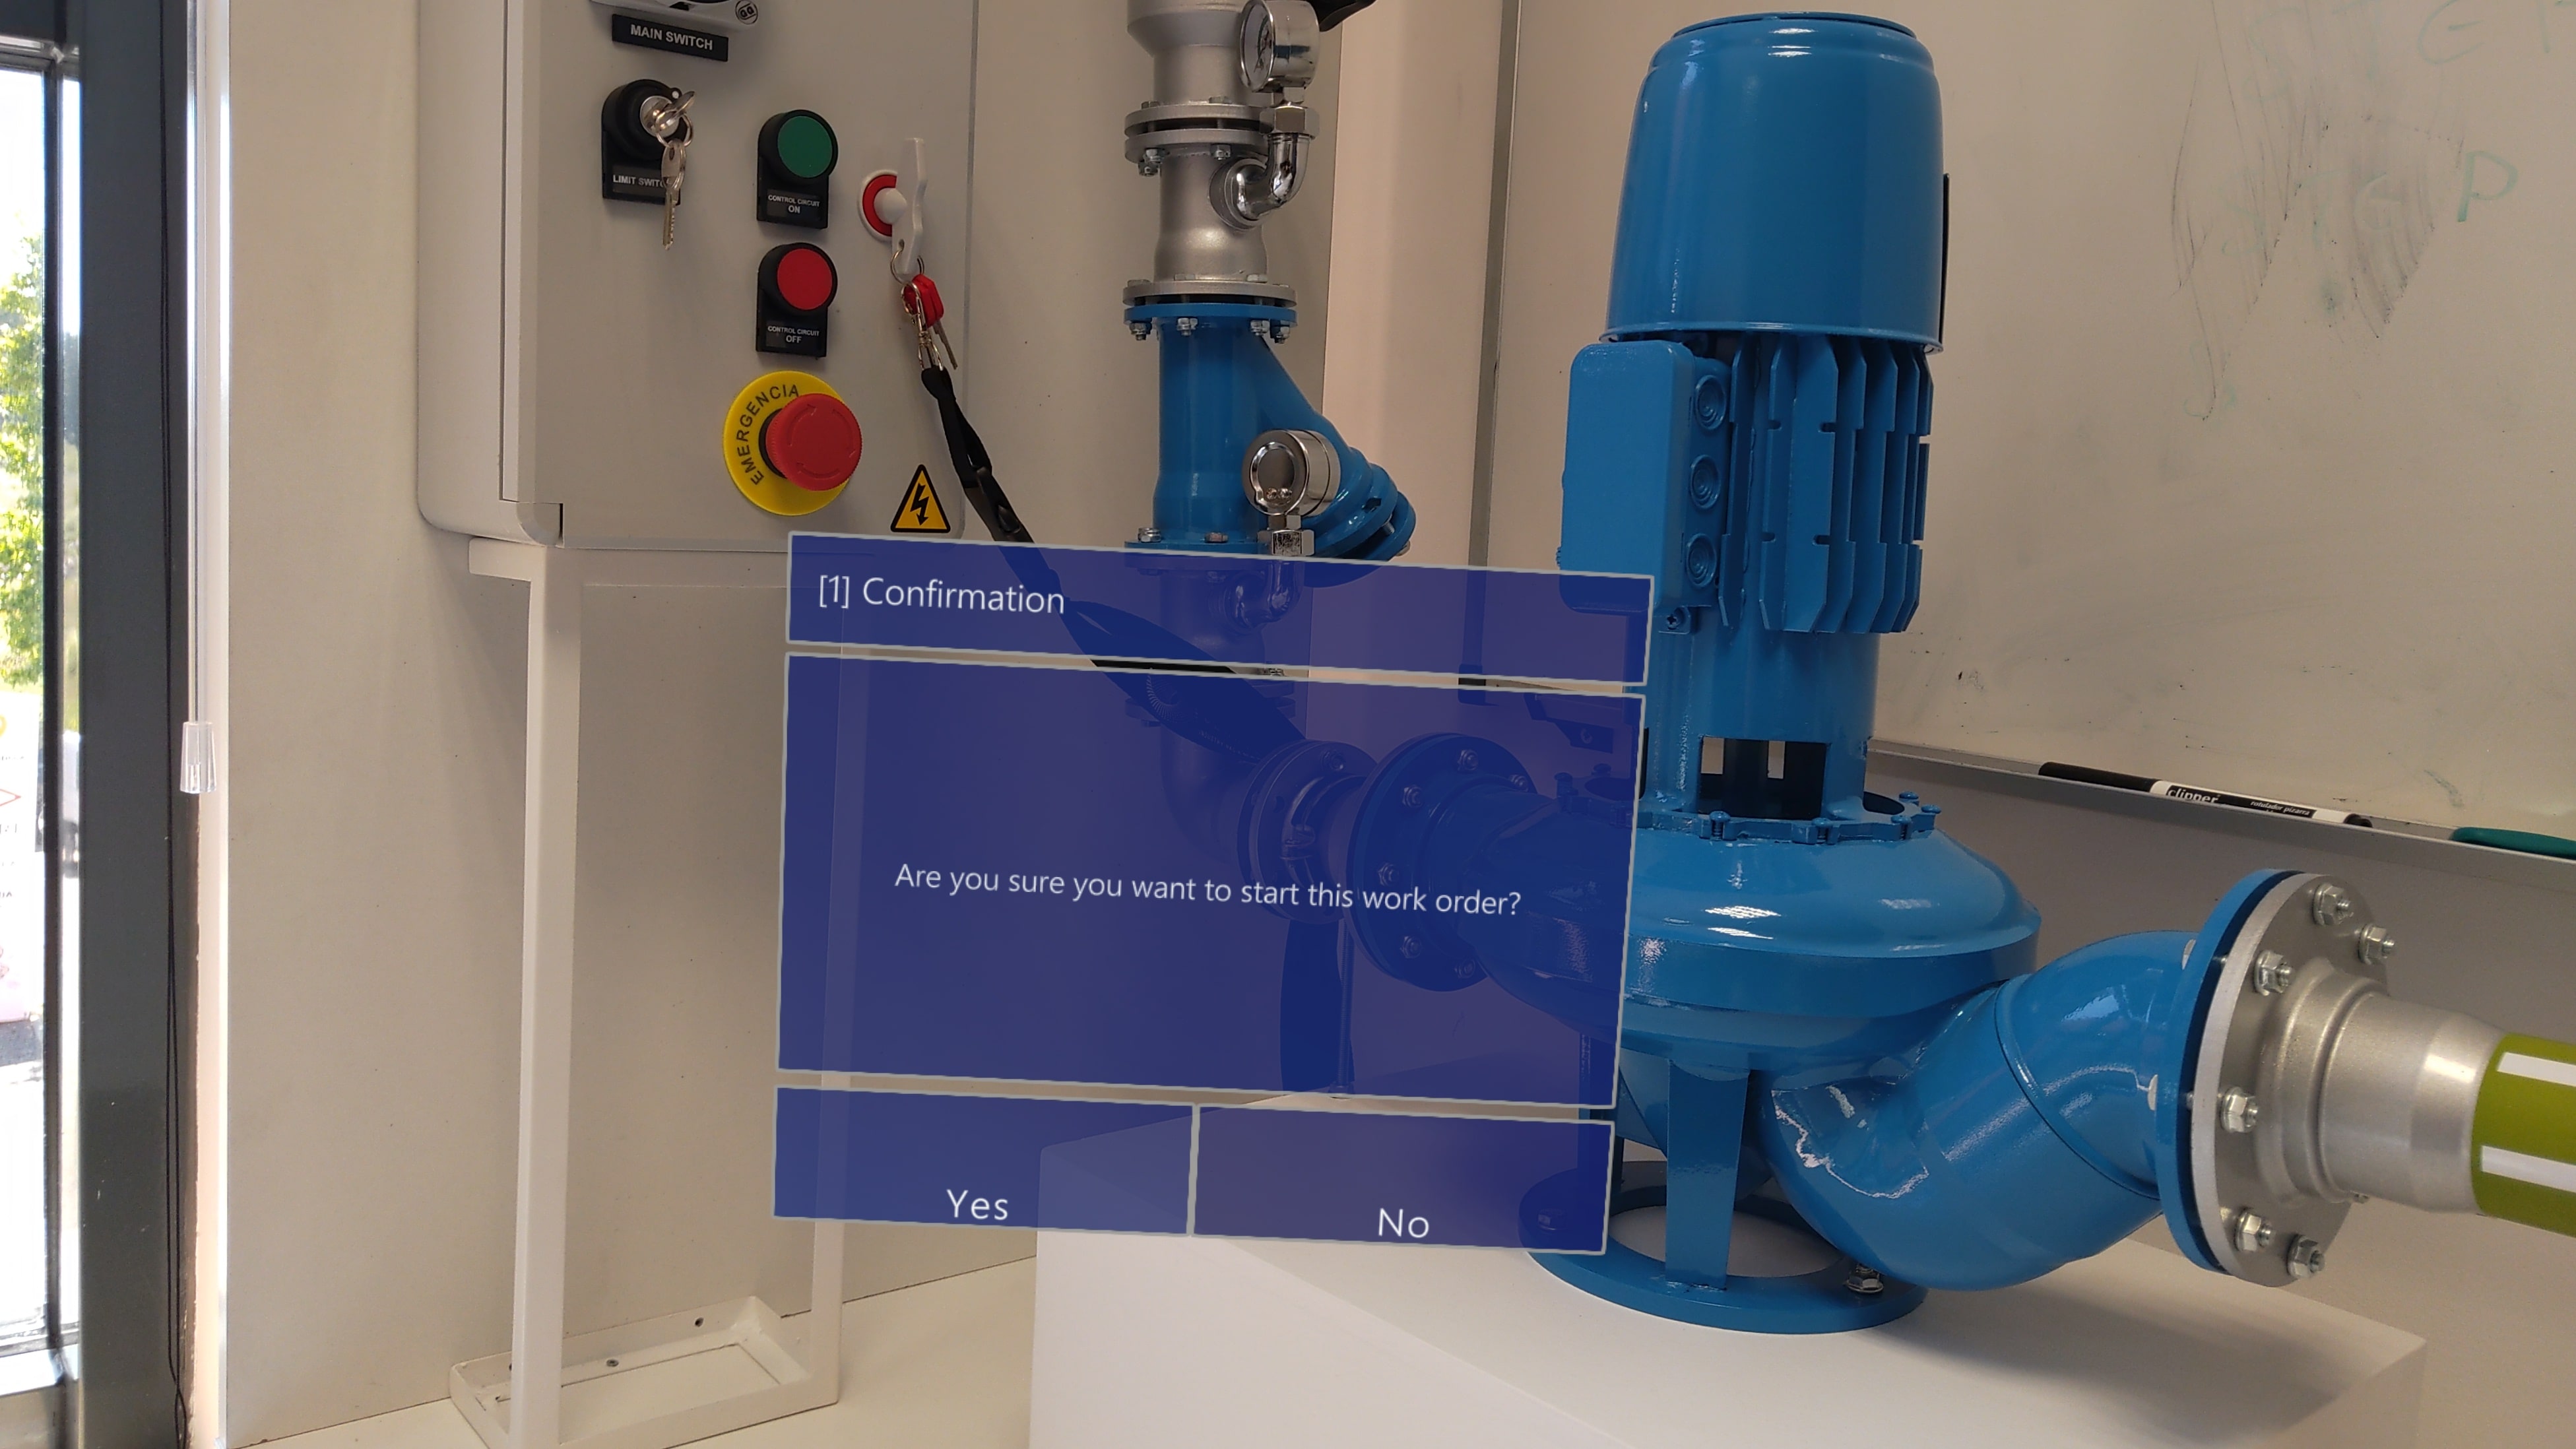
4. Click "Yes" if you are sure you want to initiate the work order.
5. Then click "Start" on the top right corner to start executing the work order.
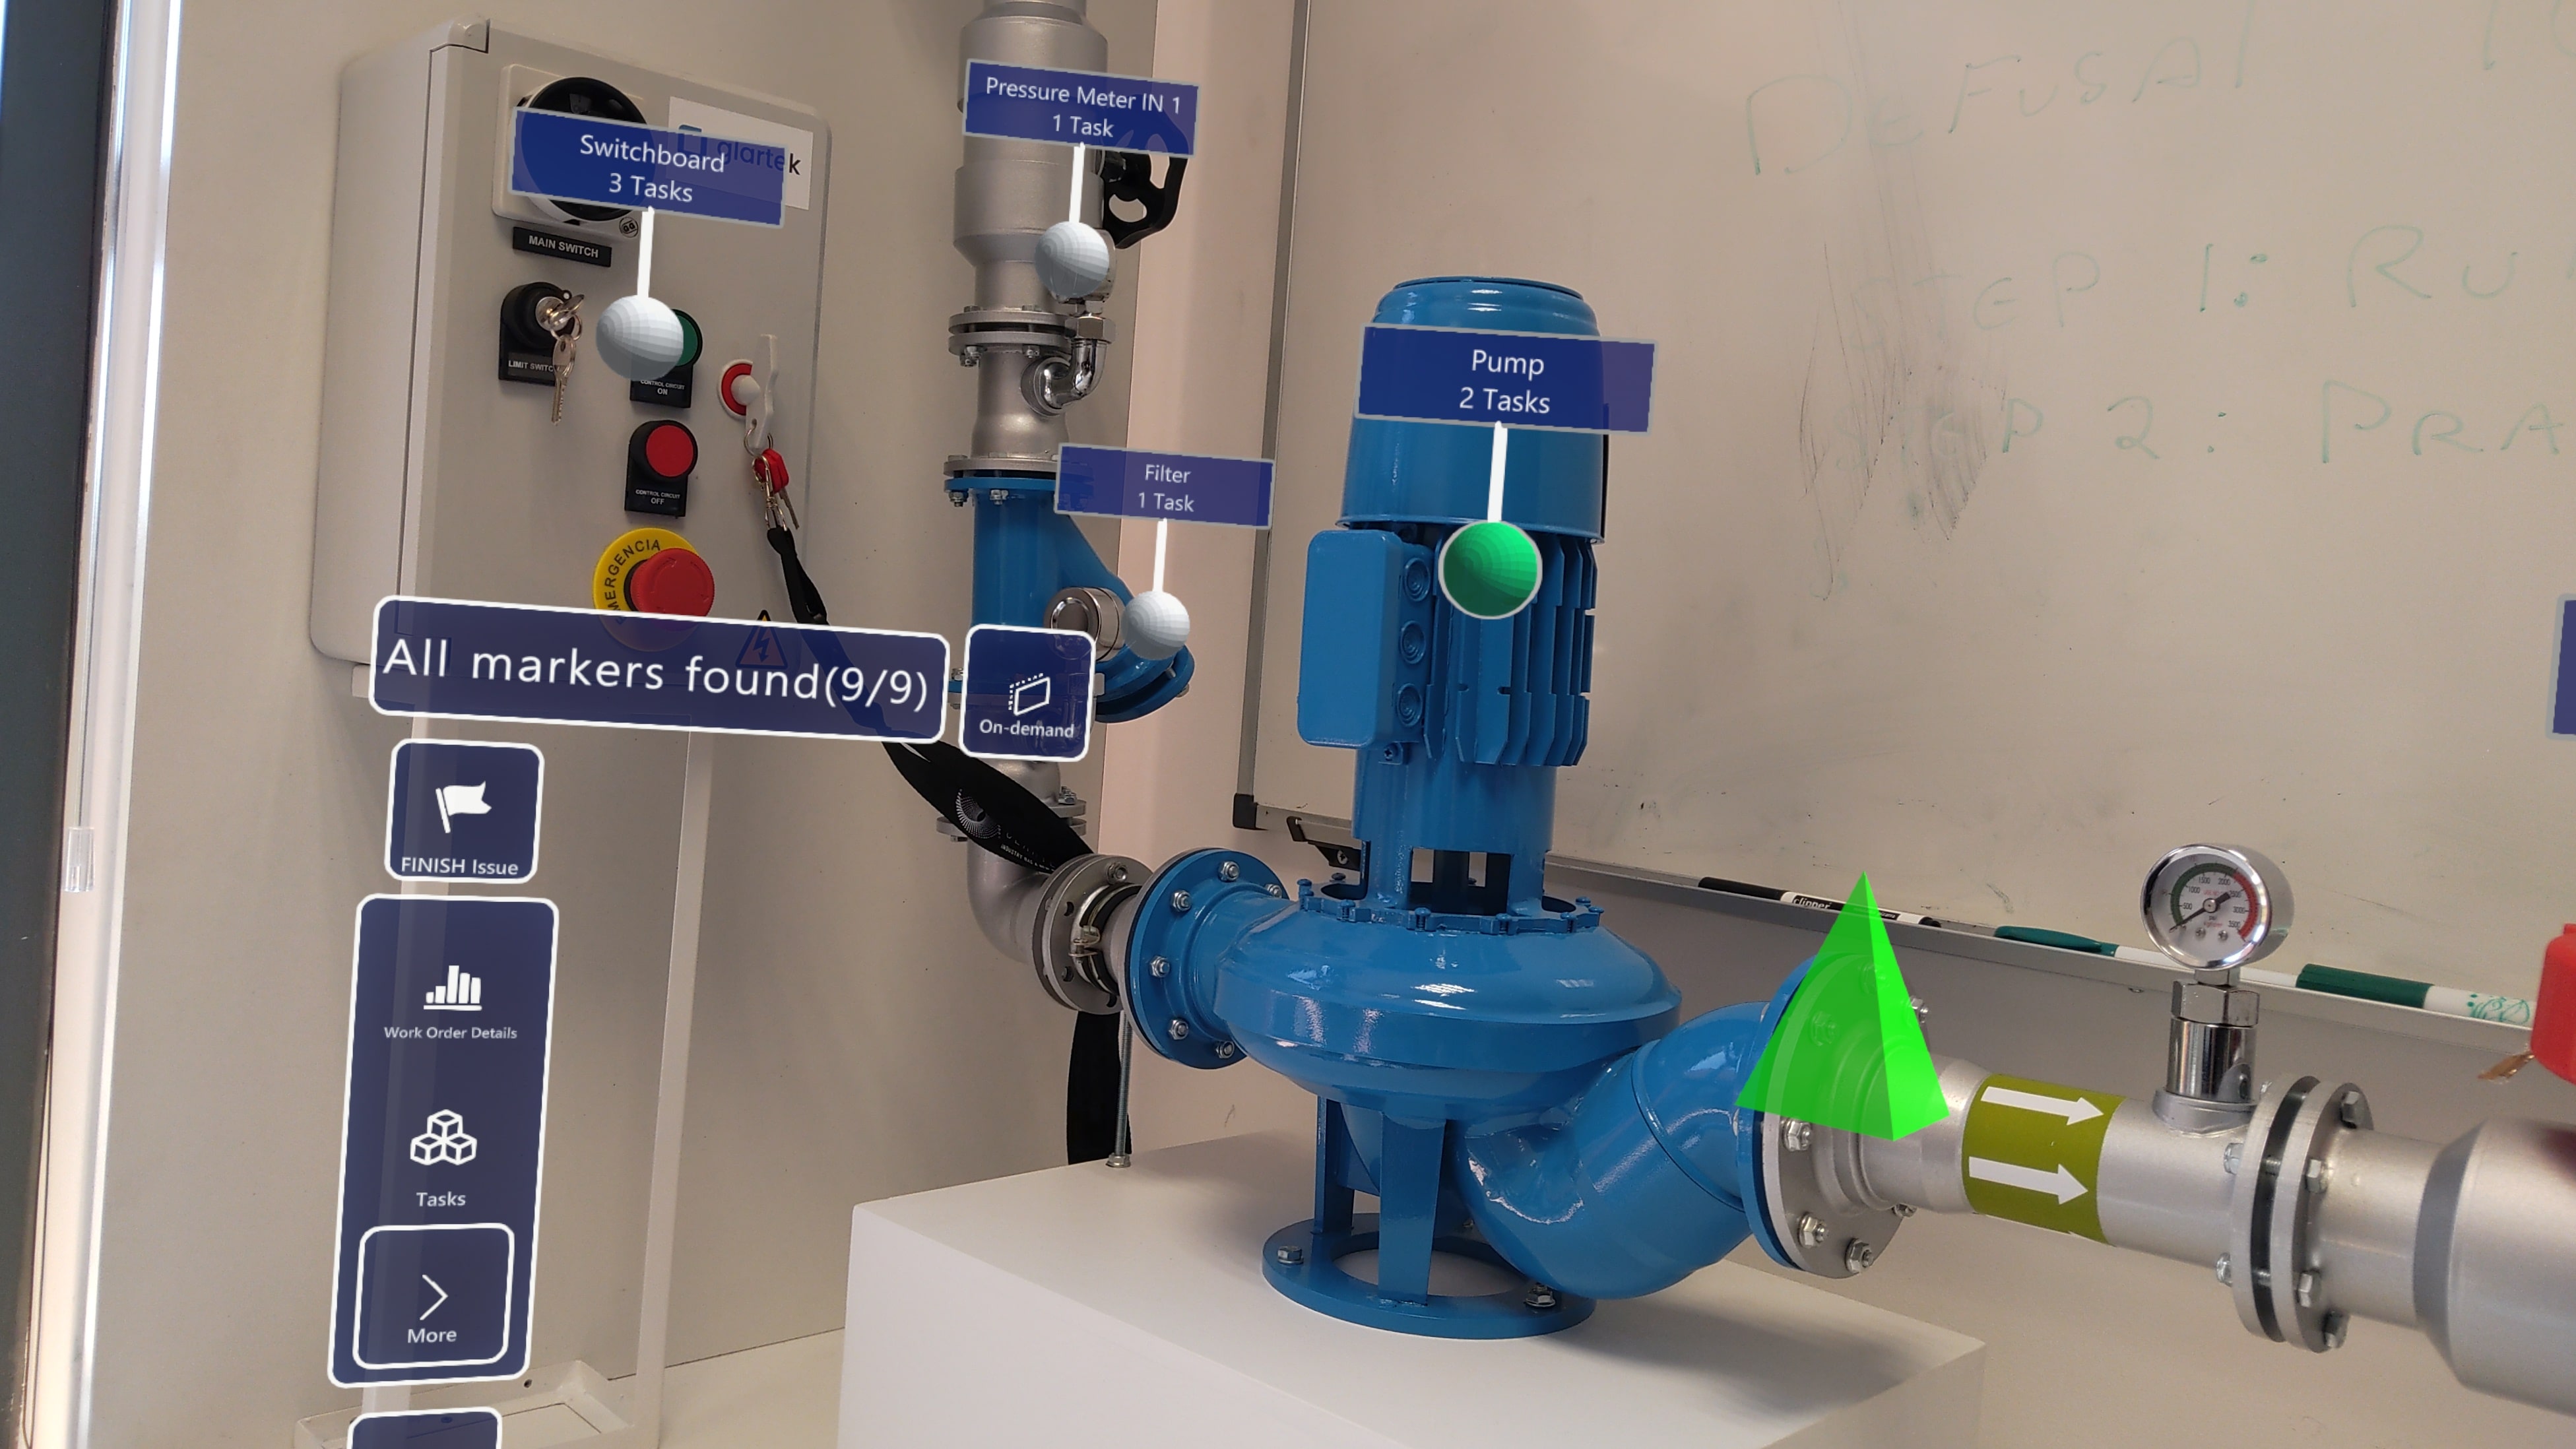
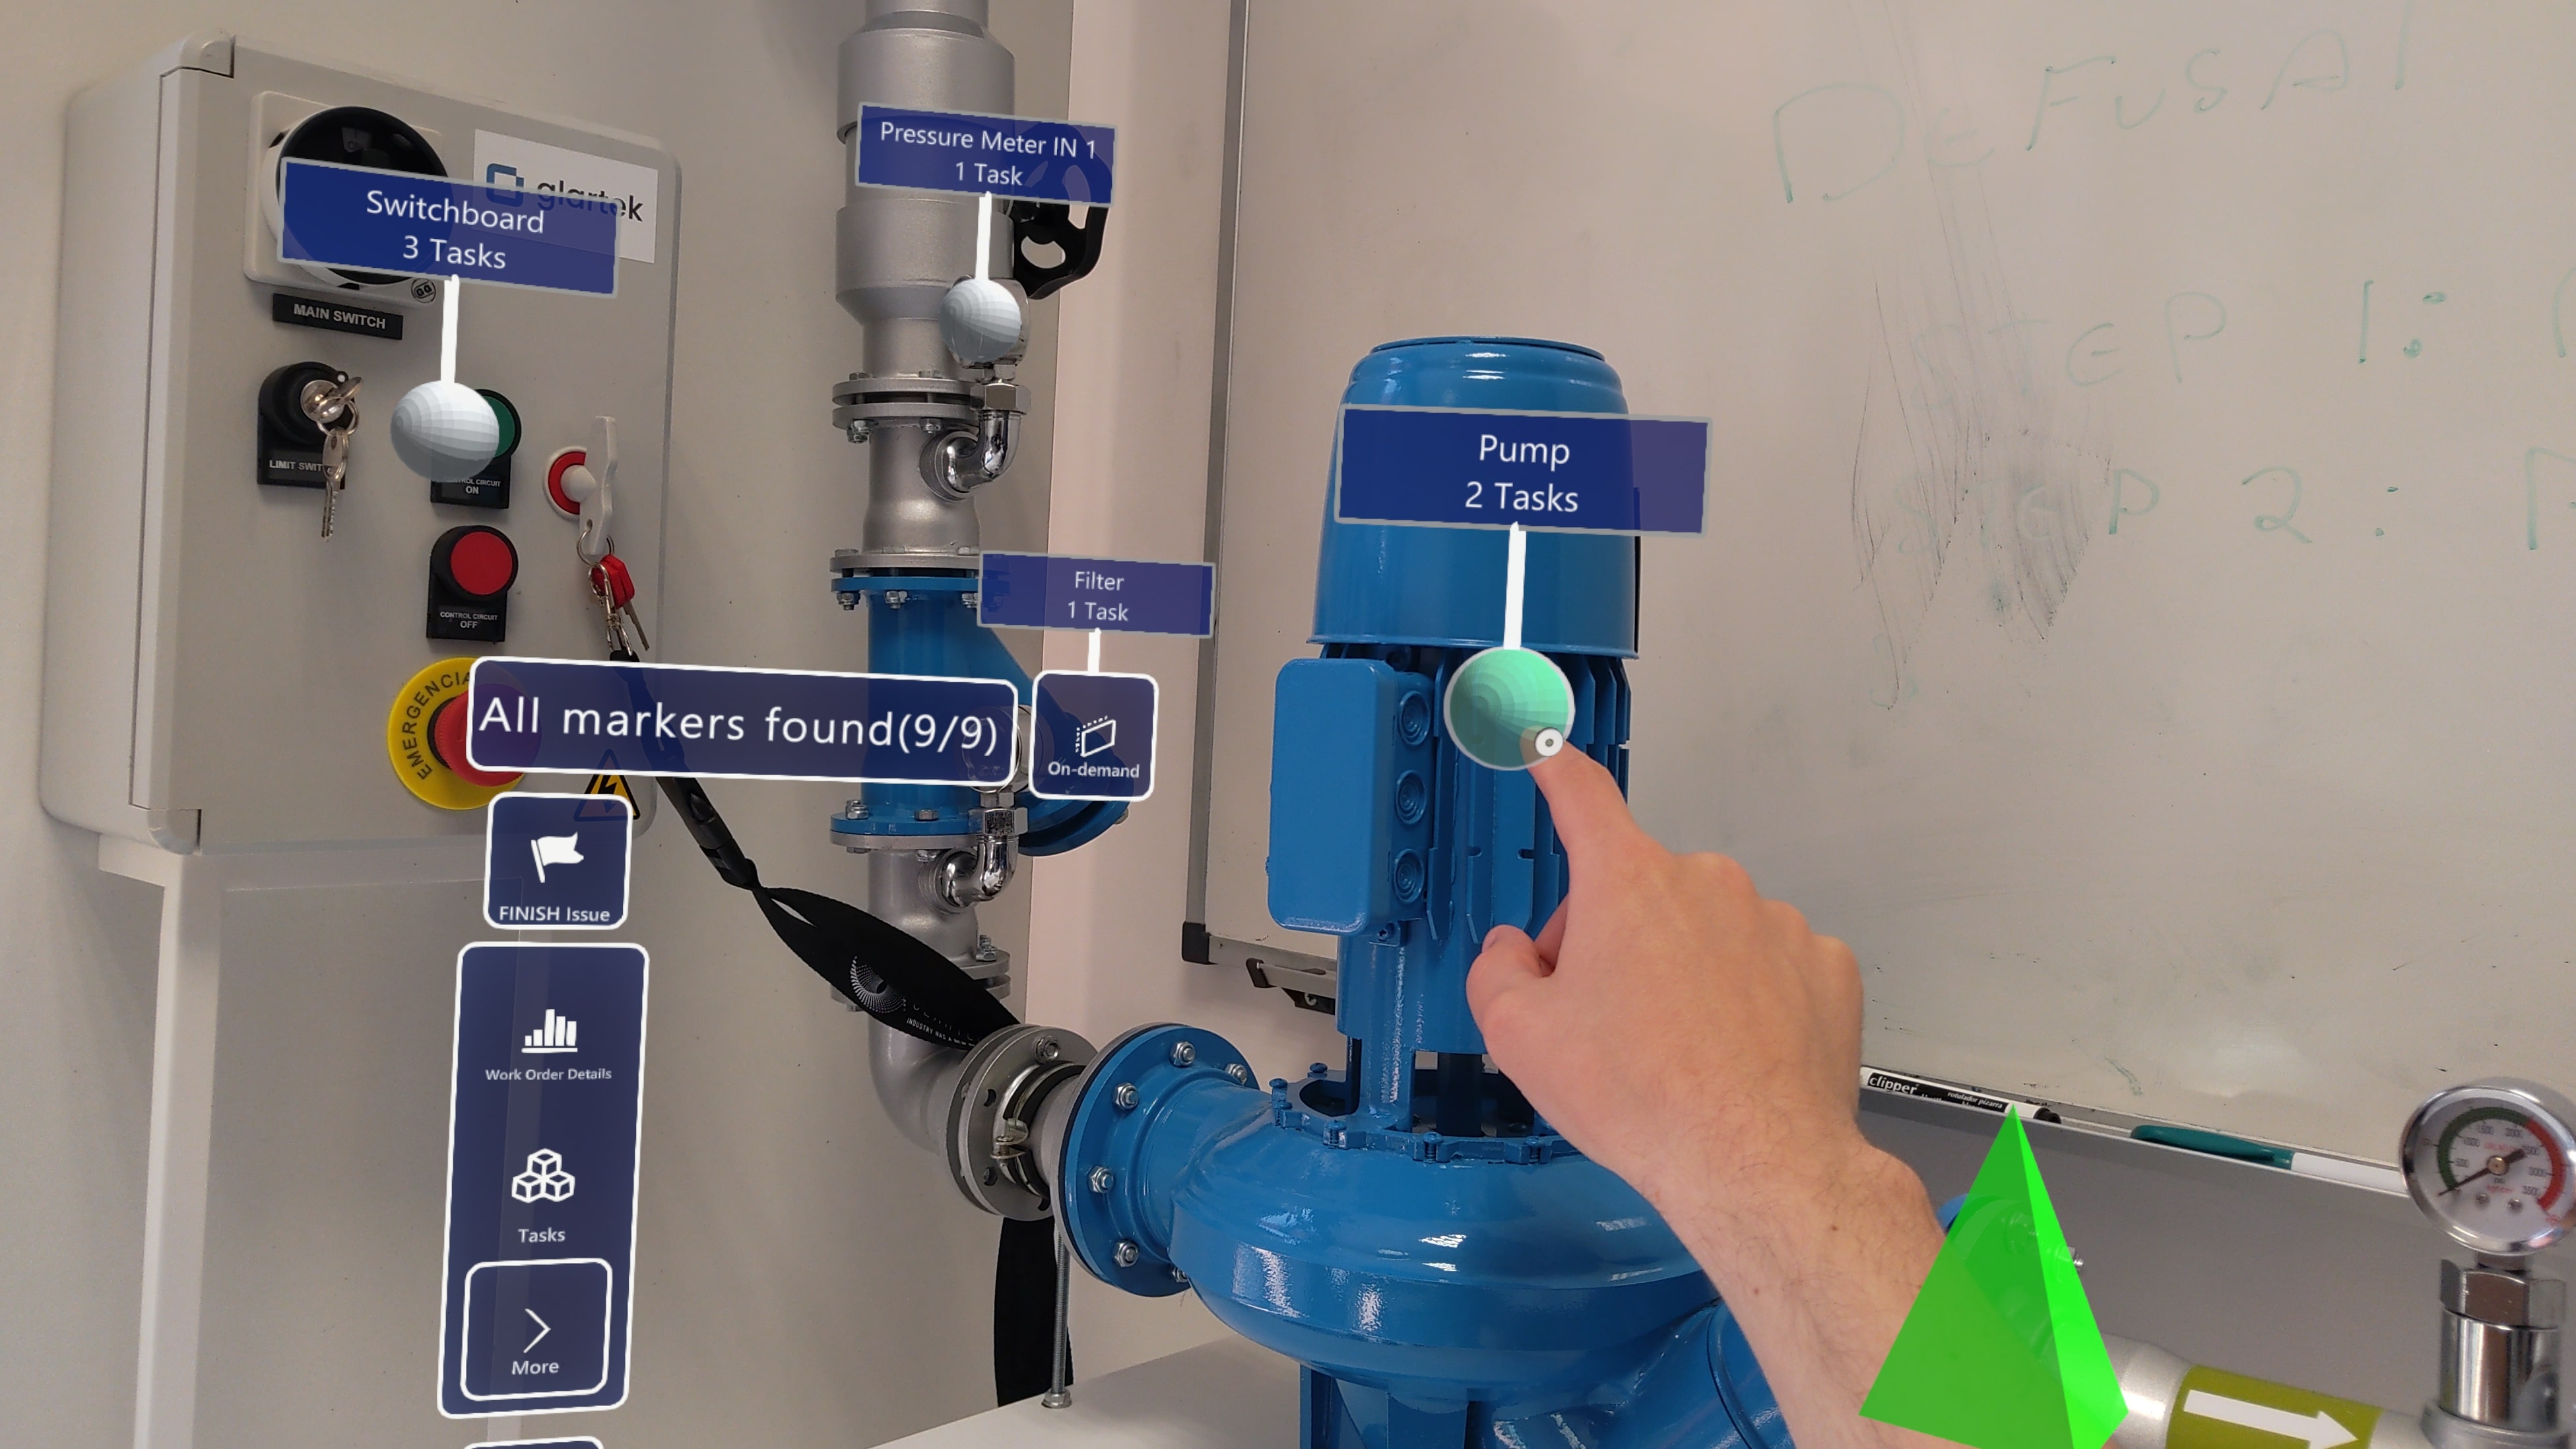
8. Follow the given instructions. When you have finished all the tasks on that marker, you will be guided to the next marker.
9. Once you have completed all the tasks in the work order, click on “Finish” to end the procedure.
If you have any question please contact technical support.