Web Application
Getting Started
Welcome to the Glartek Web application getting started guide. Here you will find information on the following topics:
| 1. Access |
| 2. Account & Log in |
| 3. Initial Configurations |
| 4. Create a Template |
| 5. Create a Work Order |
| 6. Execution |
1. Access
2. Account and Log In
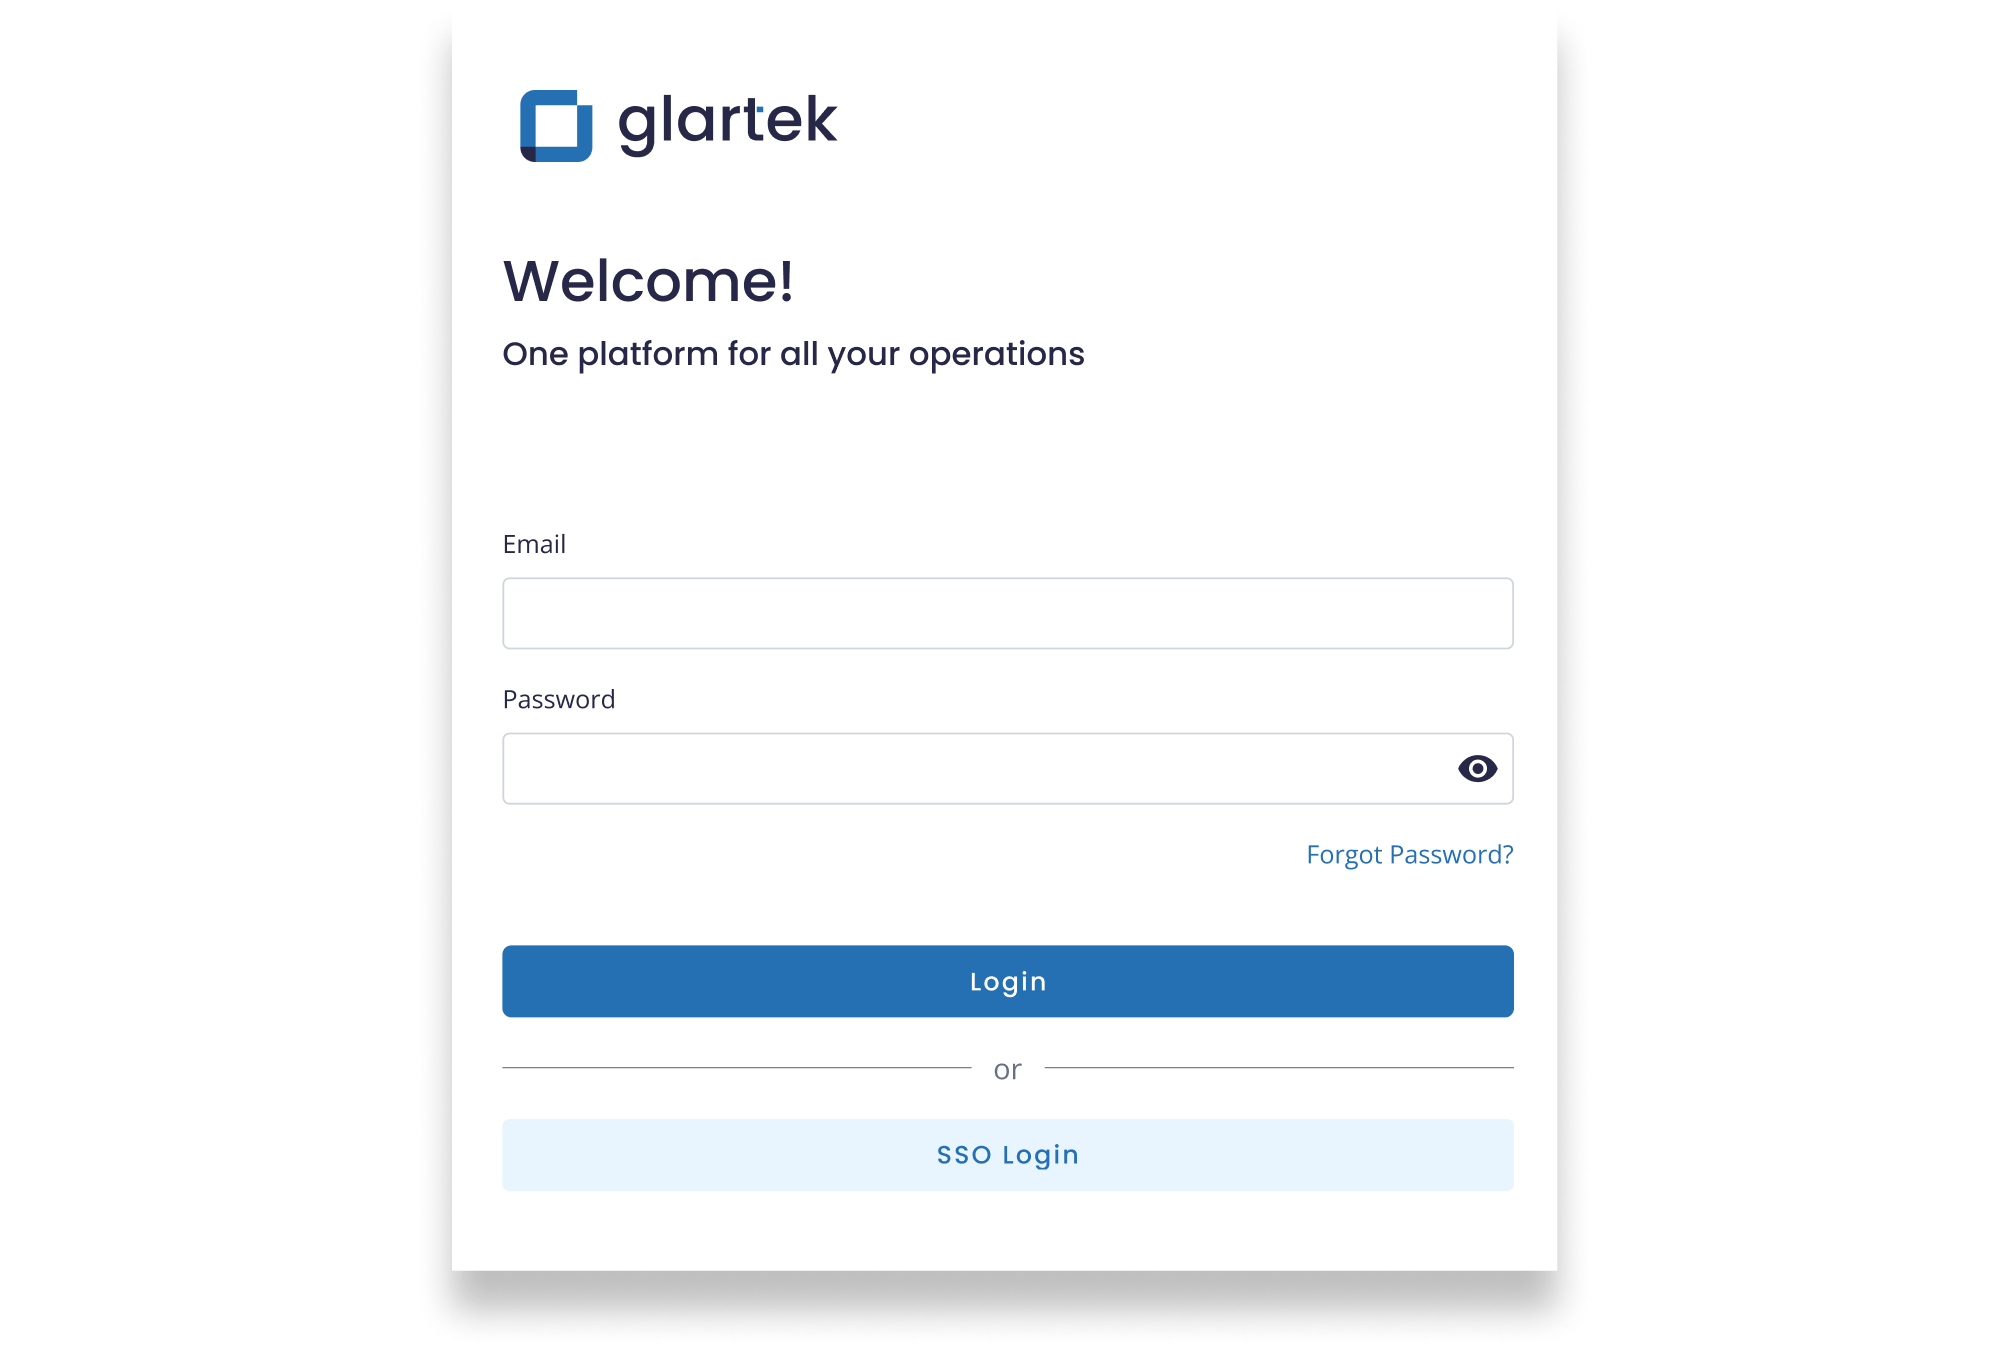
The user can choose between two different ways of logging in. These are:
- Manual login: This login is performed by registering the email or username, and respective password
- Log in via SSO: Centralized enterprise authentication.
Note: To take advantage of the SSO login option, the company must have enabled this option. Know how here.
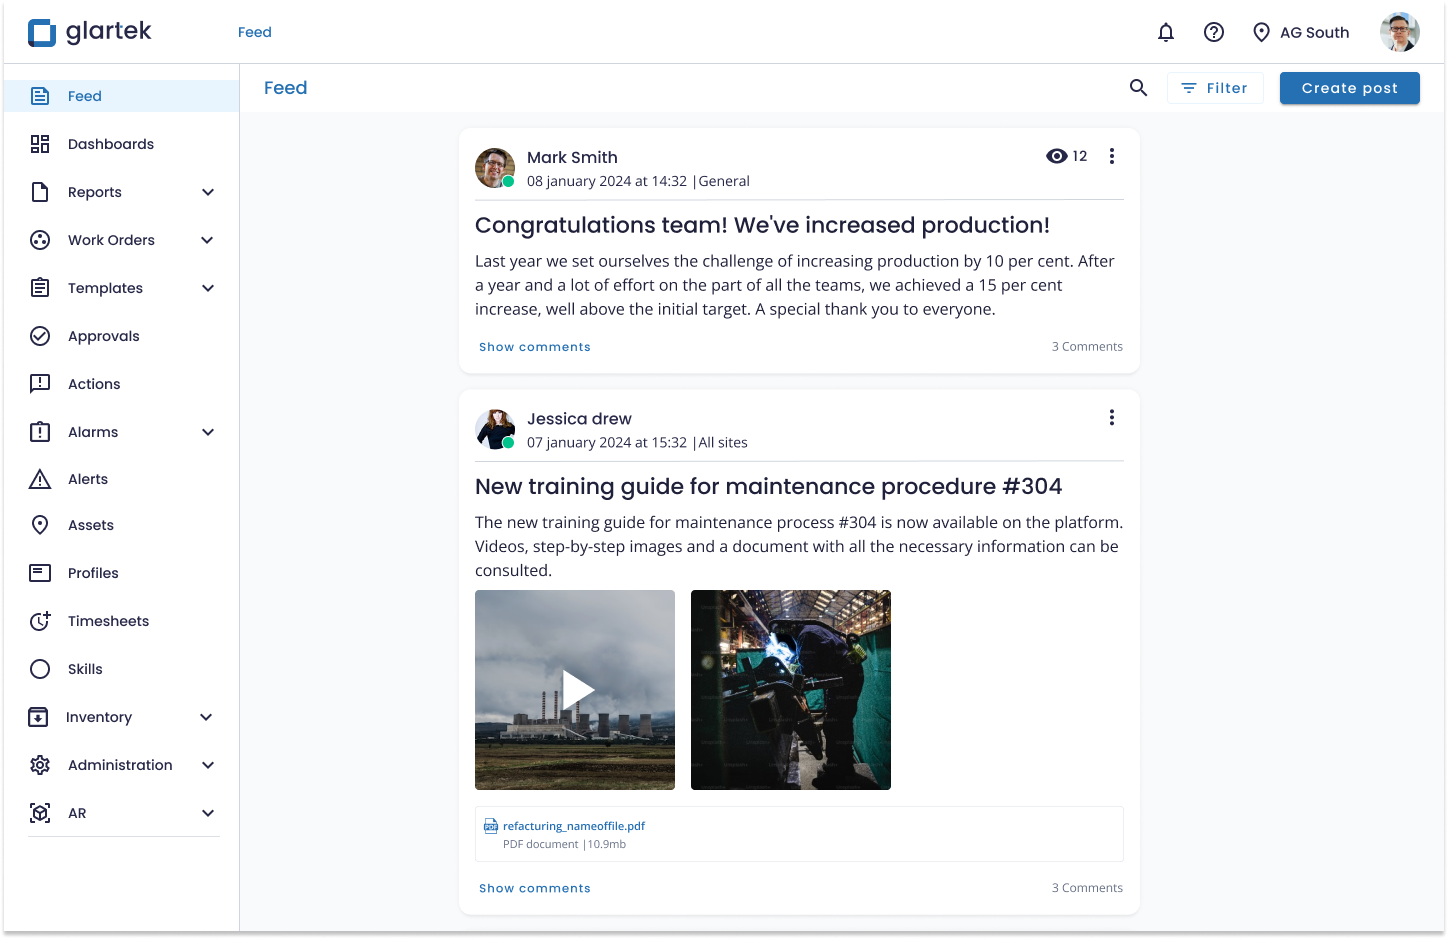
After entering your credentials, the platform homepage will be displayed with your profile already created.
3. Initial Configurations
3.1. Profile Settings
- Profile
- User information
- Security
- Preferences
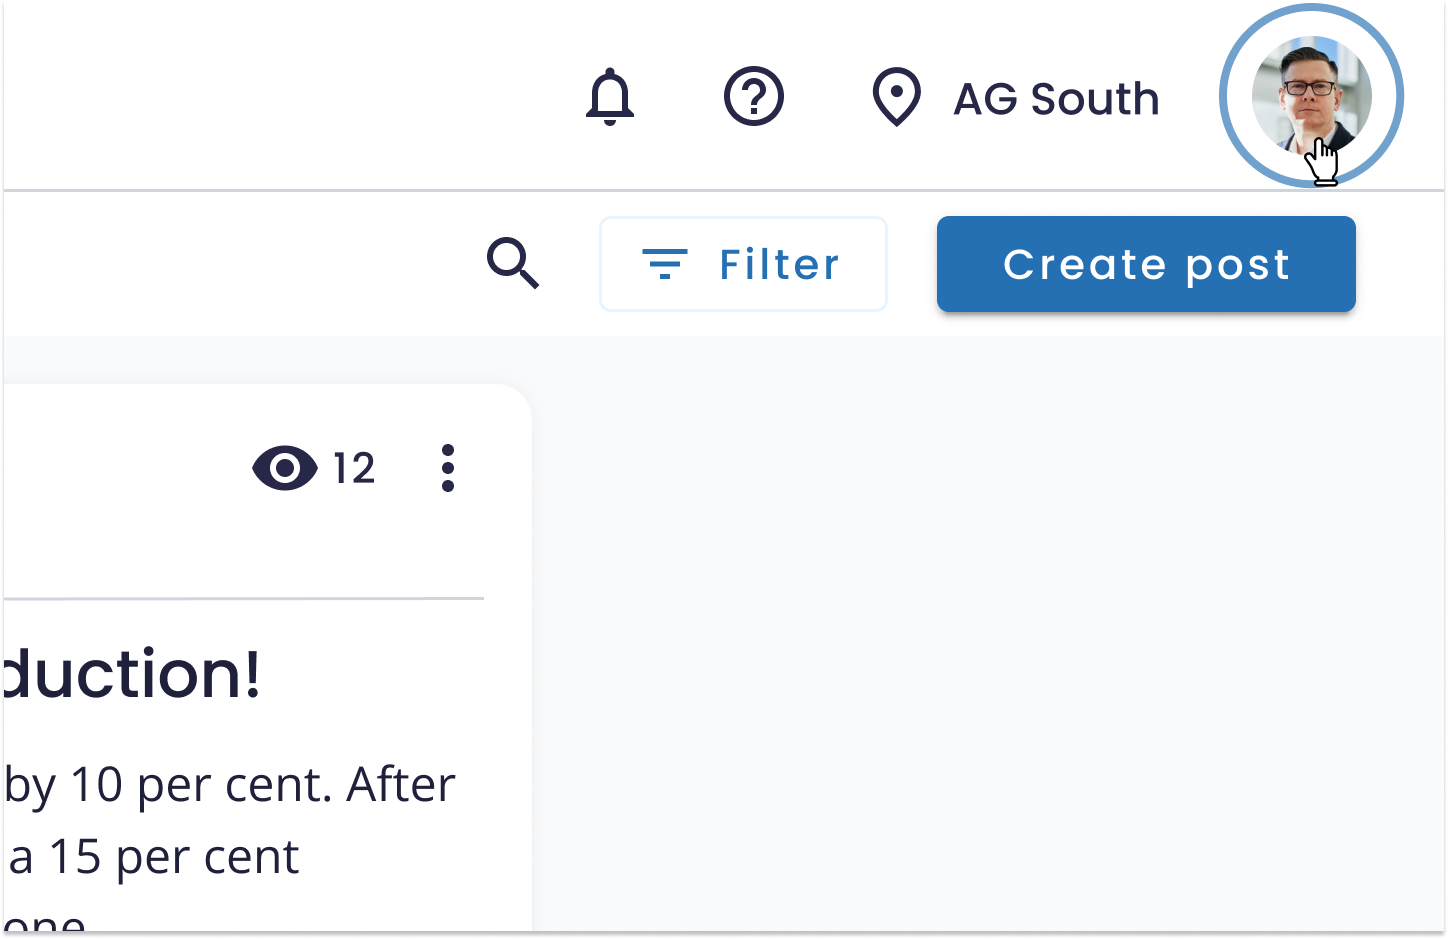
Access your user profile by clicking on the profile icon in the top right corner.
Go to the security section, insert your current password and create a new one.

You can also edit other information related to your profile. Find out more here.
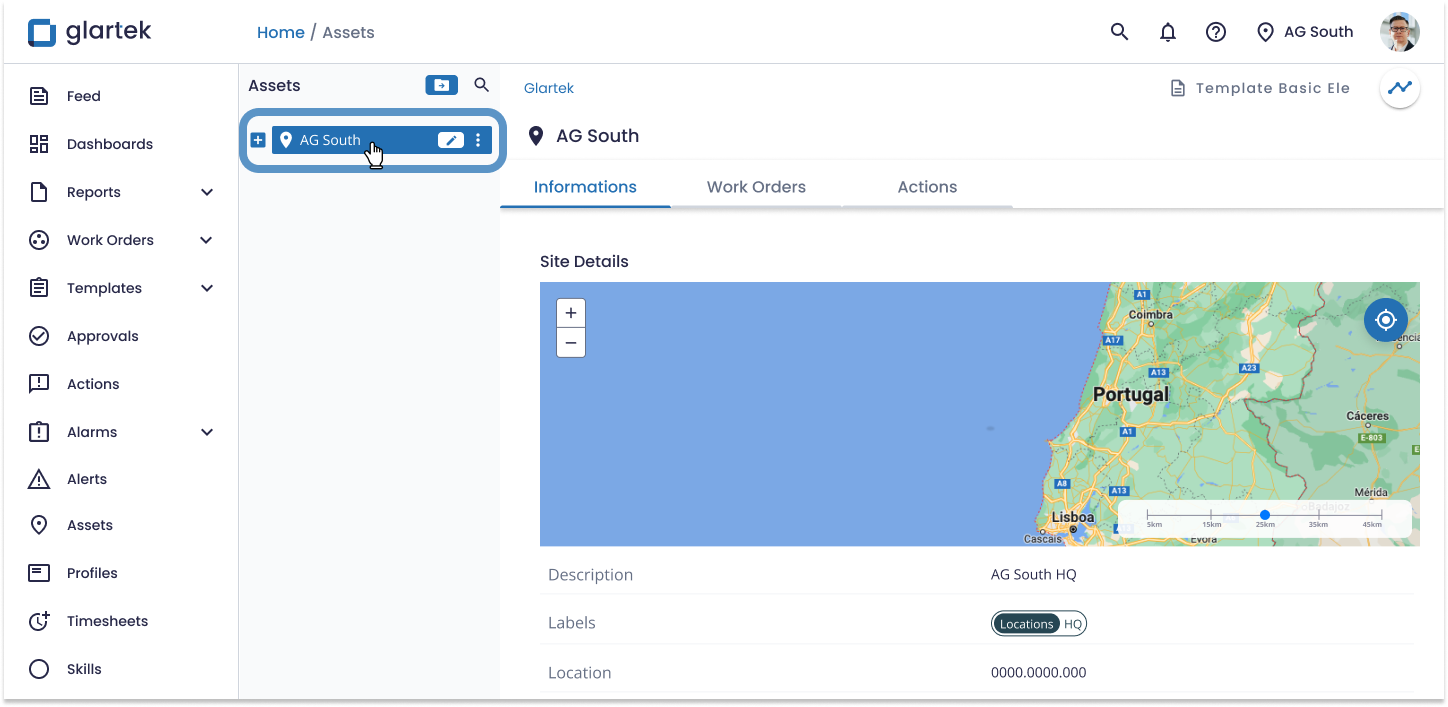
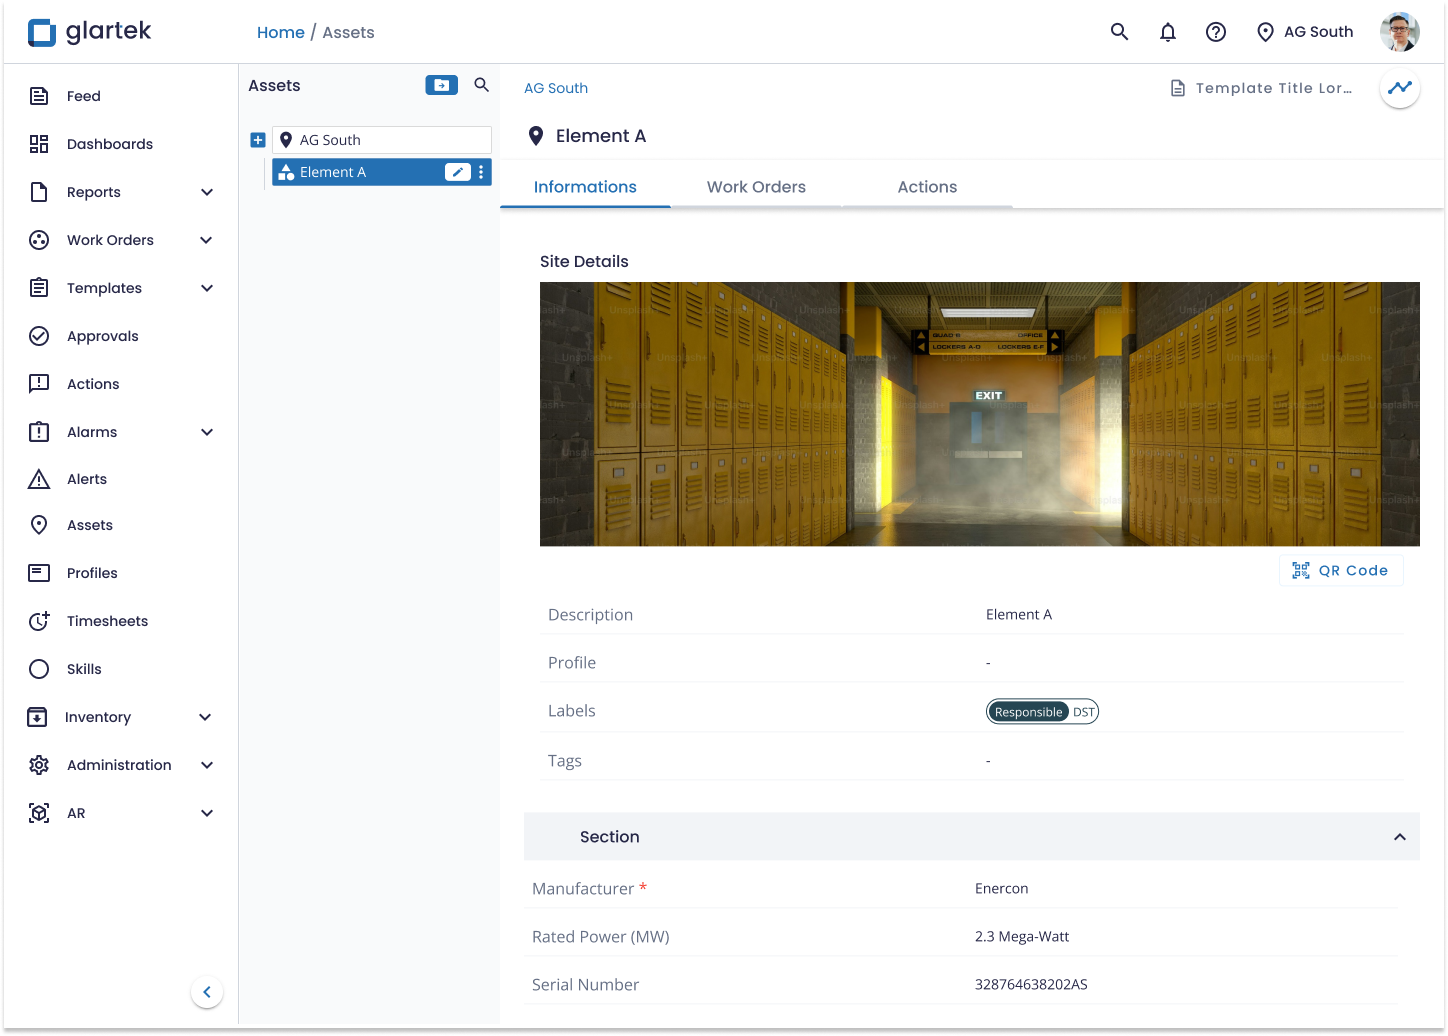
3.2. Create Asset Tree
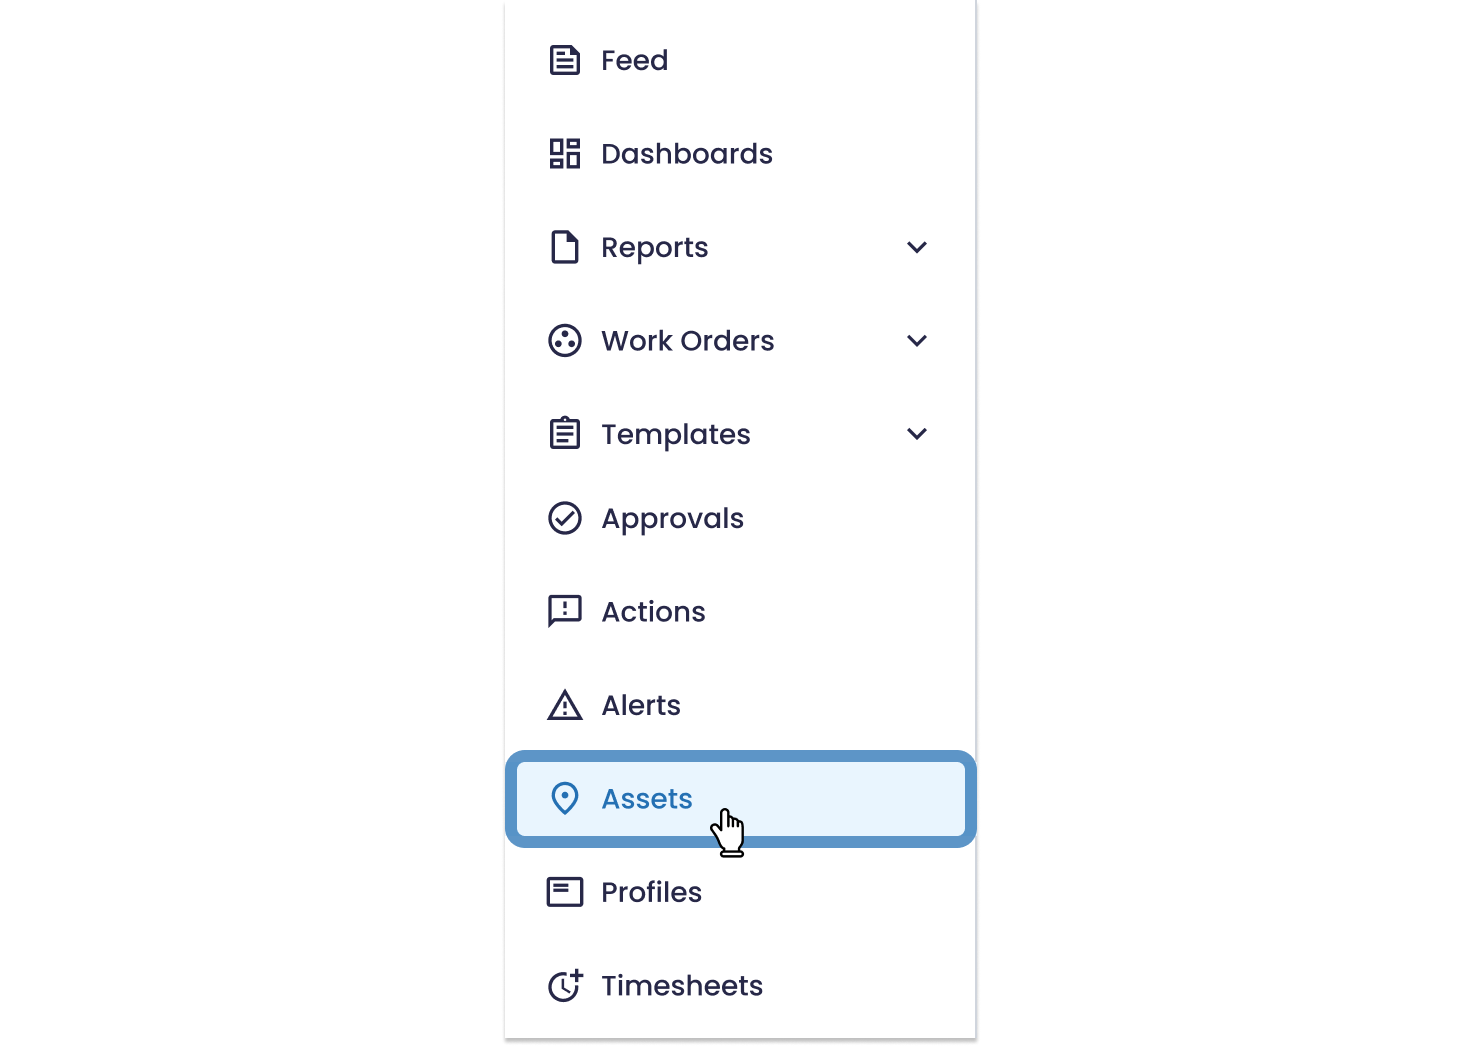
If you are one of the first users, you may need to create an asset tree.
To do that click on “Assets” on the main menu.
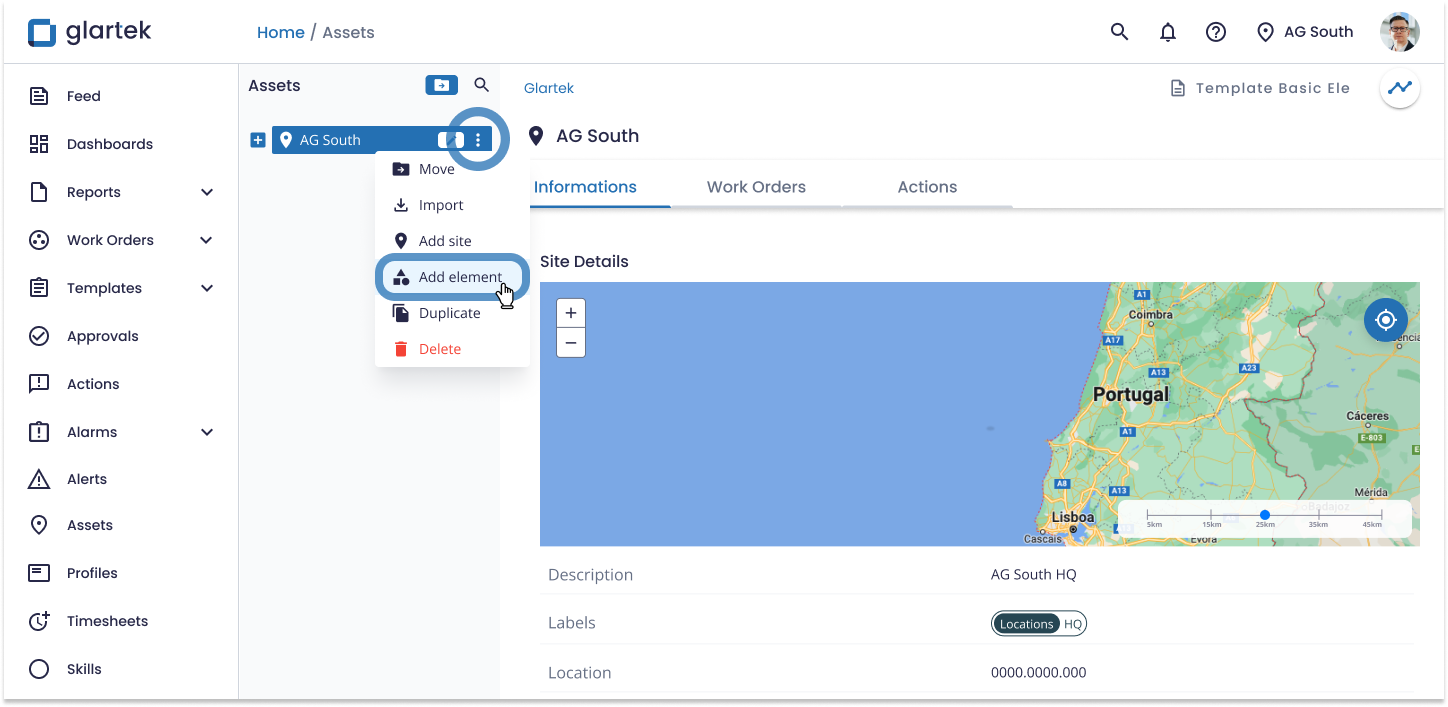
Note: An Element refers to a specific object, component, asset, or section within a specific location (or in this case, within a specific Site).
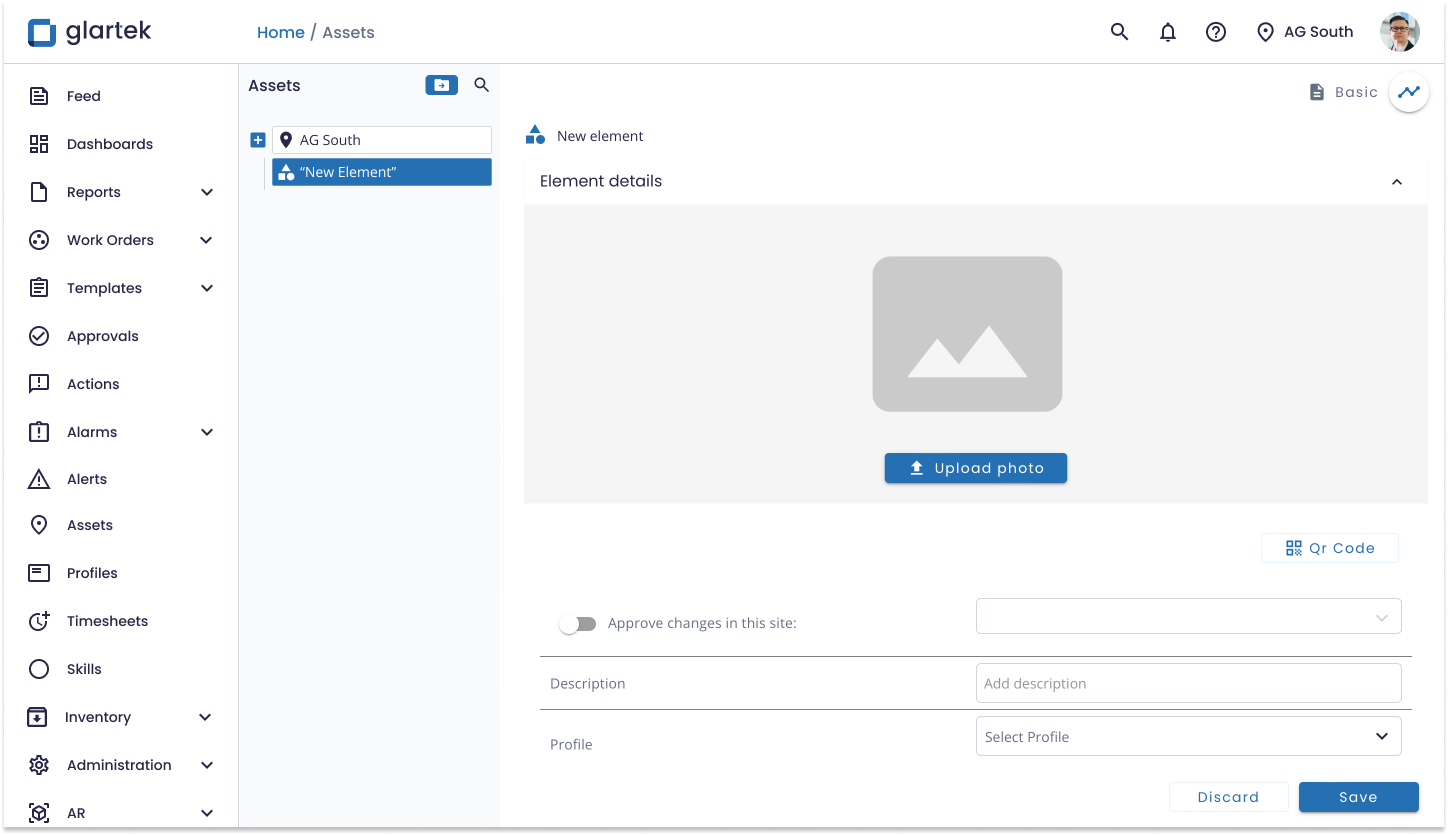
After that, the new element profile will appear under your site, where it can be consulted. When you have several elements associated with a site, you will have built your asset tree.
4. Create a Template
4.1. Create New Template
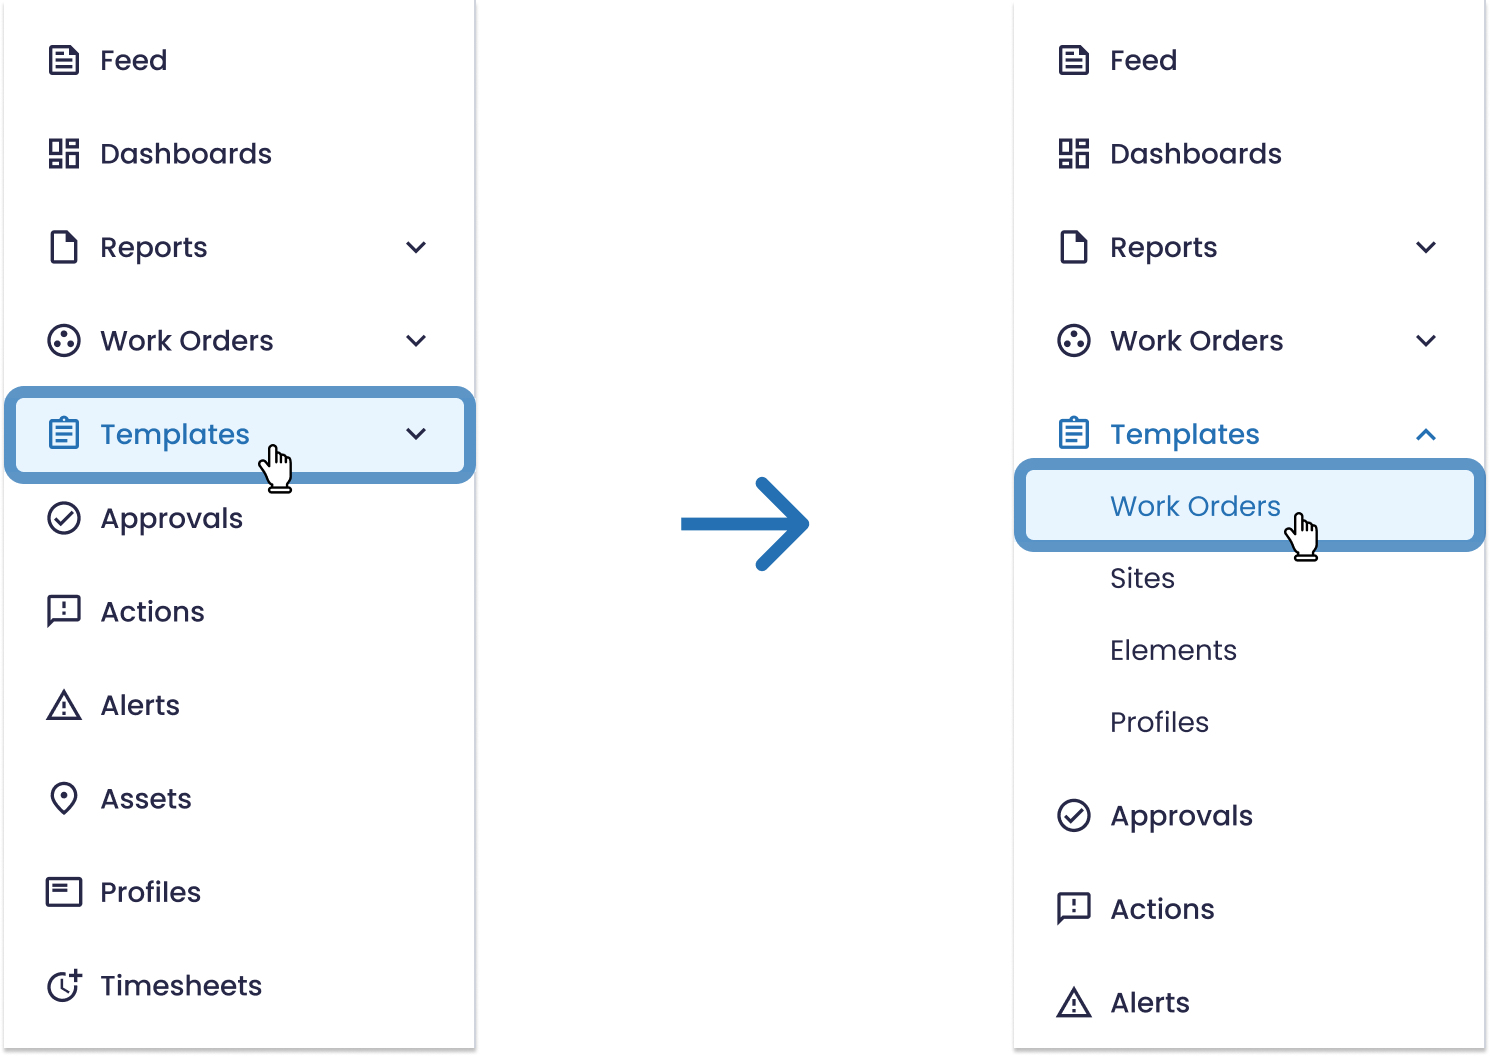
Go to the left main menu and select the "Templates" tab. Then, inside that category choose "Work Orders".
To create a new template you must first create a folder by clicking on the "New Folder" icon.
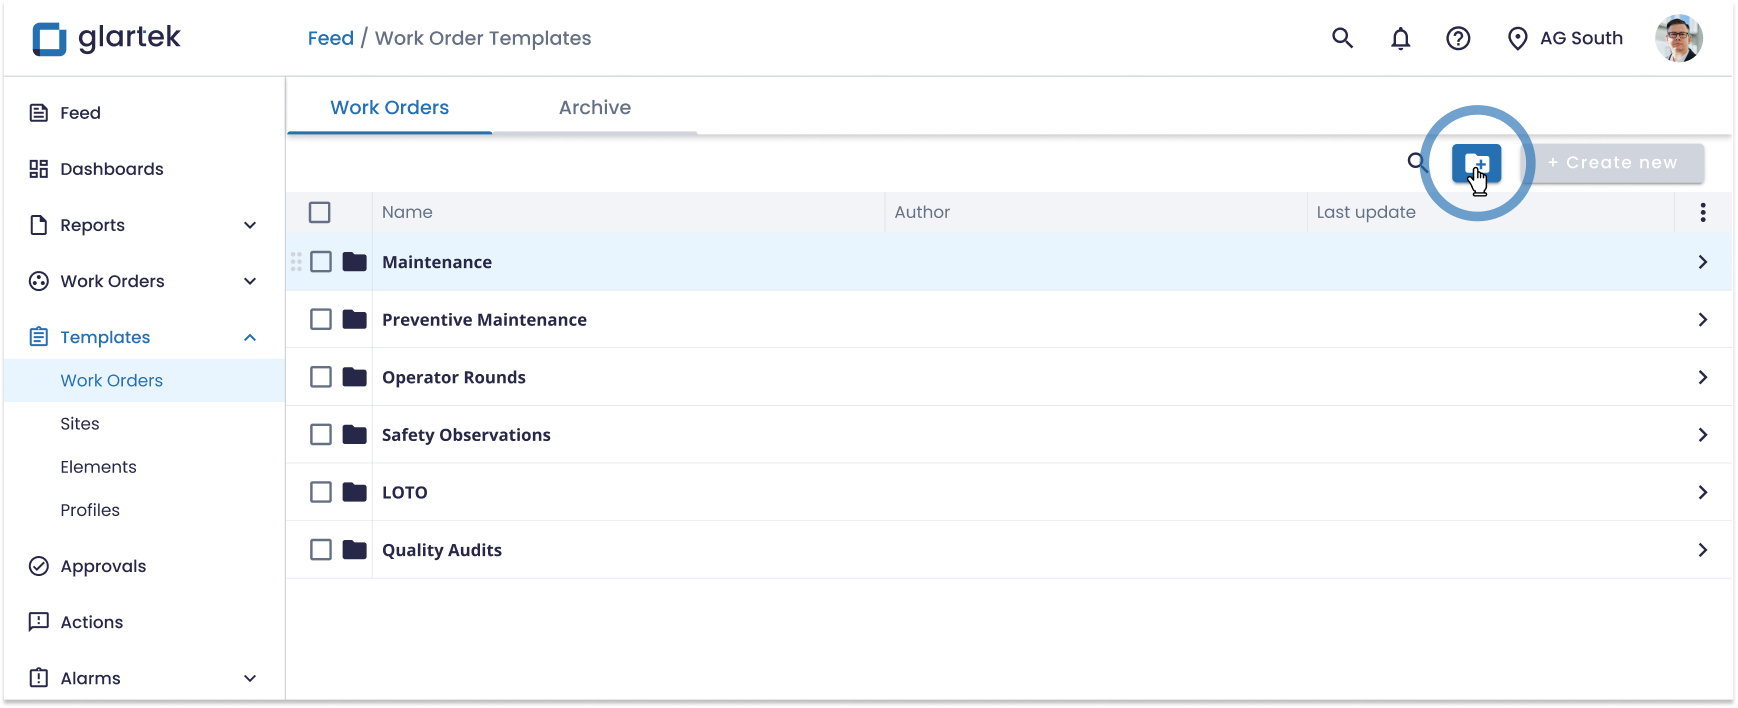

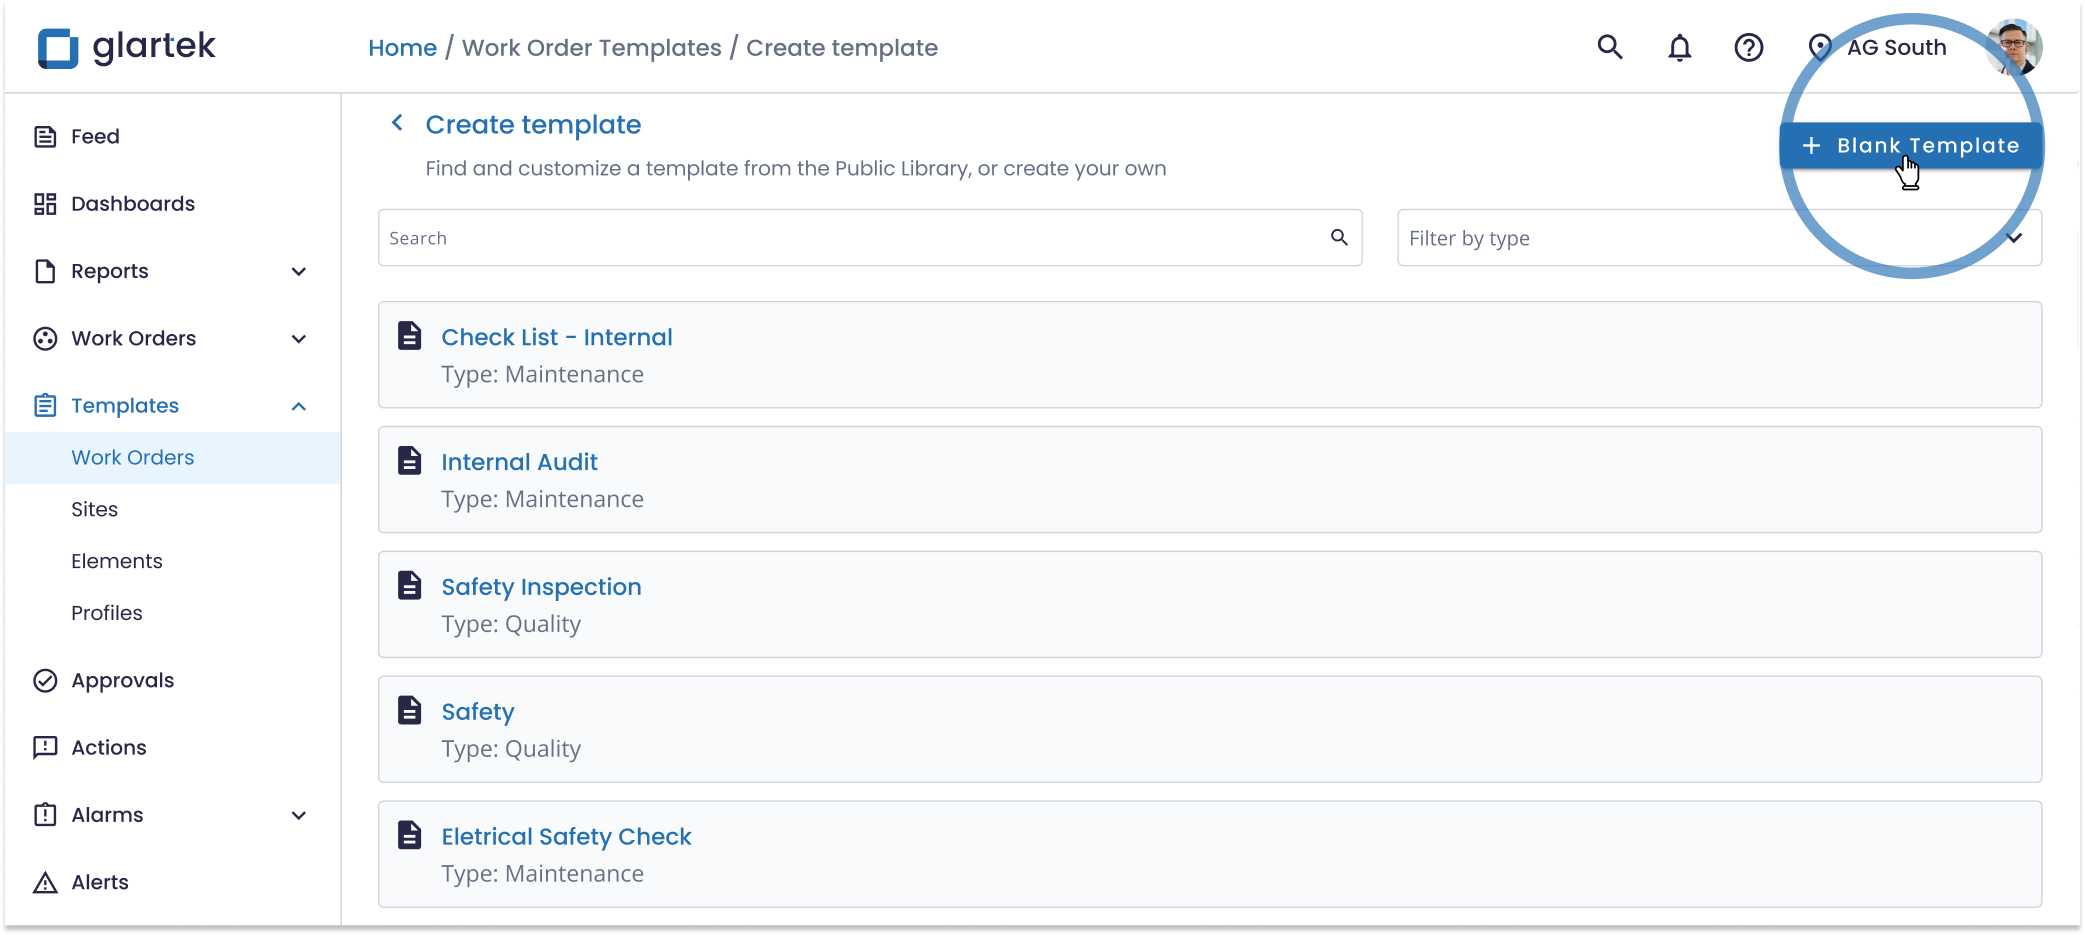
After this, a template library will appear. Here you can choose a preset template to edit or create a new one from scratch.
4.2. Edit New Template
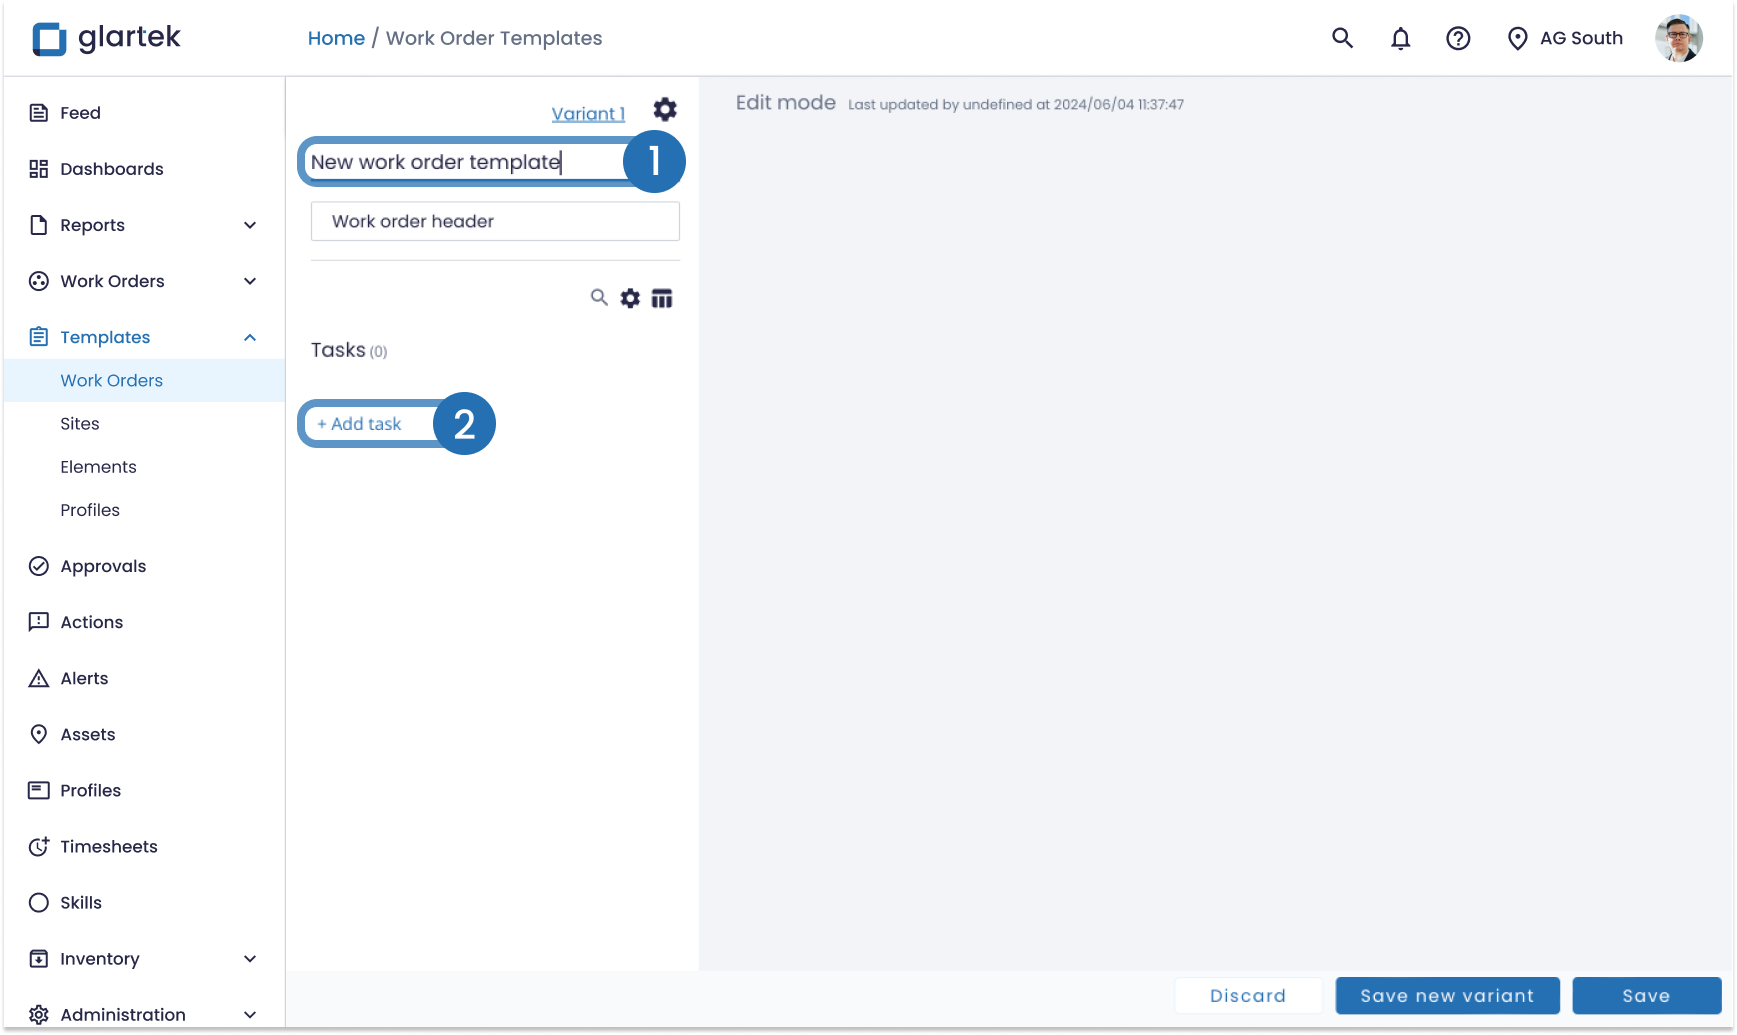
After creating a new template, you can edit the name, create tasks, add questions and instructions, and configure other settings of your template.
- Start by giving a name to the template
- Create the tasks you want to include in the procedure template
3. Add a title to each task
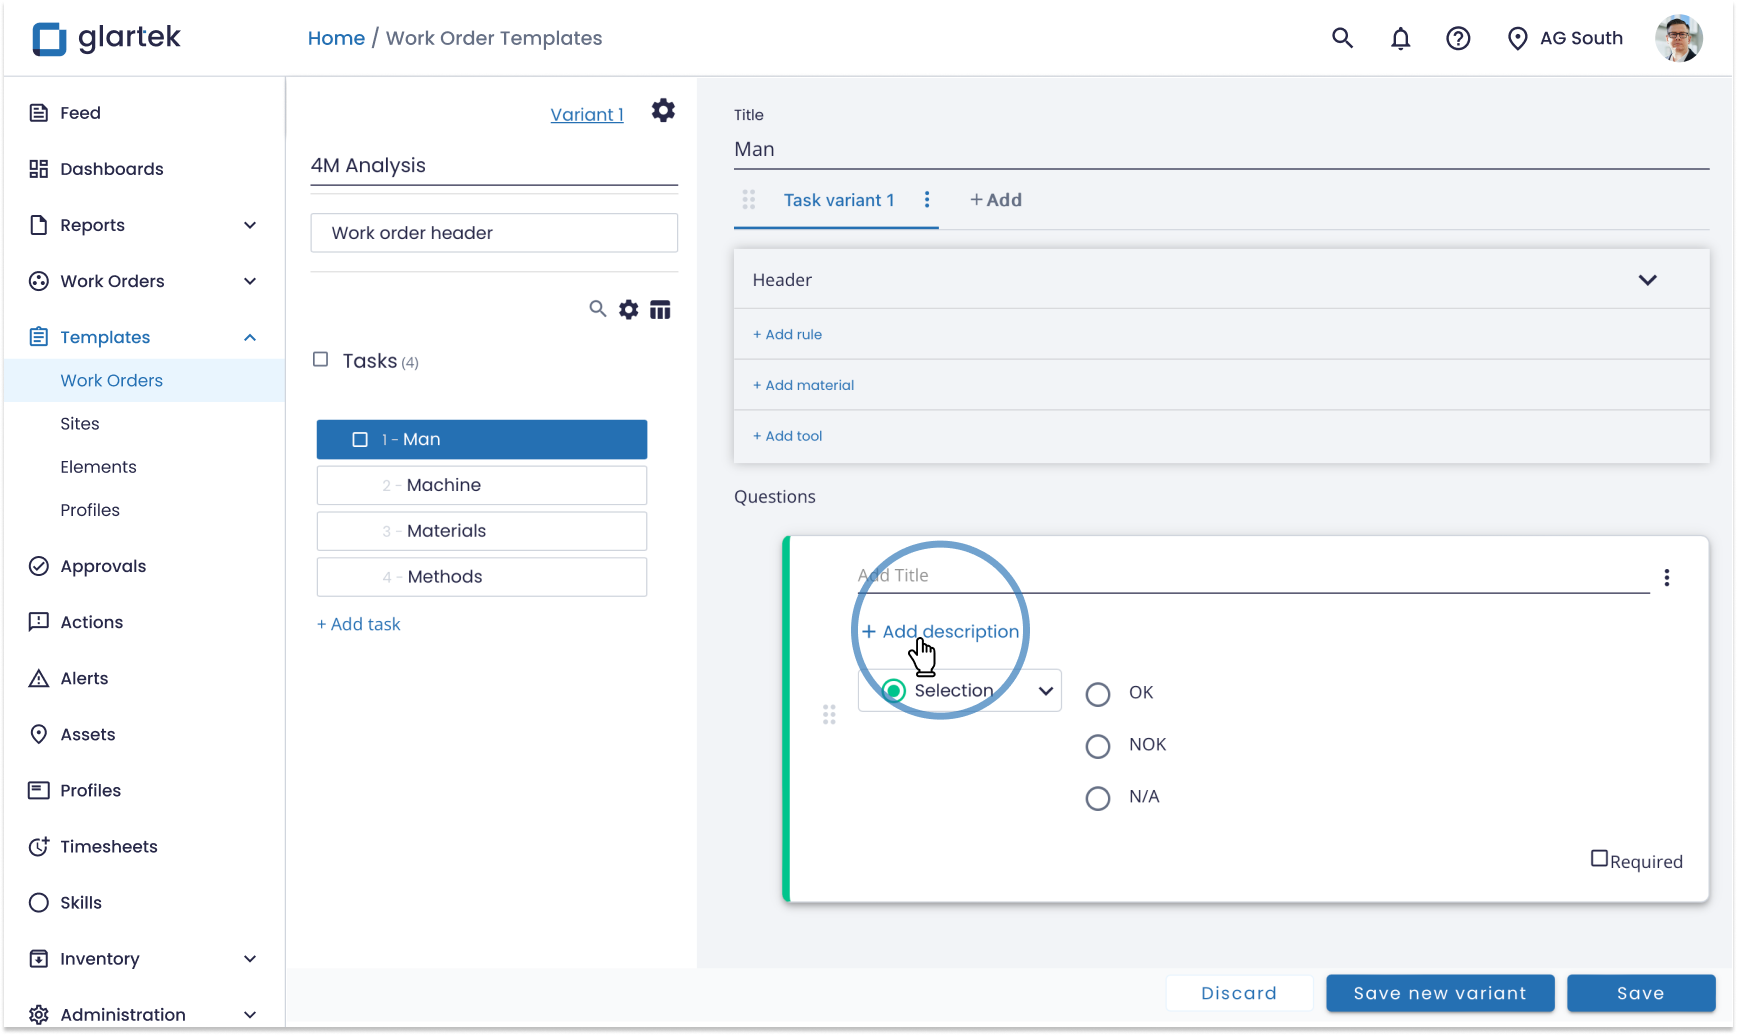
4. Click on the green "+" icon to add steps with questions and instructions to your task
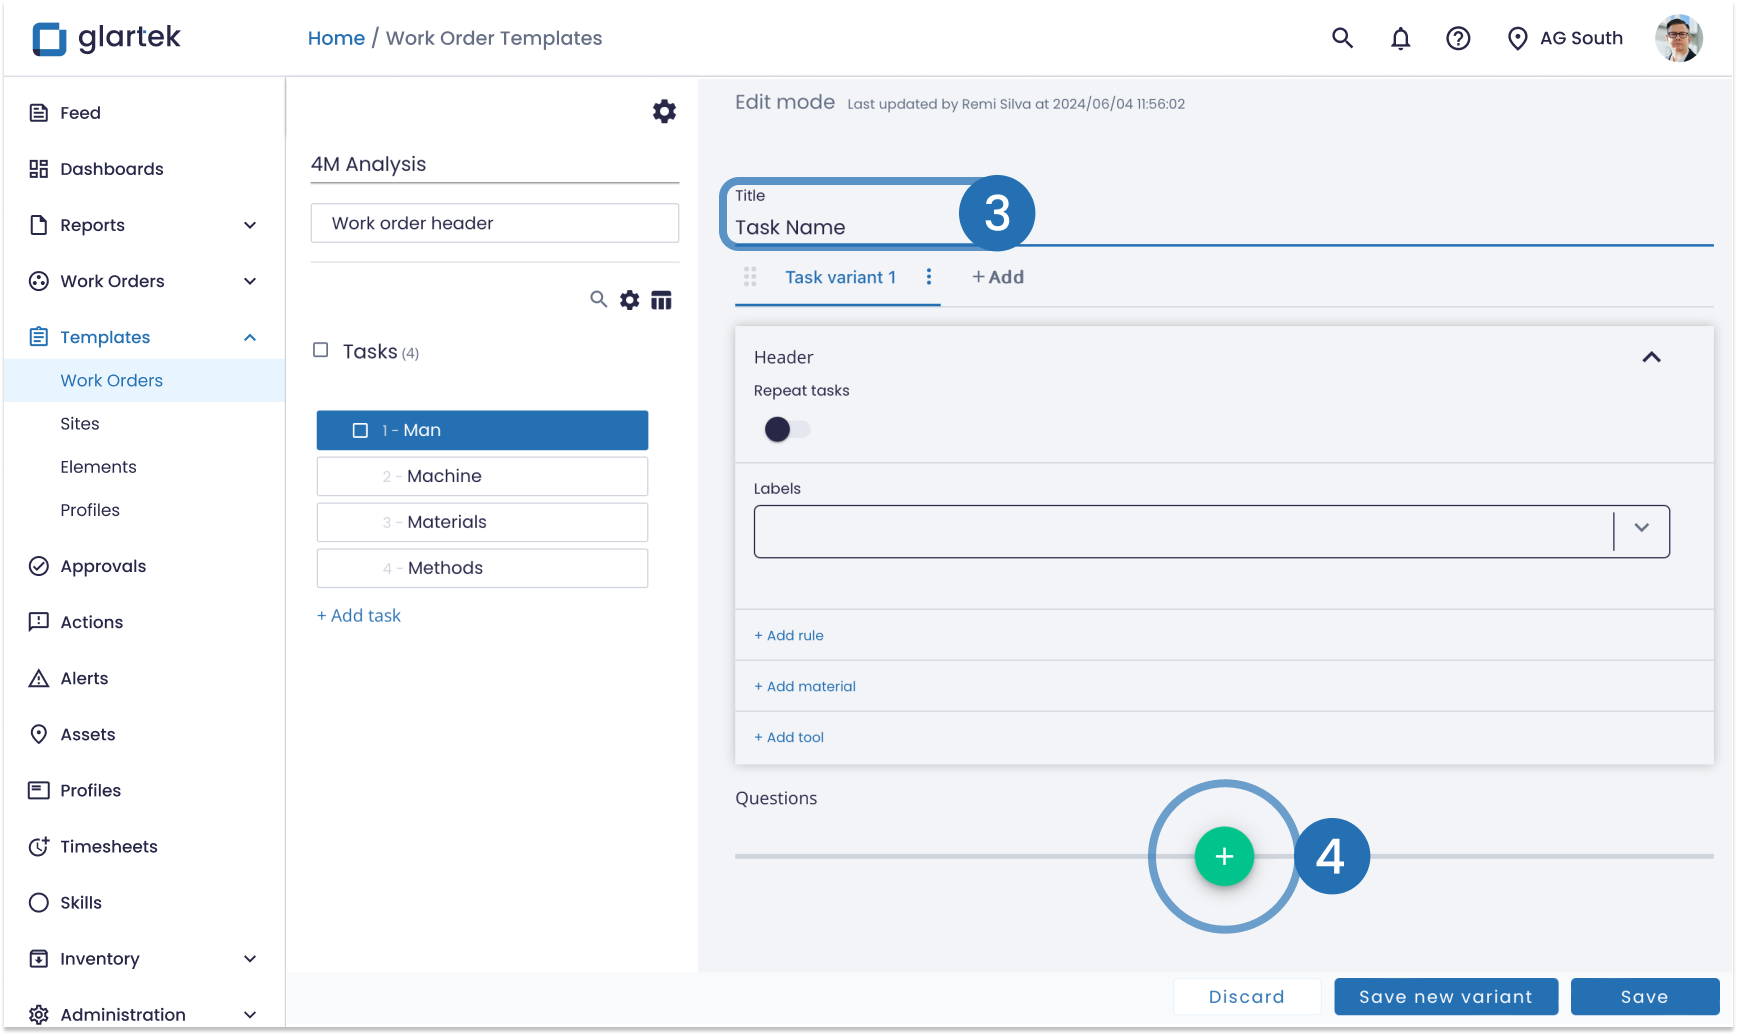
By default, it will create a simple text question.
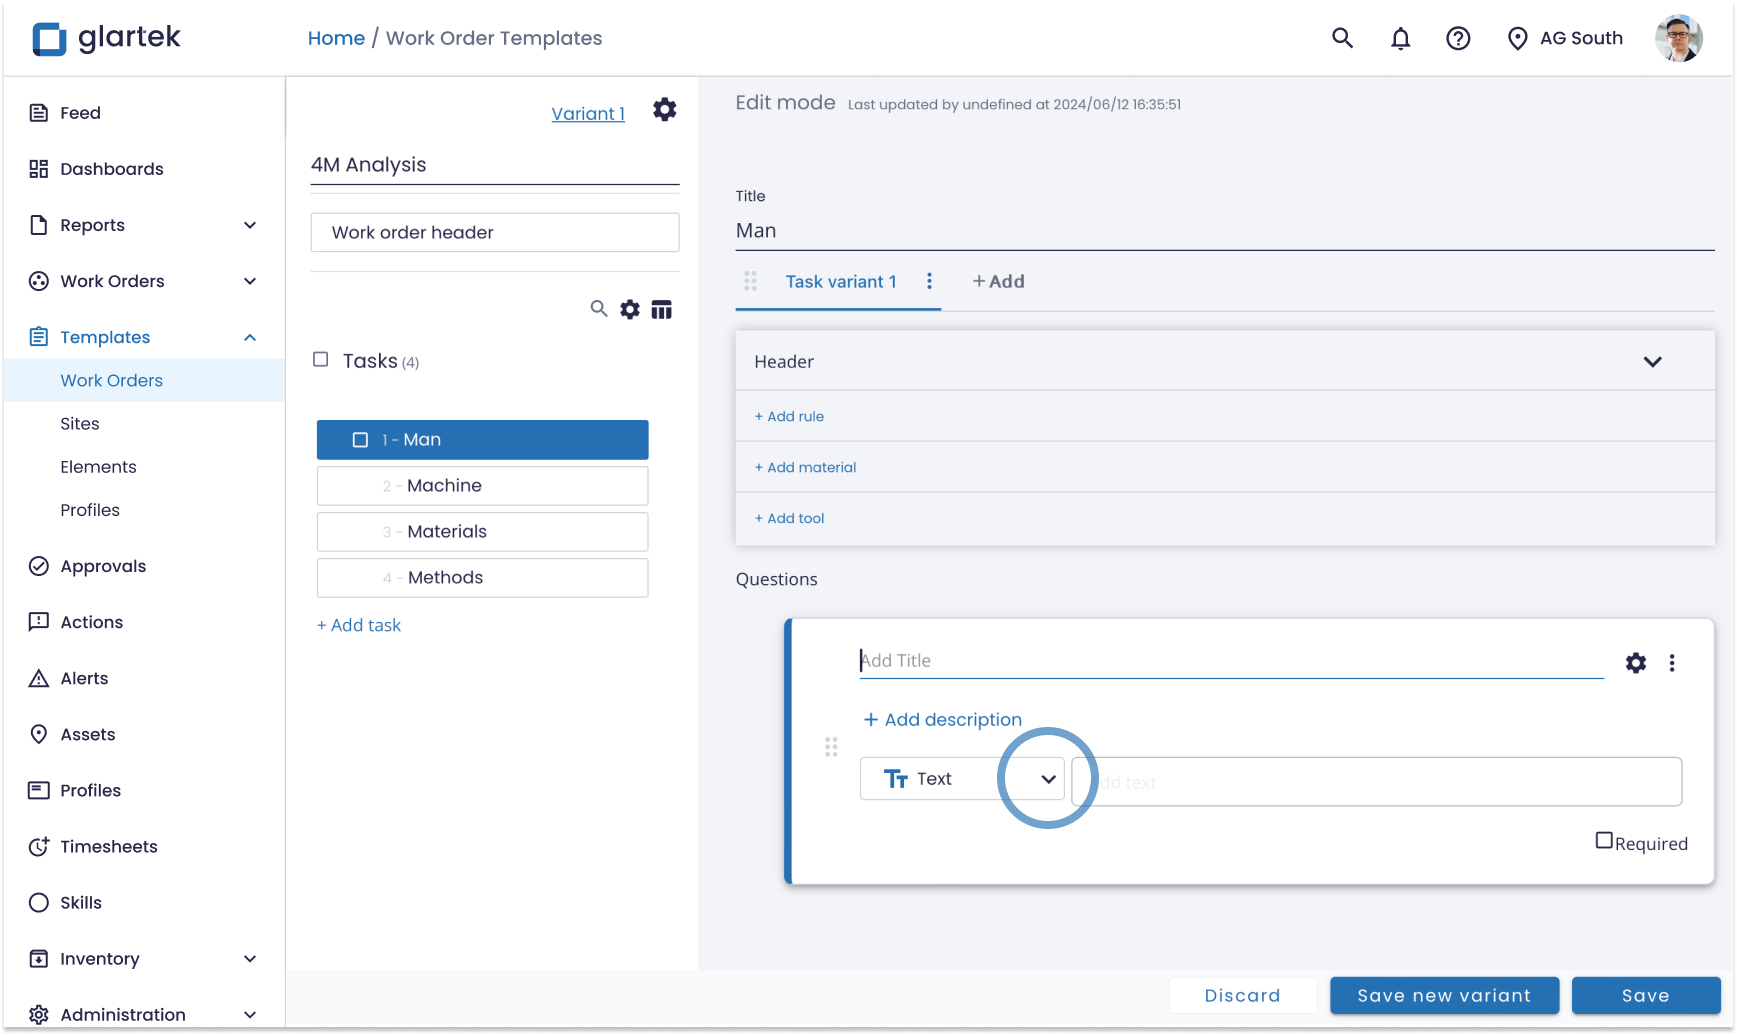
Change the question type by clicking on the question type field and a dropdown menu with various question options will appear. Choose one of them by clicking on it.
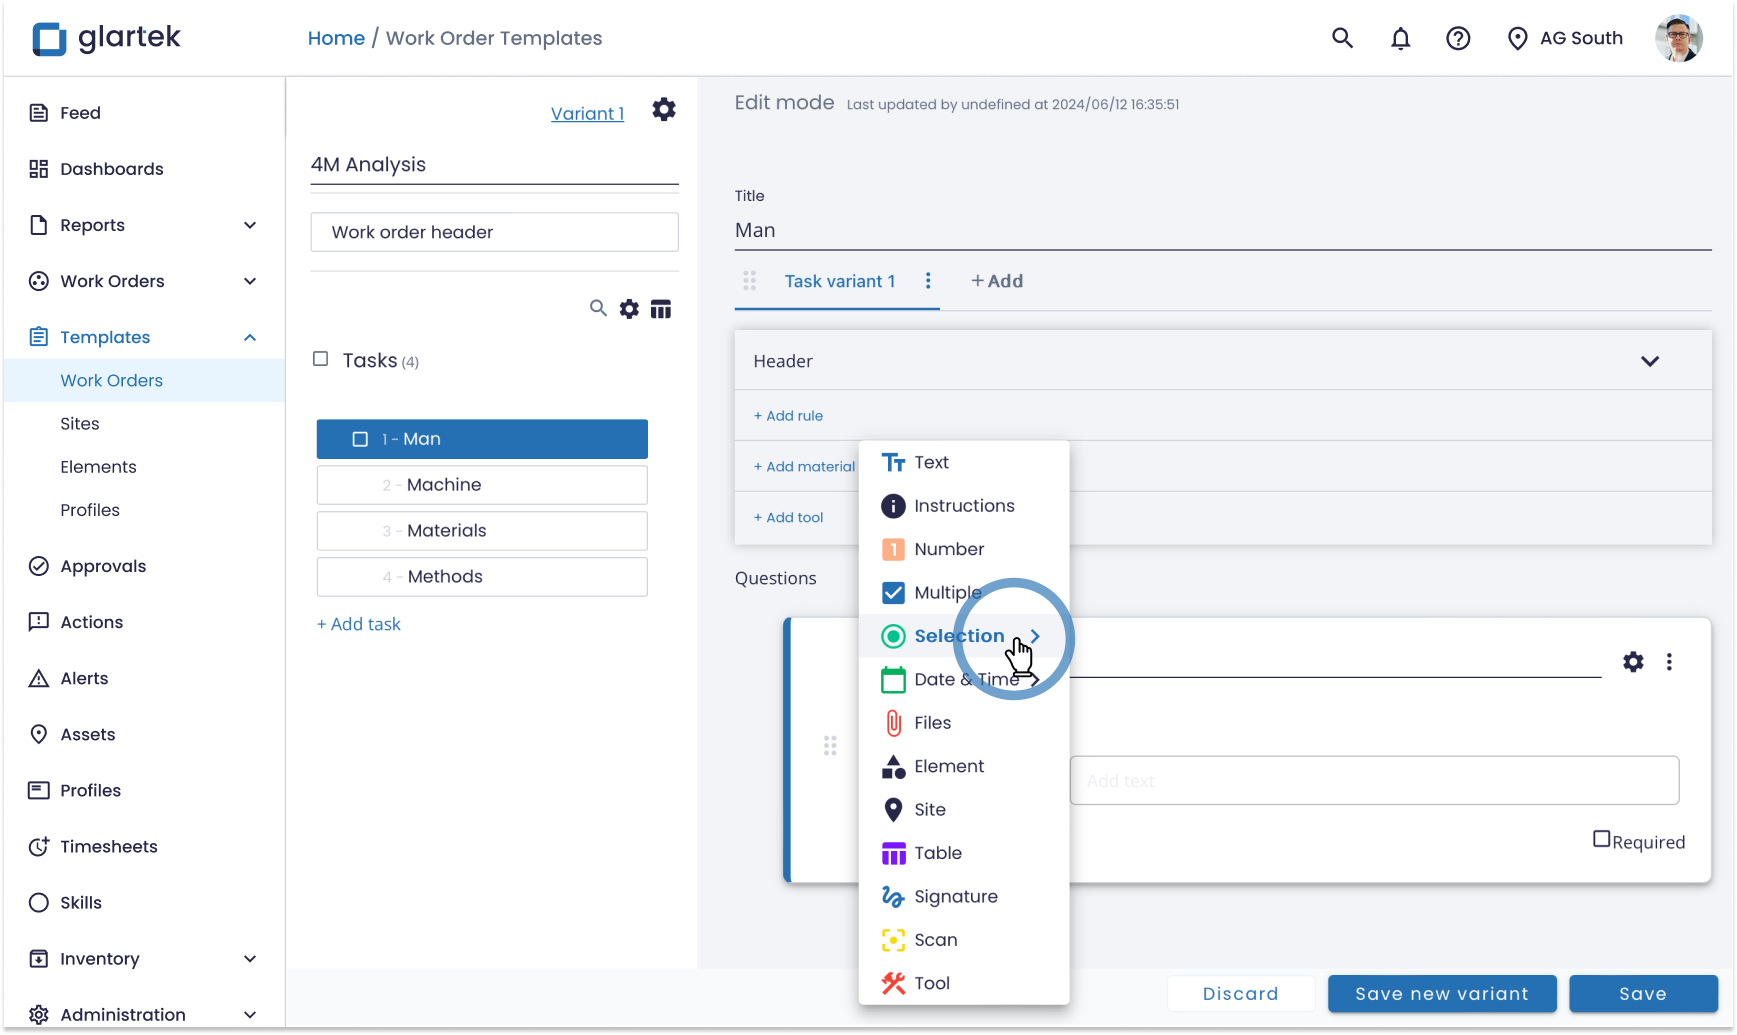
Note: In case you don't need to receive any type of input from the operator and you only want to give an instruction or any form of guidance, you don't need to add a question. Instead, just choose the "Instruction" option and upload a photo, video, file, or 3D model to assist the operator in executing his task.
You can also add images and additional information to your step by clicking on the "+ Add description" button.
To know more about editing templates, click here.
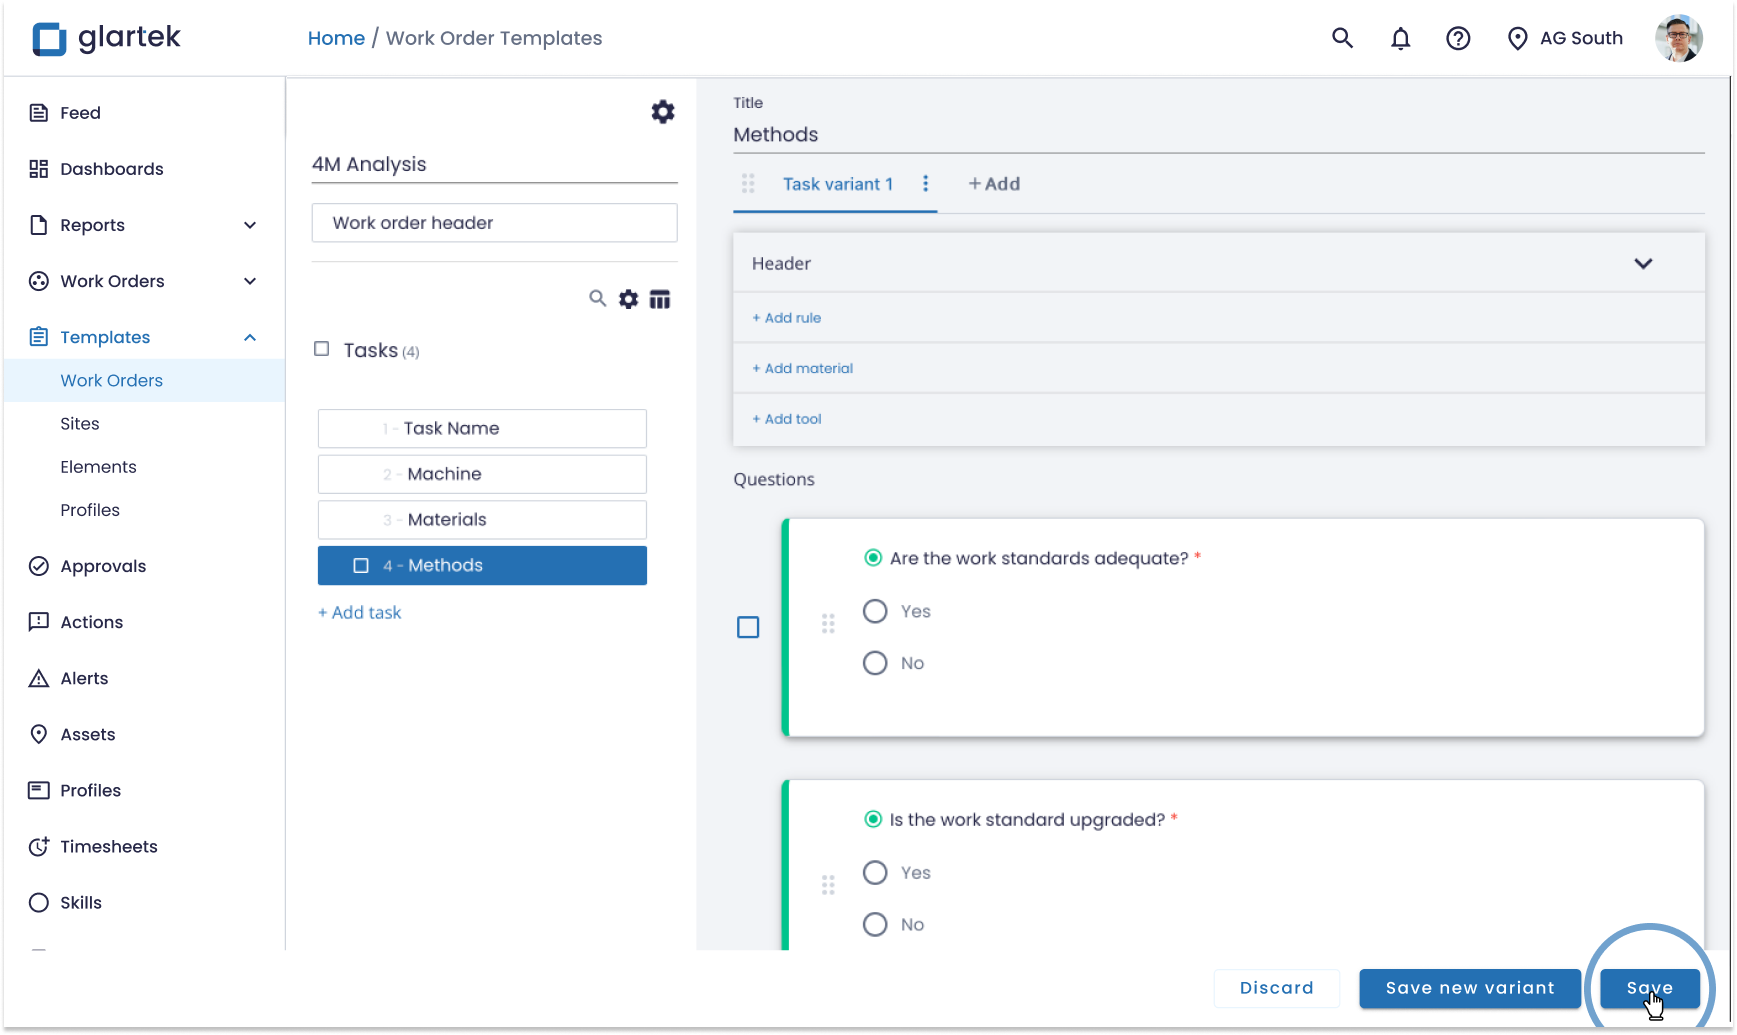
You can then find your template in the folder where you created it, ready to be used to create a work order. You can edit it again as often as you like.
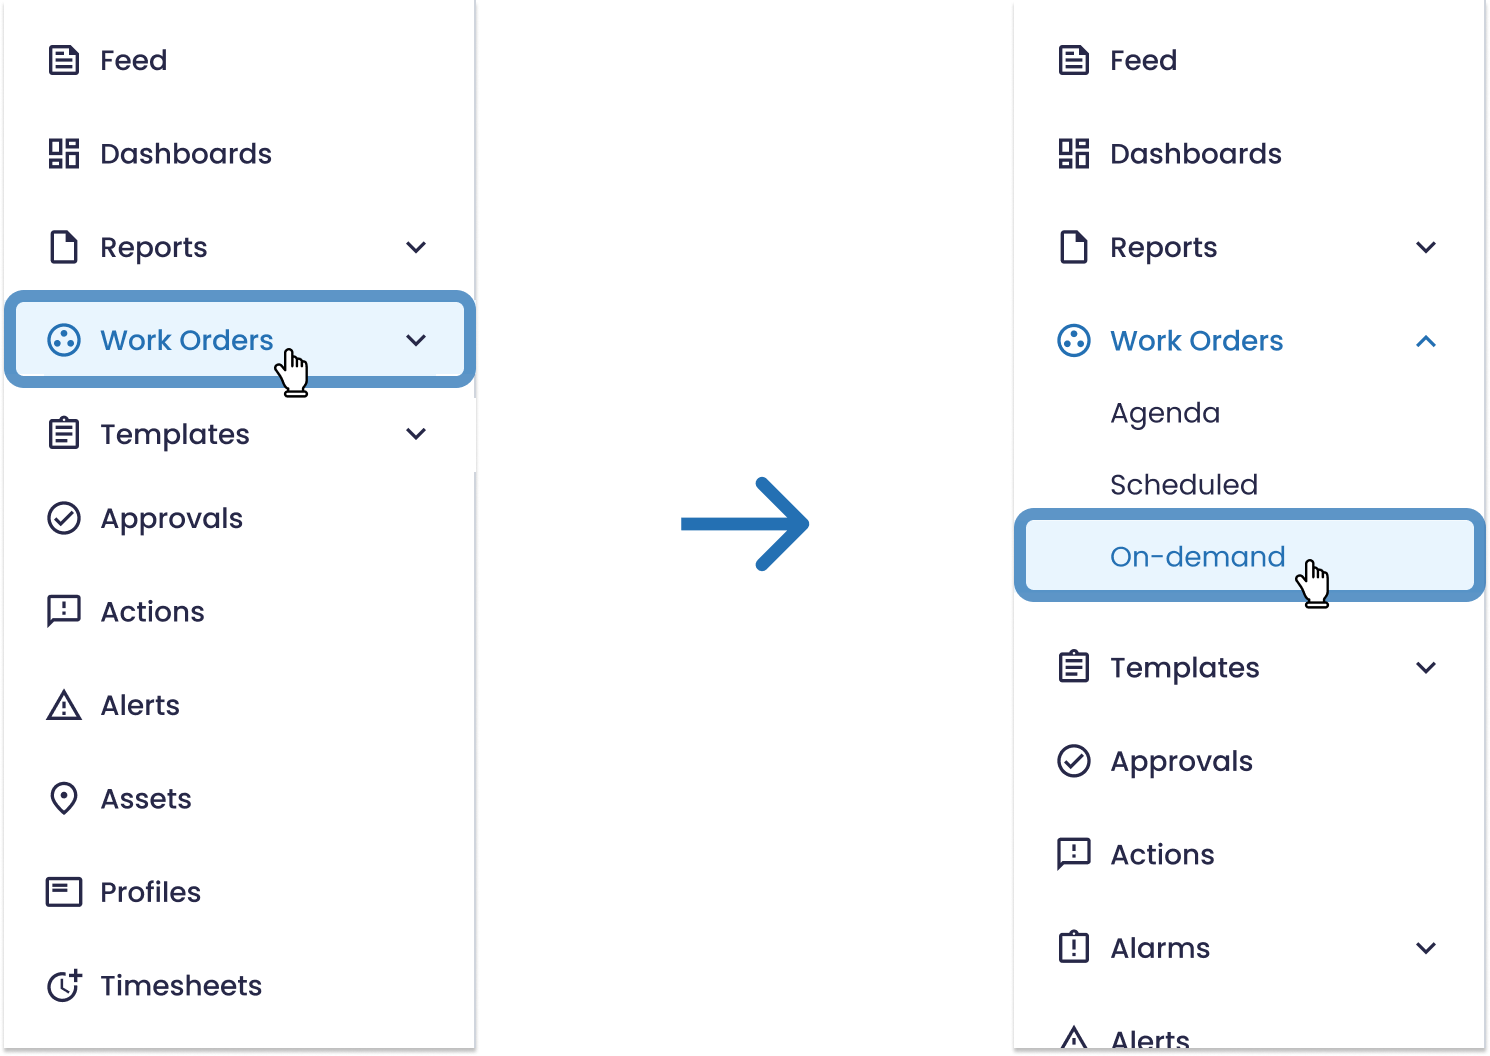
5. Create a Work Order
Select the folder in which you want to create the work order or create a new folder by clicking on the "New folder" button in the top right corner.
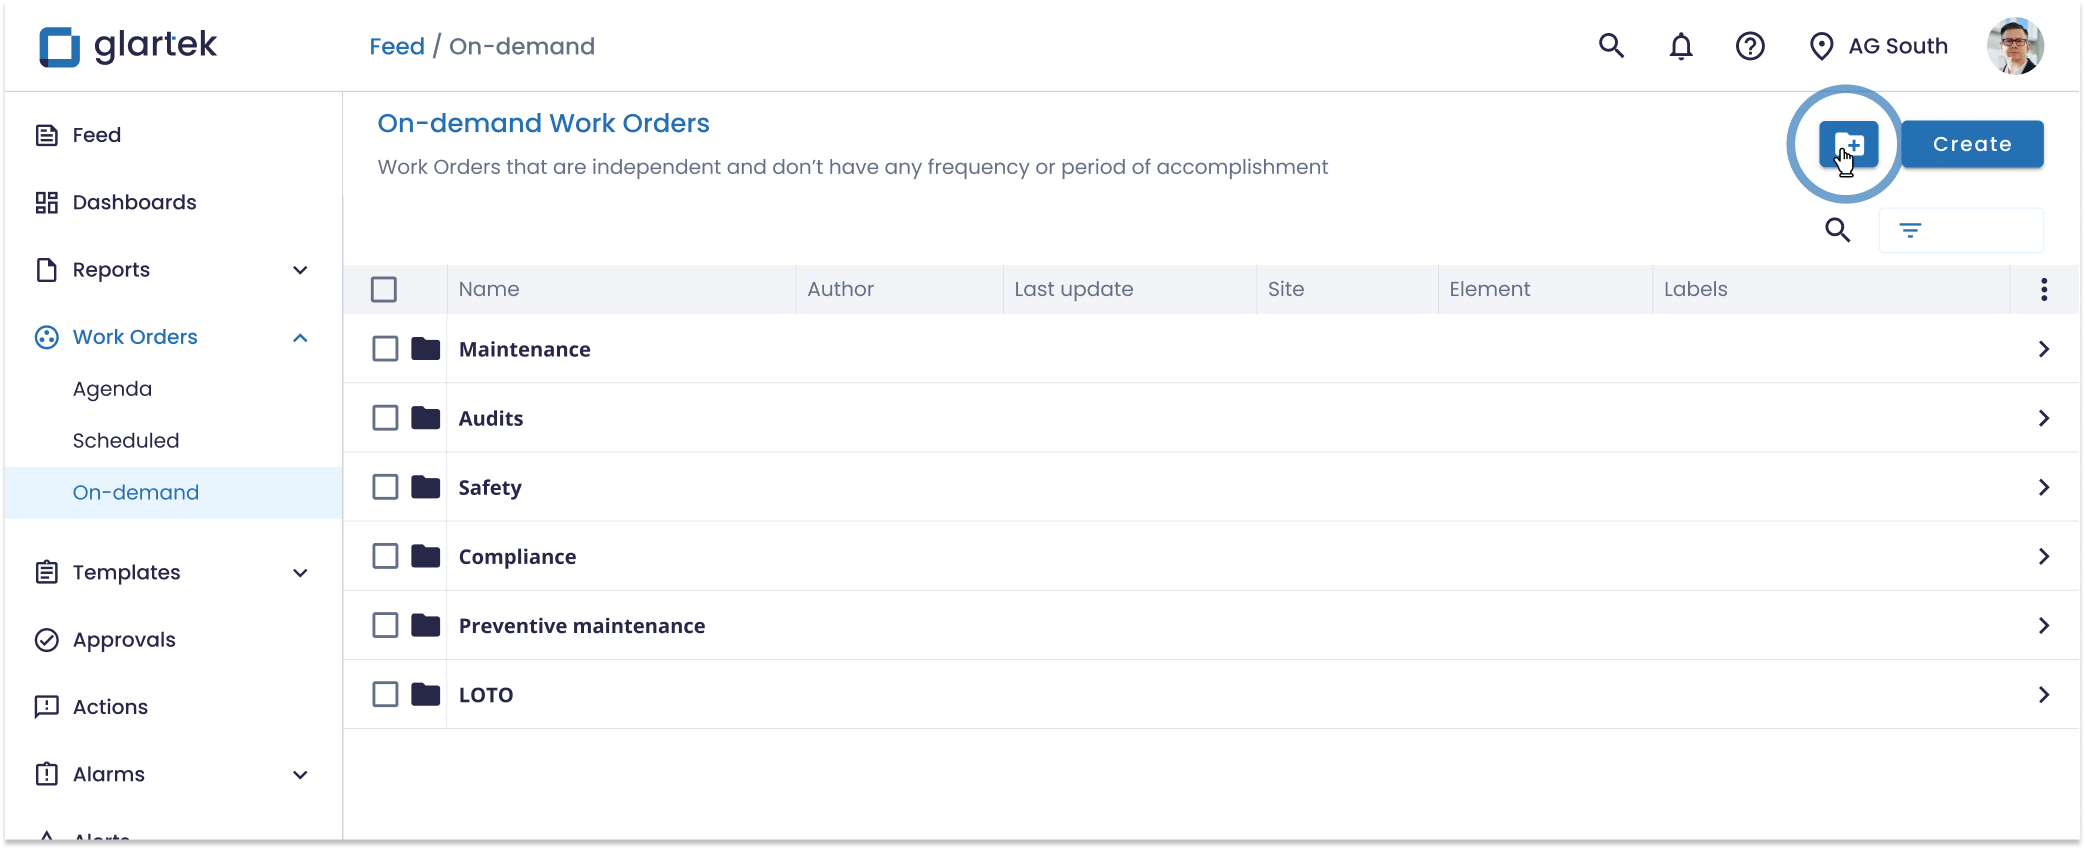

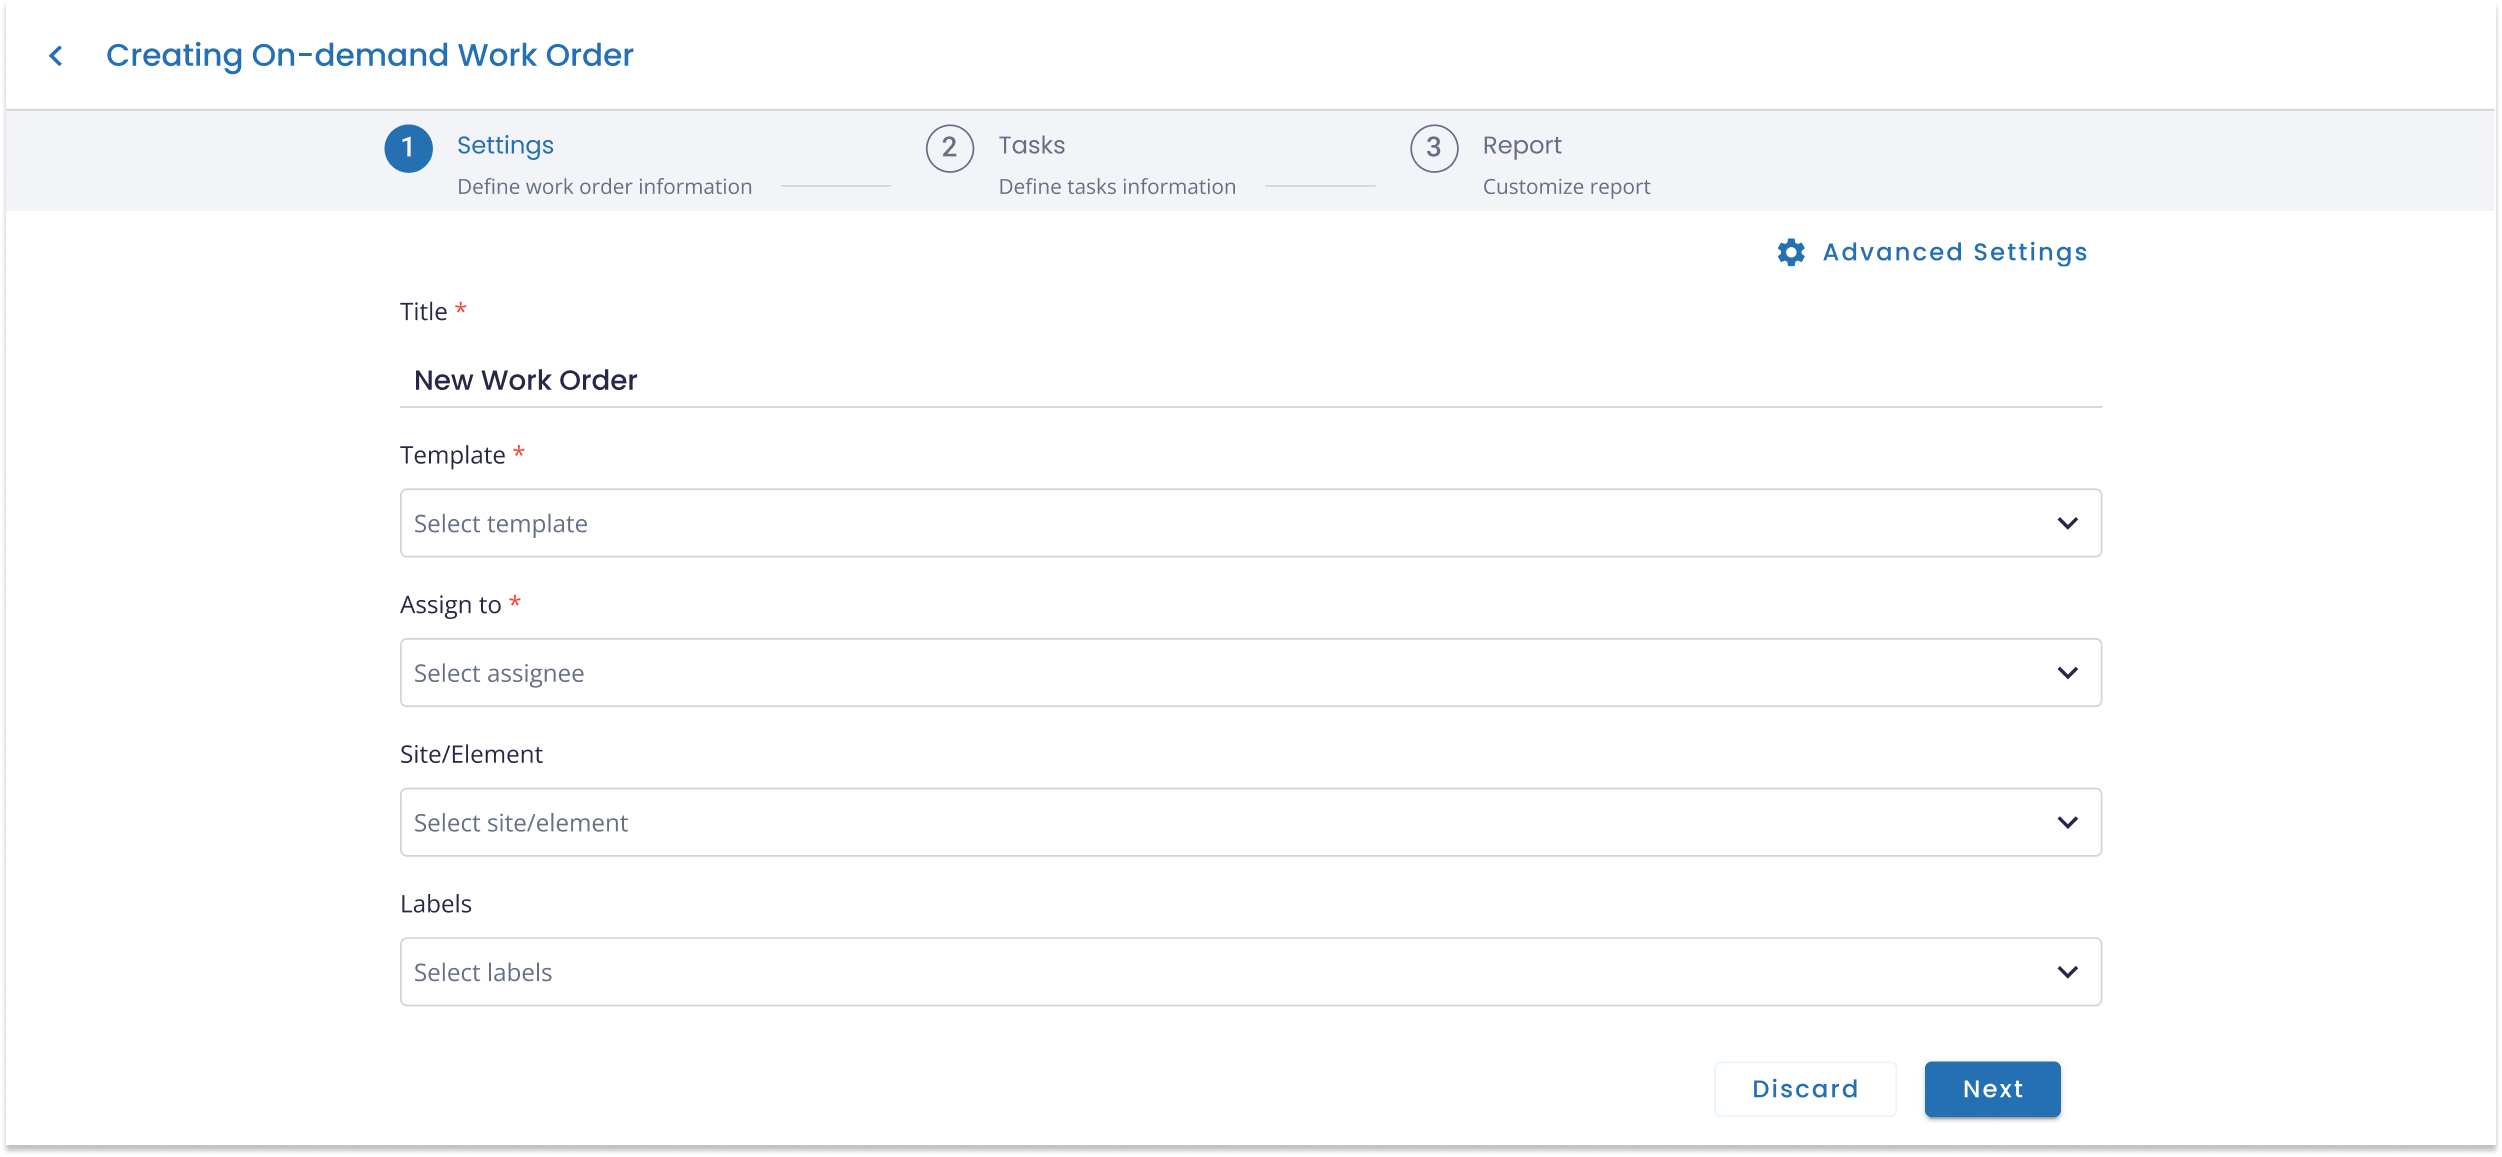
A new window will appear where you can define the settings of your new work order. Here you can define work order information, such as:
- Title of the work order
- Template that will be used
- Assigned workers and teams
- Site where it will be conducted
- Labels for better organization
6. Execution
The execution of the procedure is the moment in which the worker is ready to perform a task assigned to him. To access the digitized procedure guides and workflows the worker will have to enter the platform through their device (PC, Smartphone, Tablet, Smartglasses, Augmented Reality glasses, or stationary screens).
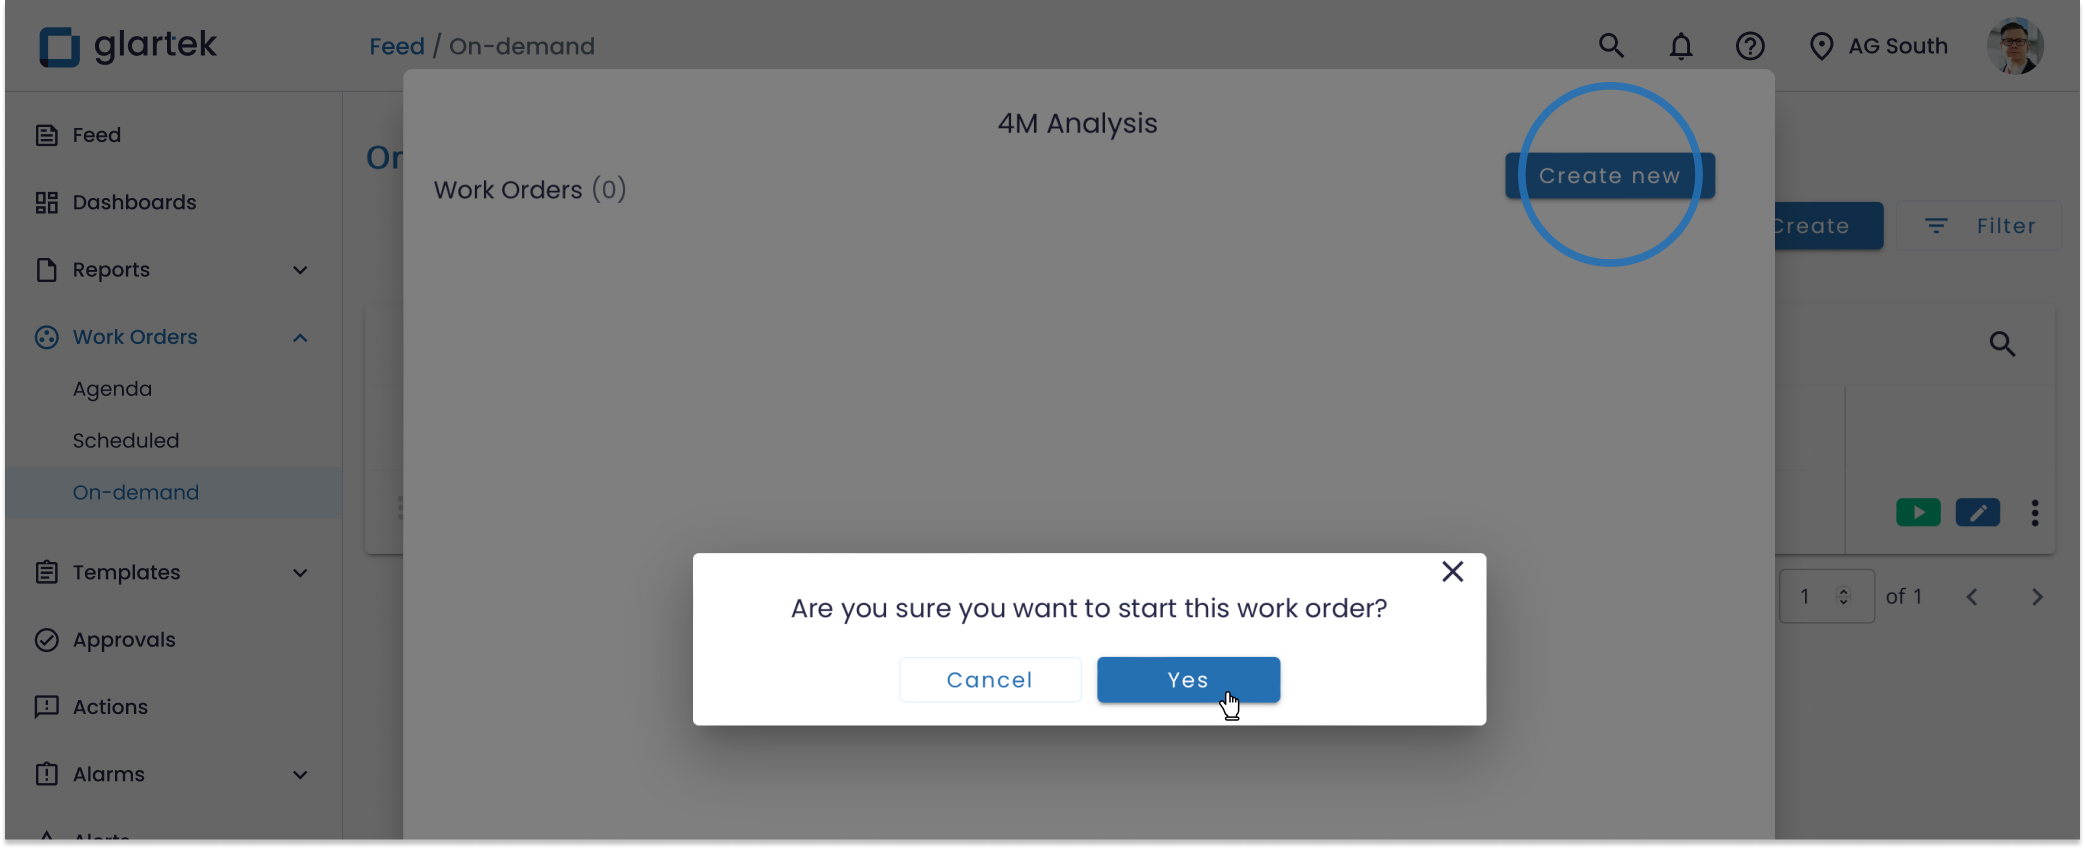
Once saved, the work order will appear in the folder where you created it. To start it, simply hover your mouse over it and click "Start".

A new window will appear. Click on "Create New" to create a new procedure and then click "Yes" to confirm.
You will then be automatically redirected to the execution of the work order.
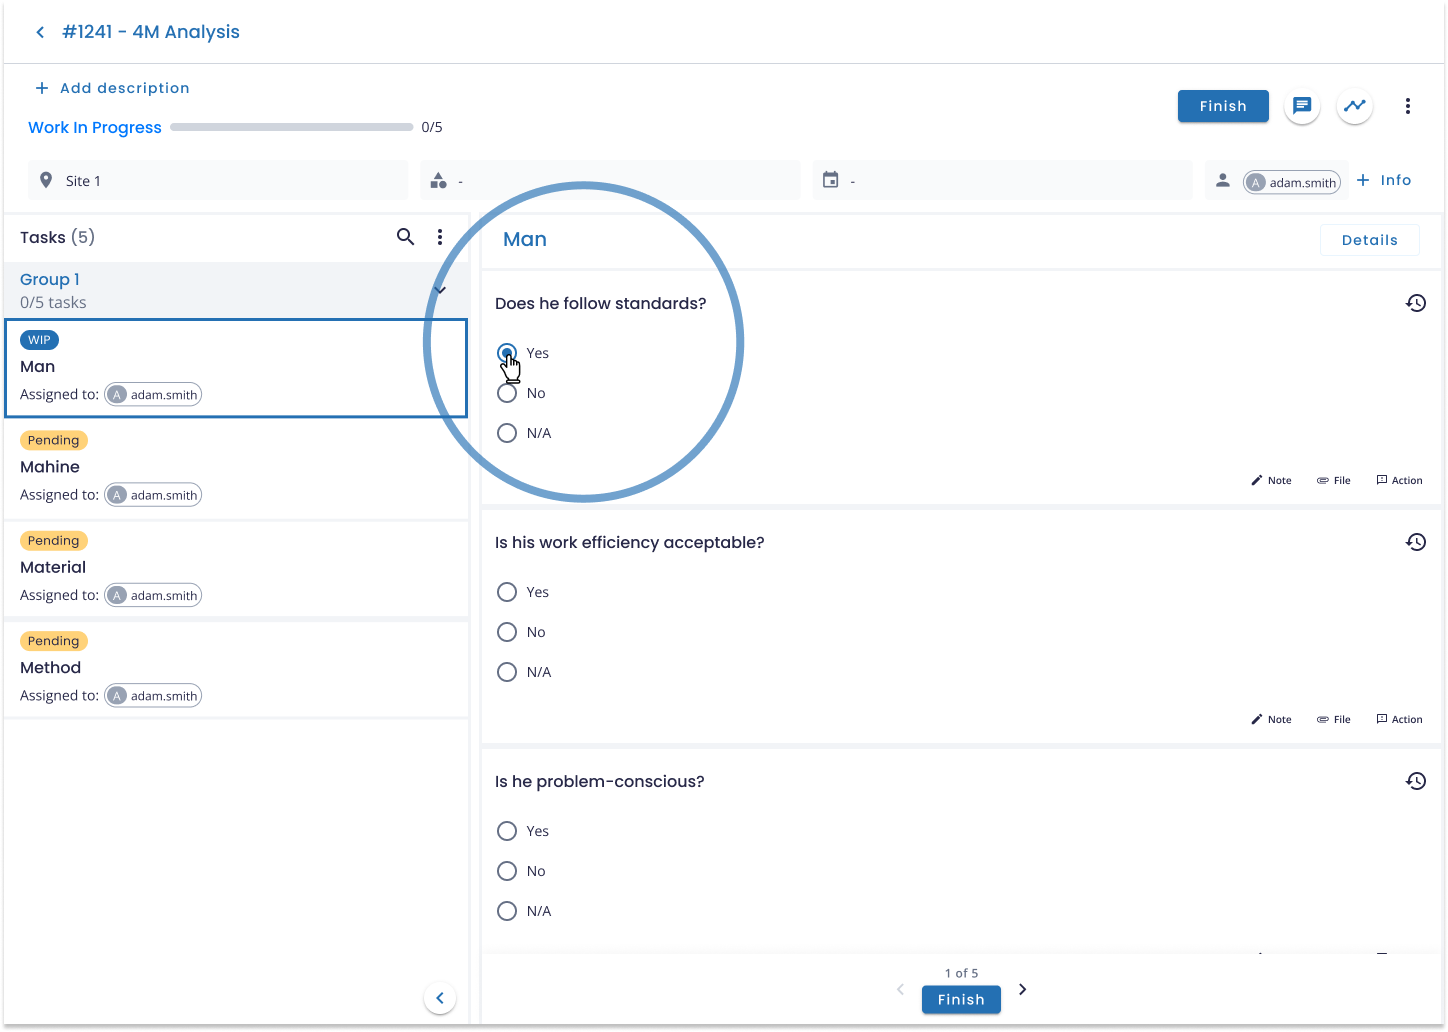
Click "Start" to initiate the execution.
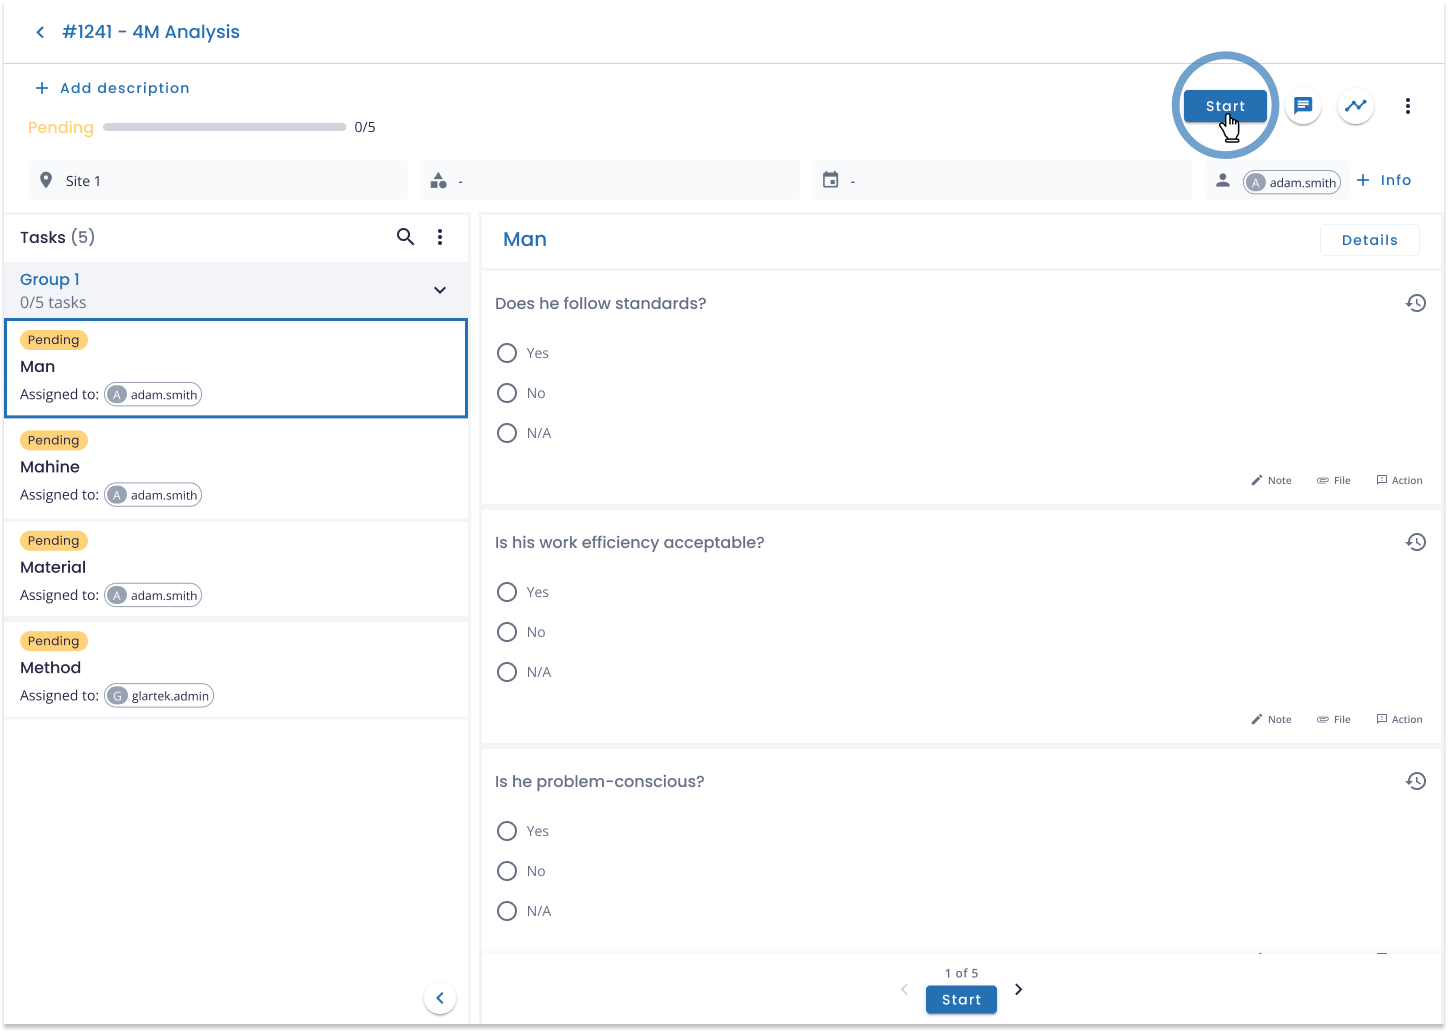
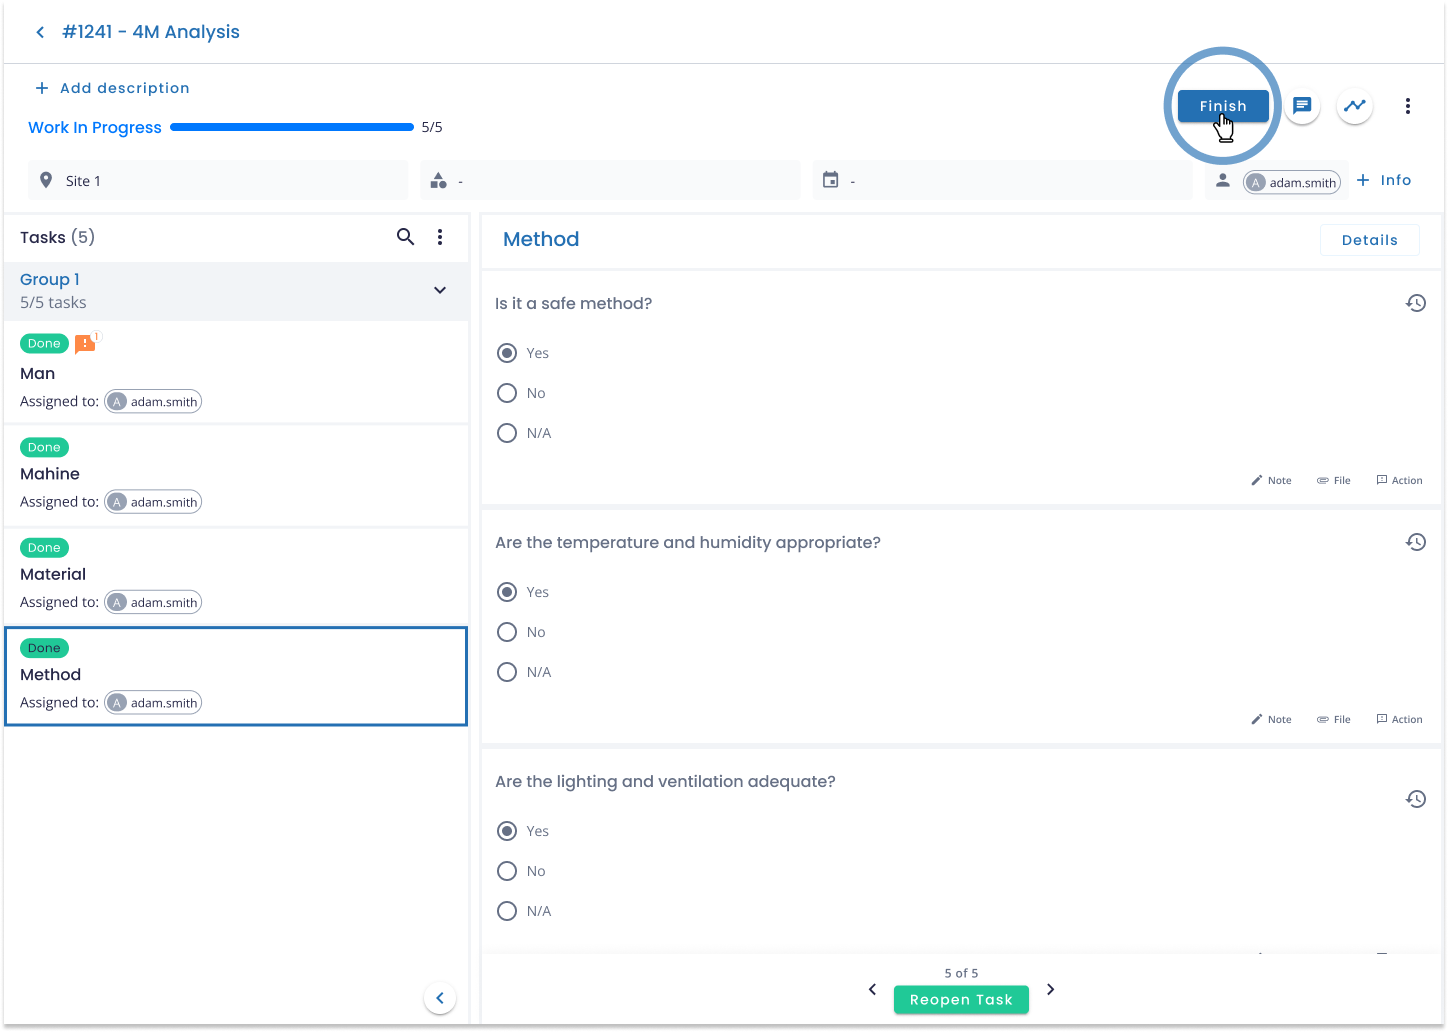
Start following the instructions and answering the questions by filling in the required fields.
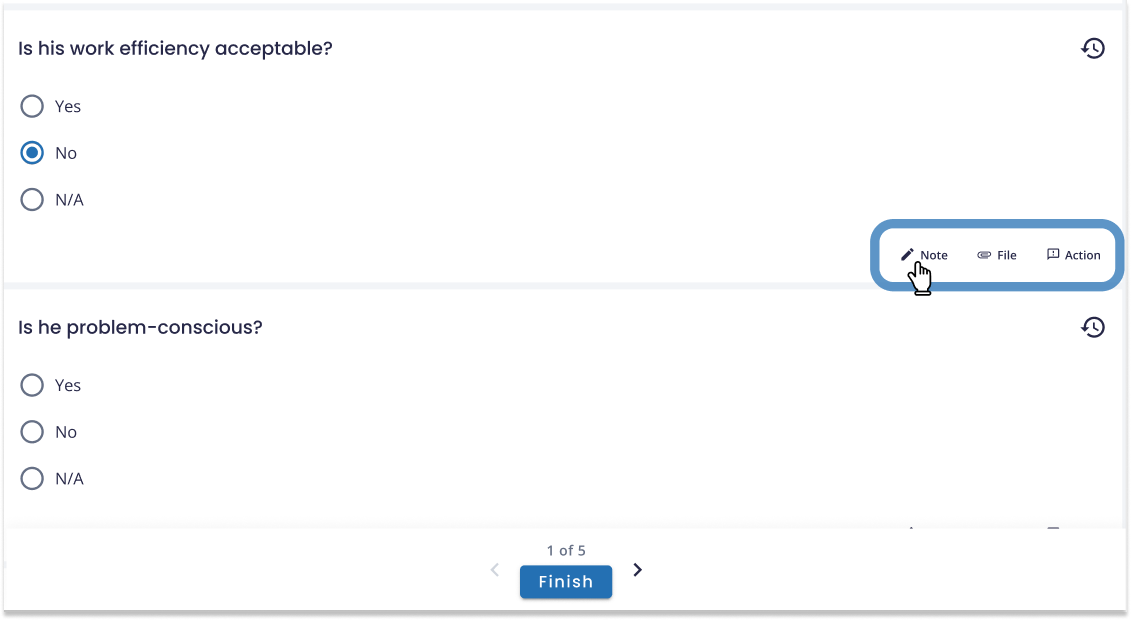
In each step of the task, you can also:
- Add Notes: Add notes to provide more relevant information.
- Add Files: Upload images, videos, and files to provide evidence.
- Create Actions: Open actions to flag issues.
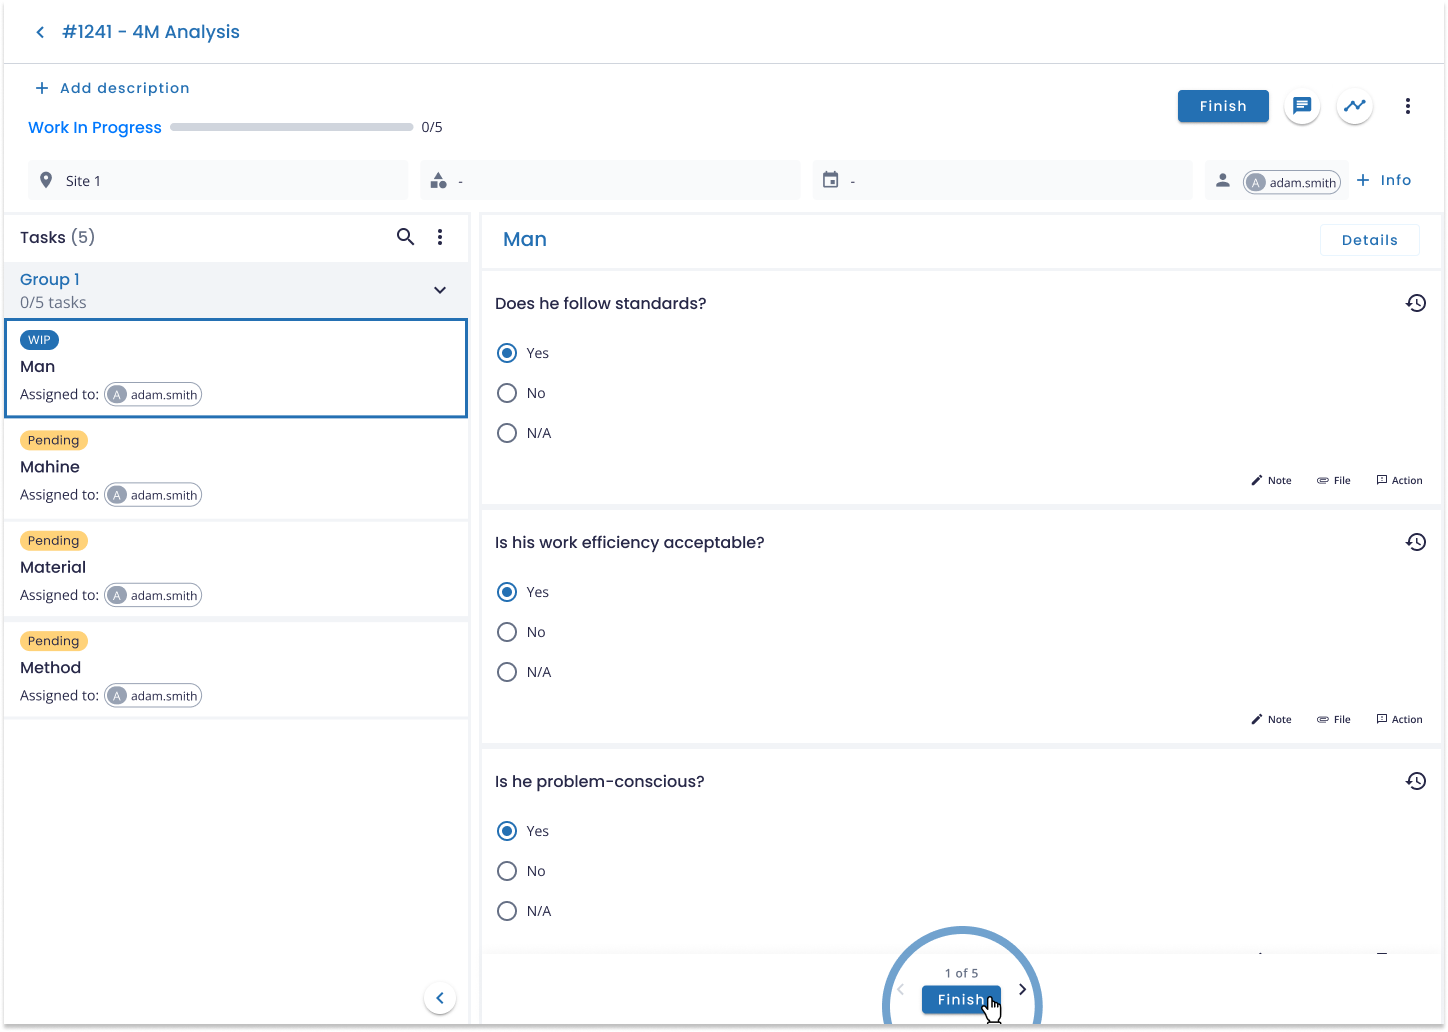
To move on to the next task, you can choose between two options:
- Click on the right arrow at the bottom of the page to move forward.
- Click directly on the following task in the task board.
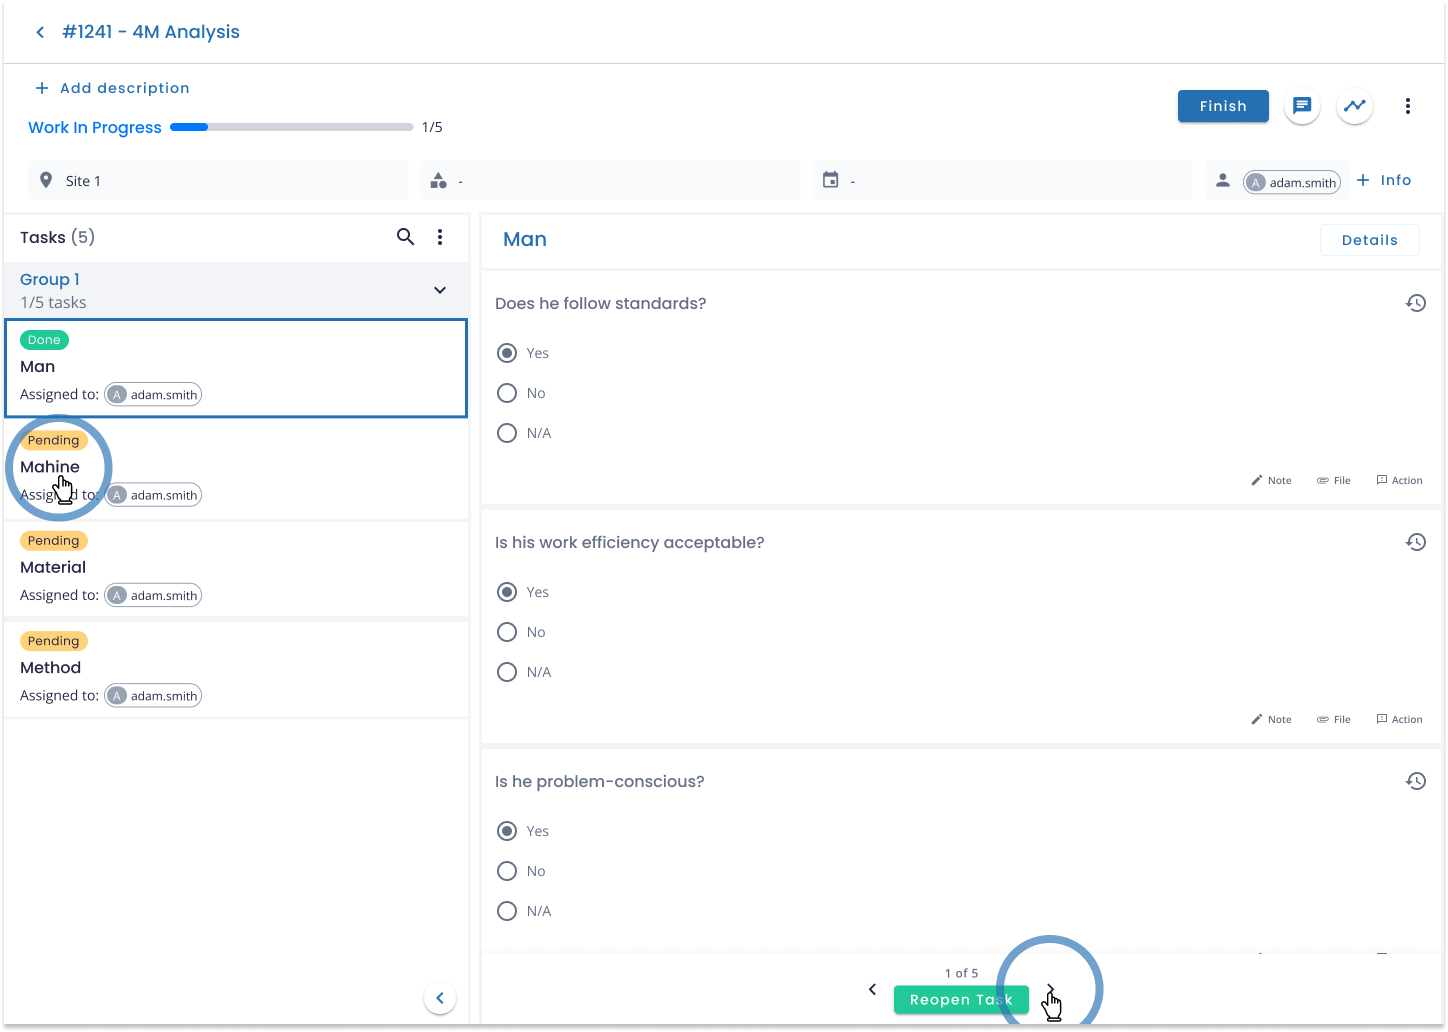
When you have completed all the tasks, click on "Finish" at the top of the page to finalize the work order.
To learn how to execute a work order on a mobile device using the mobile application, click here.
If you have any question please contact technical support.