Mobile Application
Getting Started
Welcome to the Glartek mobile application getting started guide. Here you will find information on the following topics:
| 1. Installation |
| 2. Account & Log In |
| 3. Execution |
| 4. AR Mapping |
1. Installation
Glartek mobile platform can be used in smartphones and tablets with Android and IOS operating systems. The application is available on Google Play Store and Apple Store.

Note: If you would like to be informed of other ways to install the application on your devices, such as direct installation or mass installation, please contact your account manager or submit a ticket to request assistance.
2. Account and Login
Access the application previously installed on your mobile device. After this step, log in to the platform by choosing one of the following options:
- Manual login: Where you must manually enter your access credentials.
- SSO login: This option must have been previously configured by the organisation's administrators on the platform. Know how here.
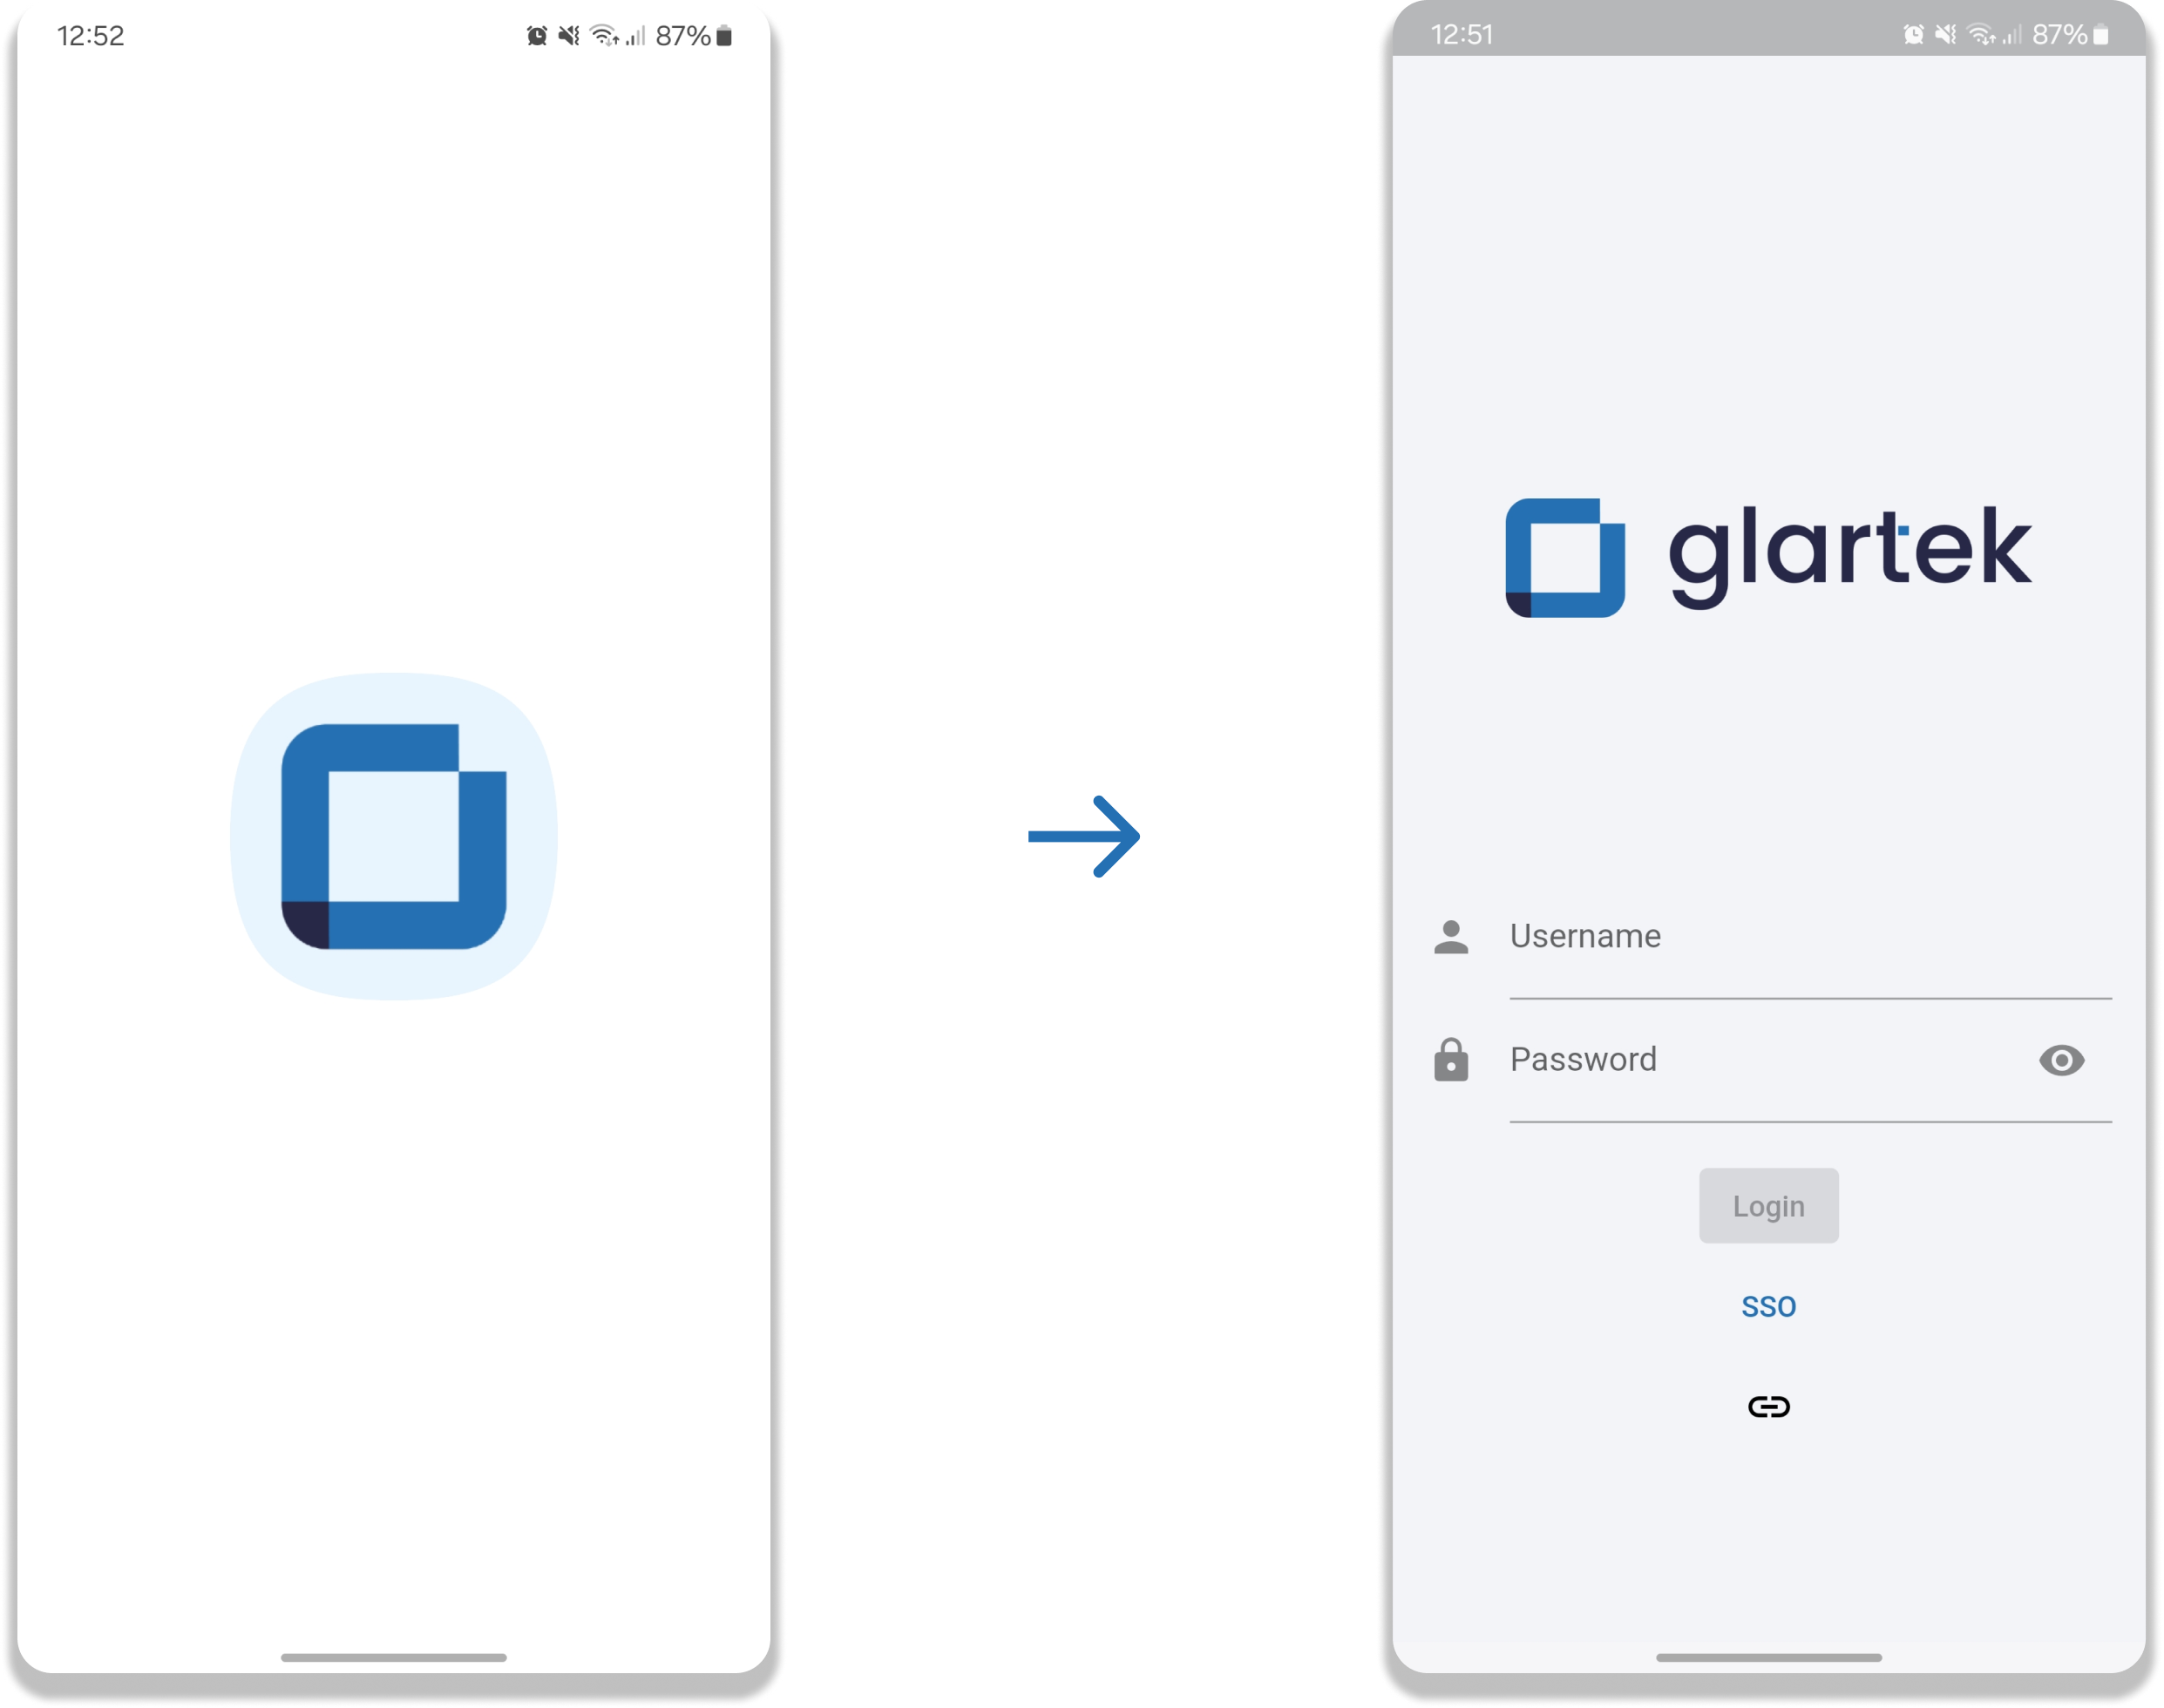
After entering your credentials, the platform homepage will be displayed with your profile already created.
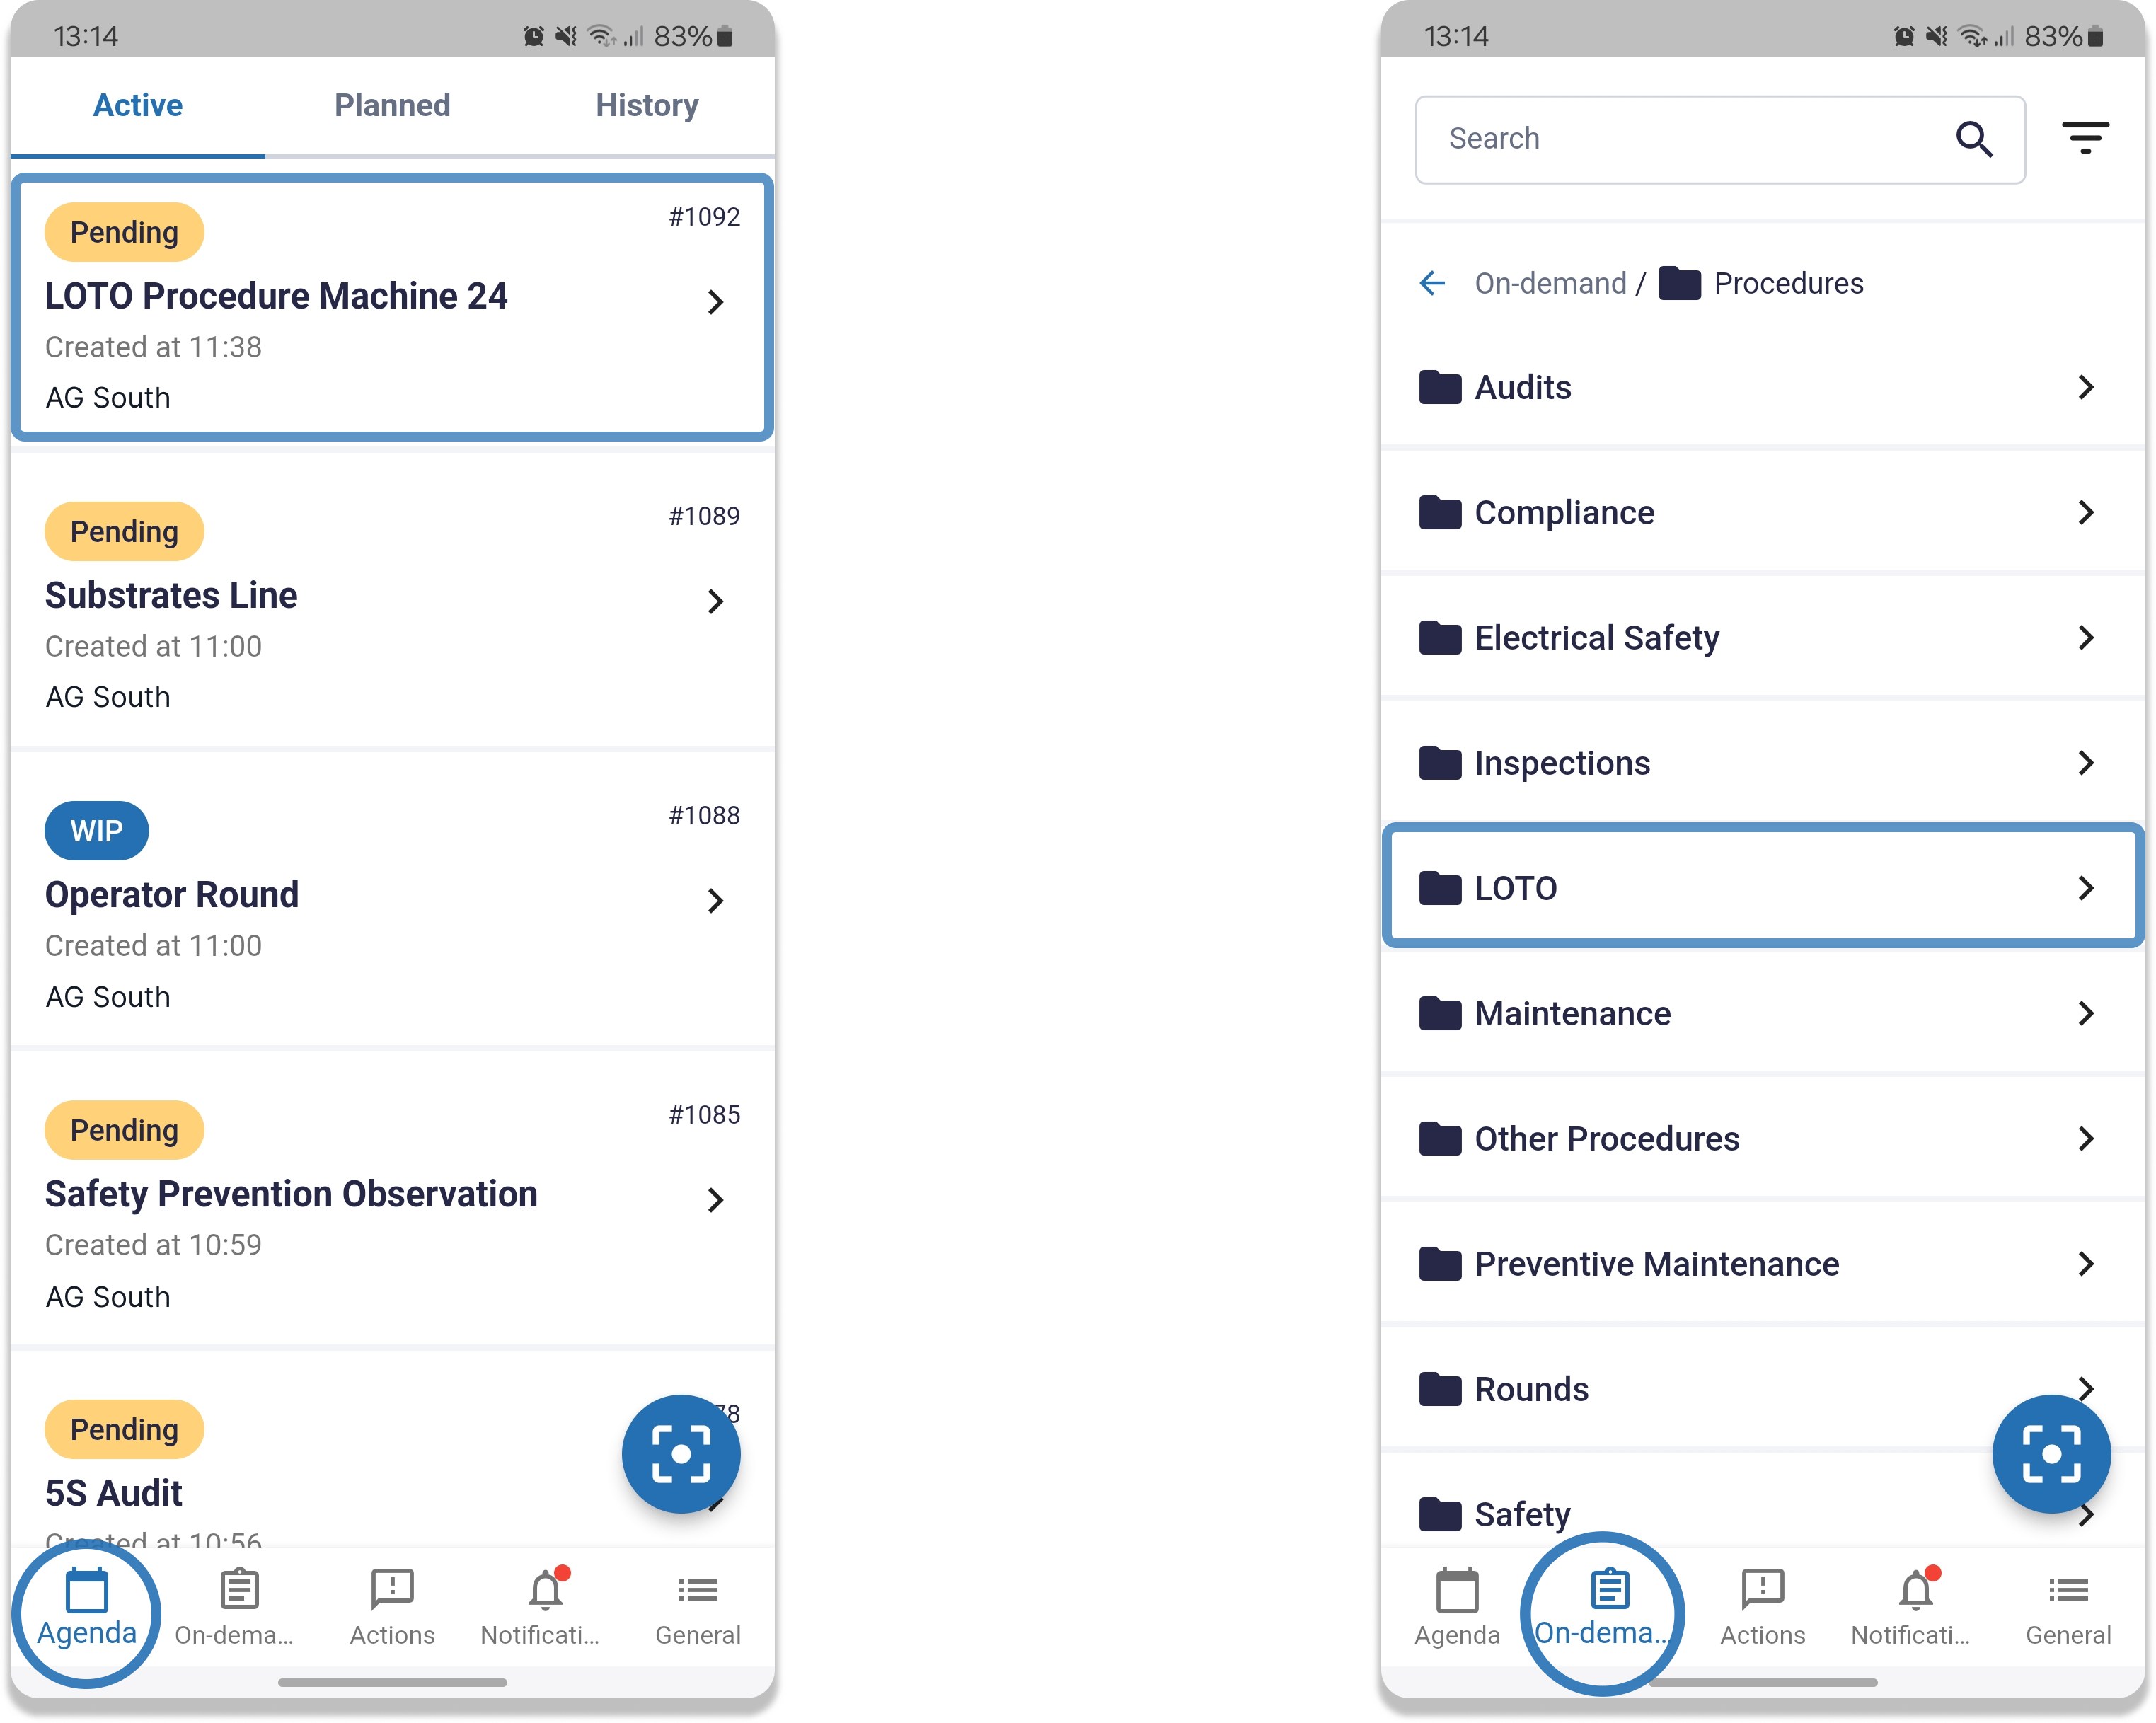
3. Execution
To execute a procedure you have to open a work order. There are two ways:
- Agenda tab: See and access all your active or planned work orders.
- On-demand tab: Search for a specific work order.
Note: You can also scan a QR code to be redirected to a work order.
As soon as you enter the work order, you can see all the associated tasks.
- Click "Start" at the bottom of the page to initiate the work order.
- Then click "Start" again to launch the execution.
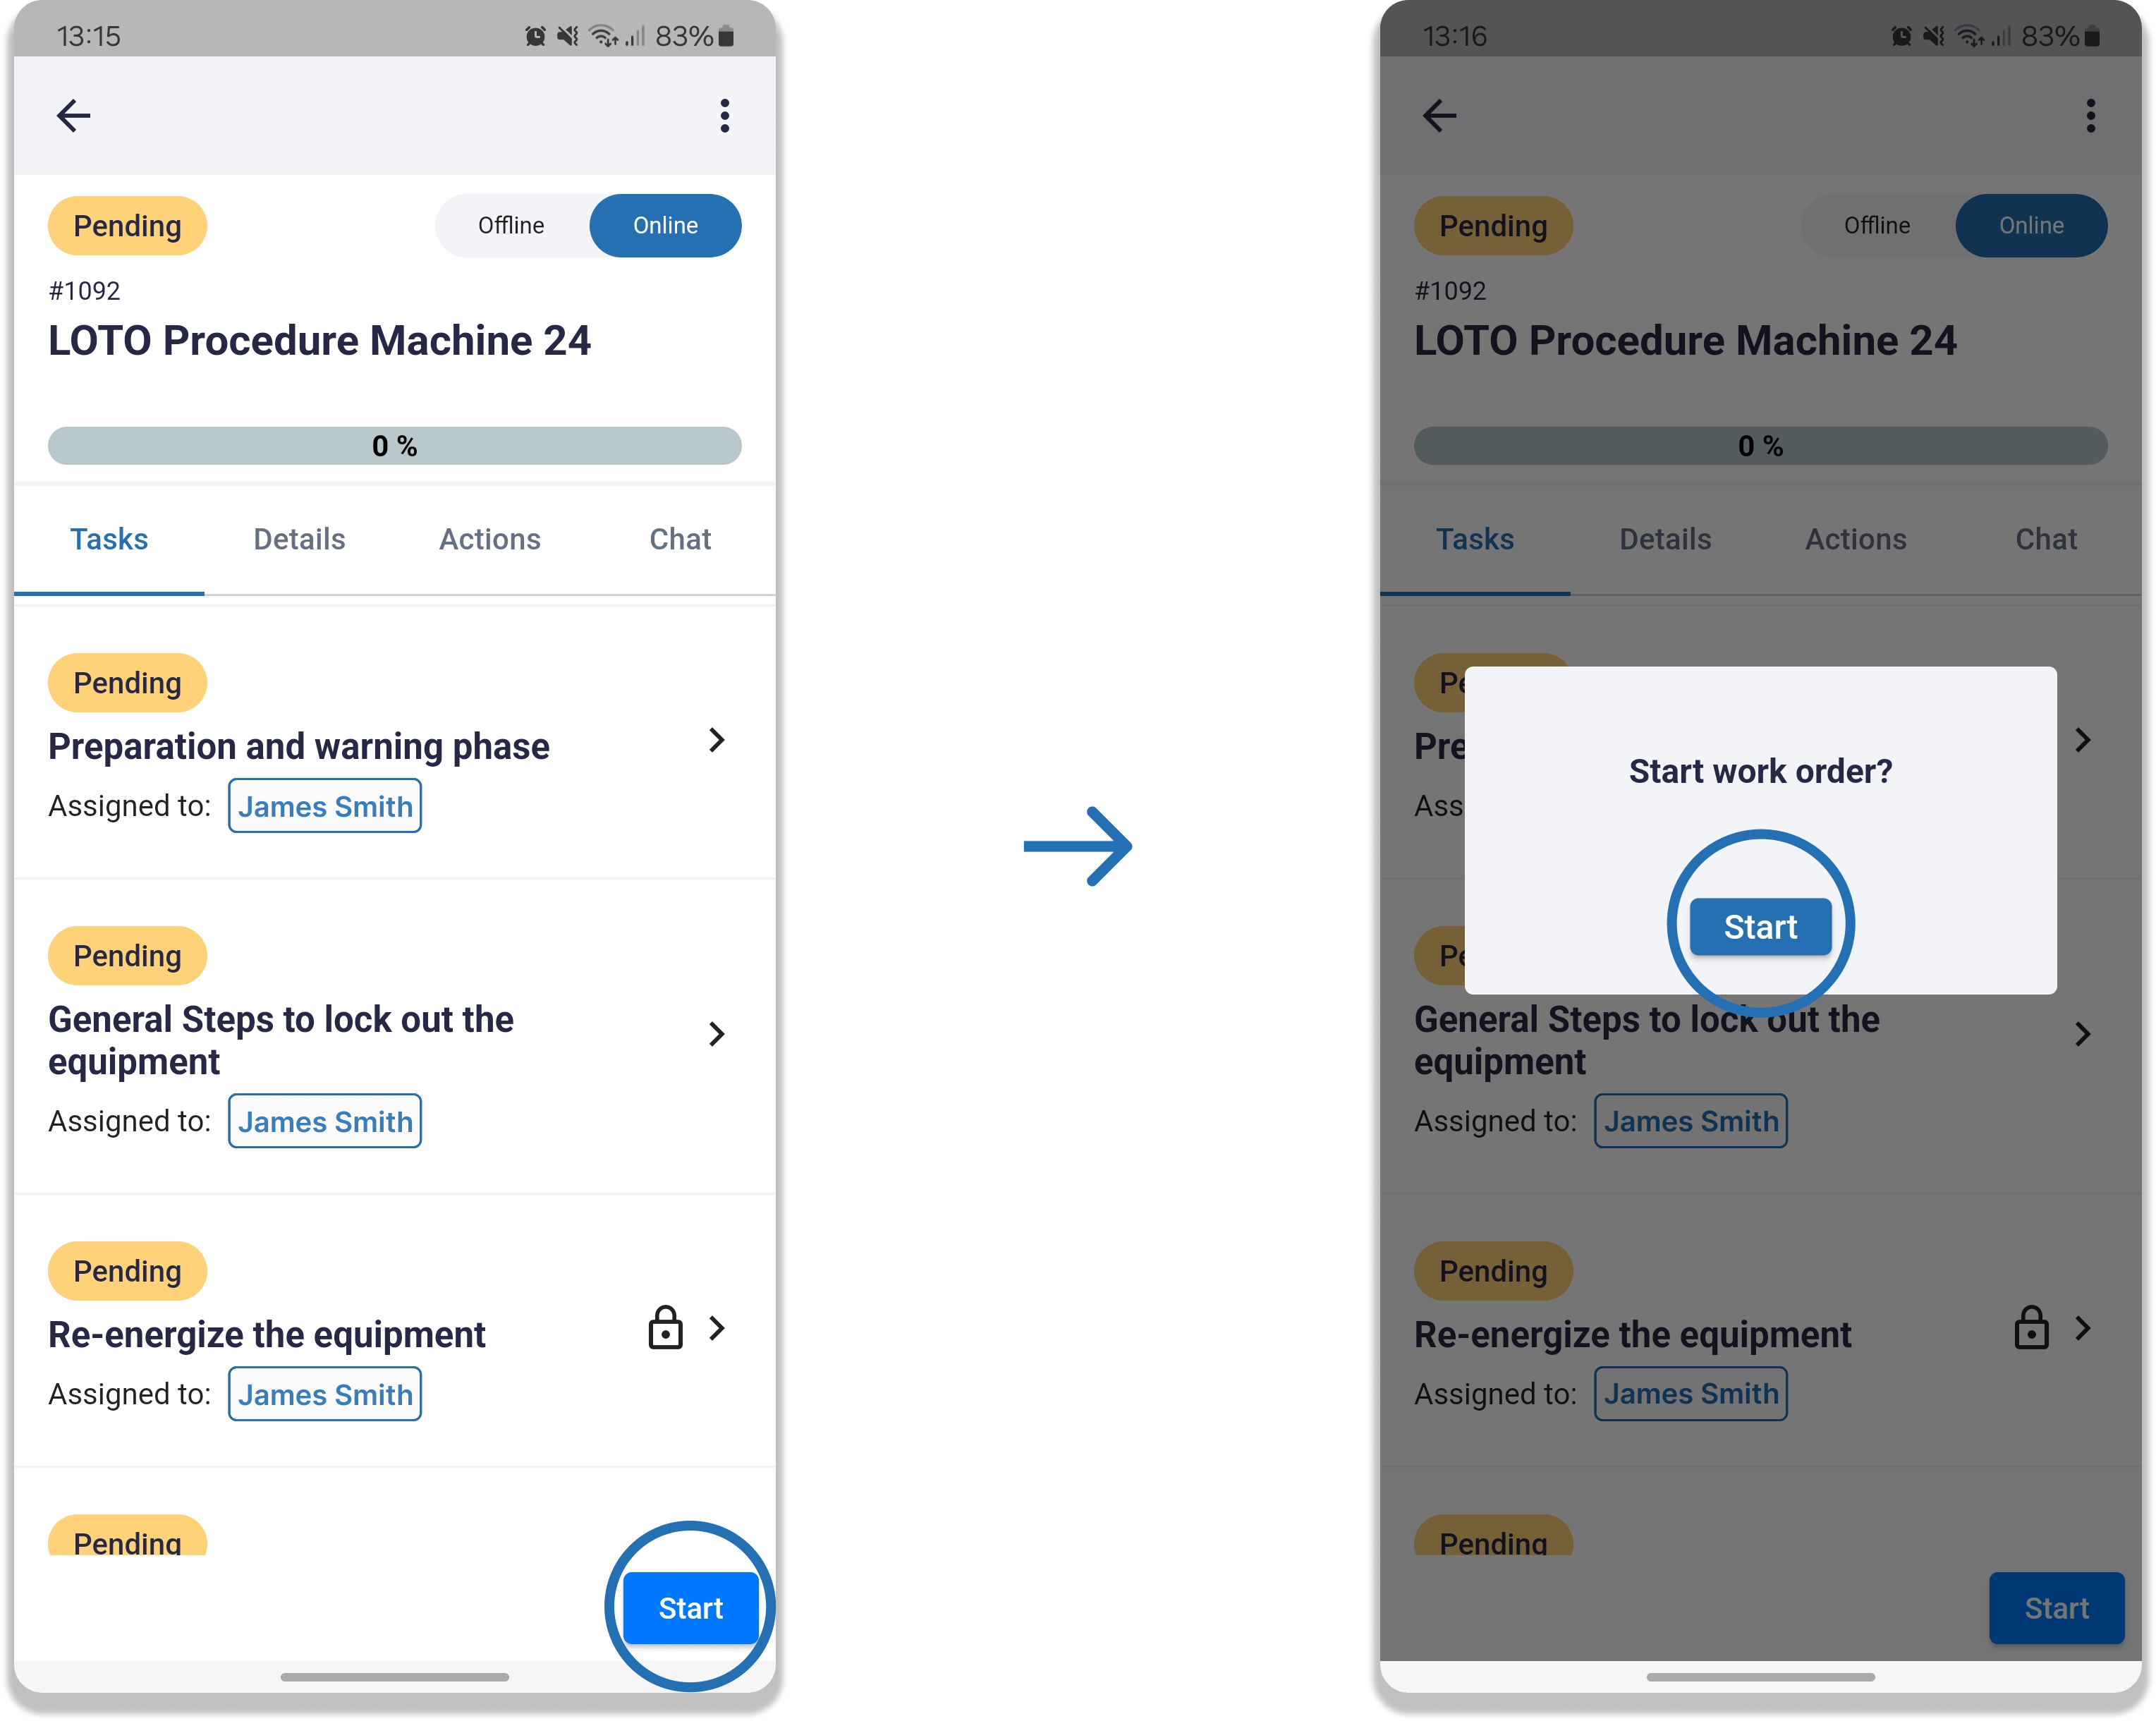
You will be then redirected to the first task of the work order.
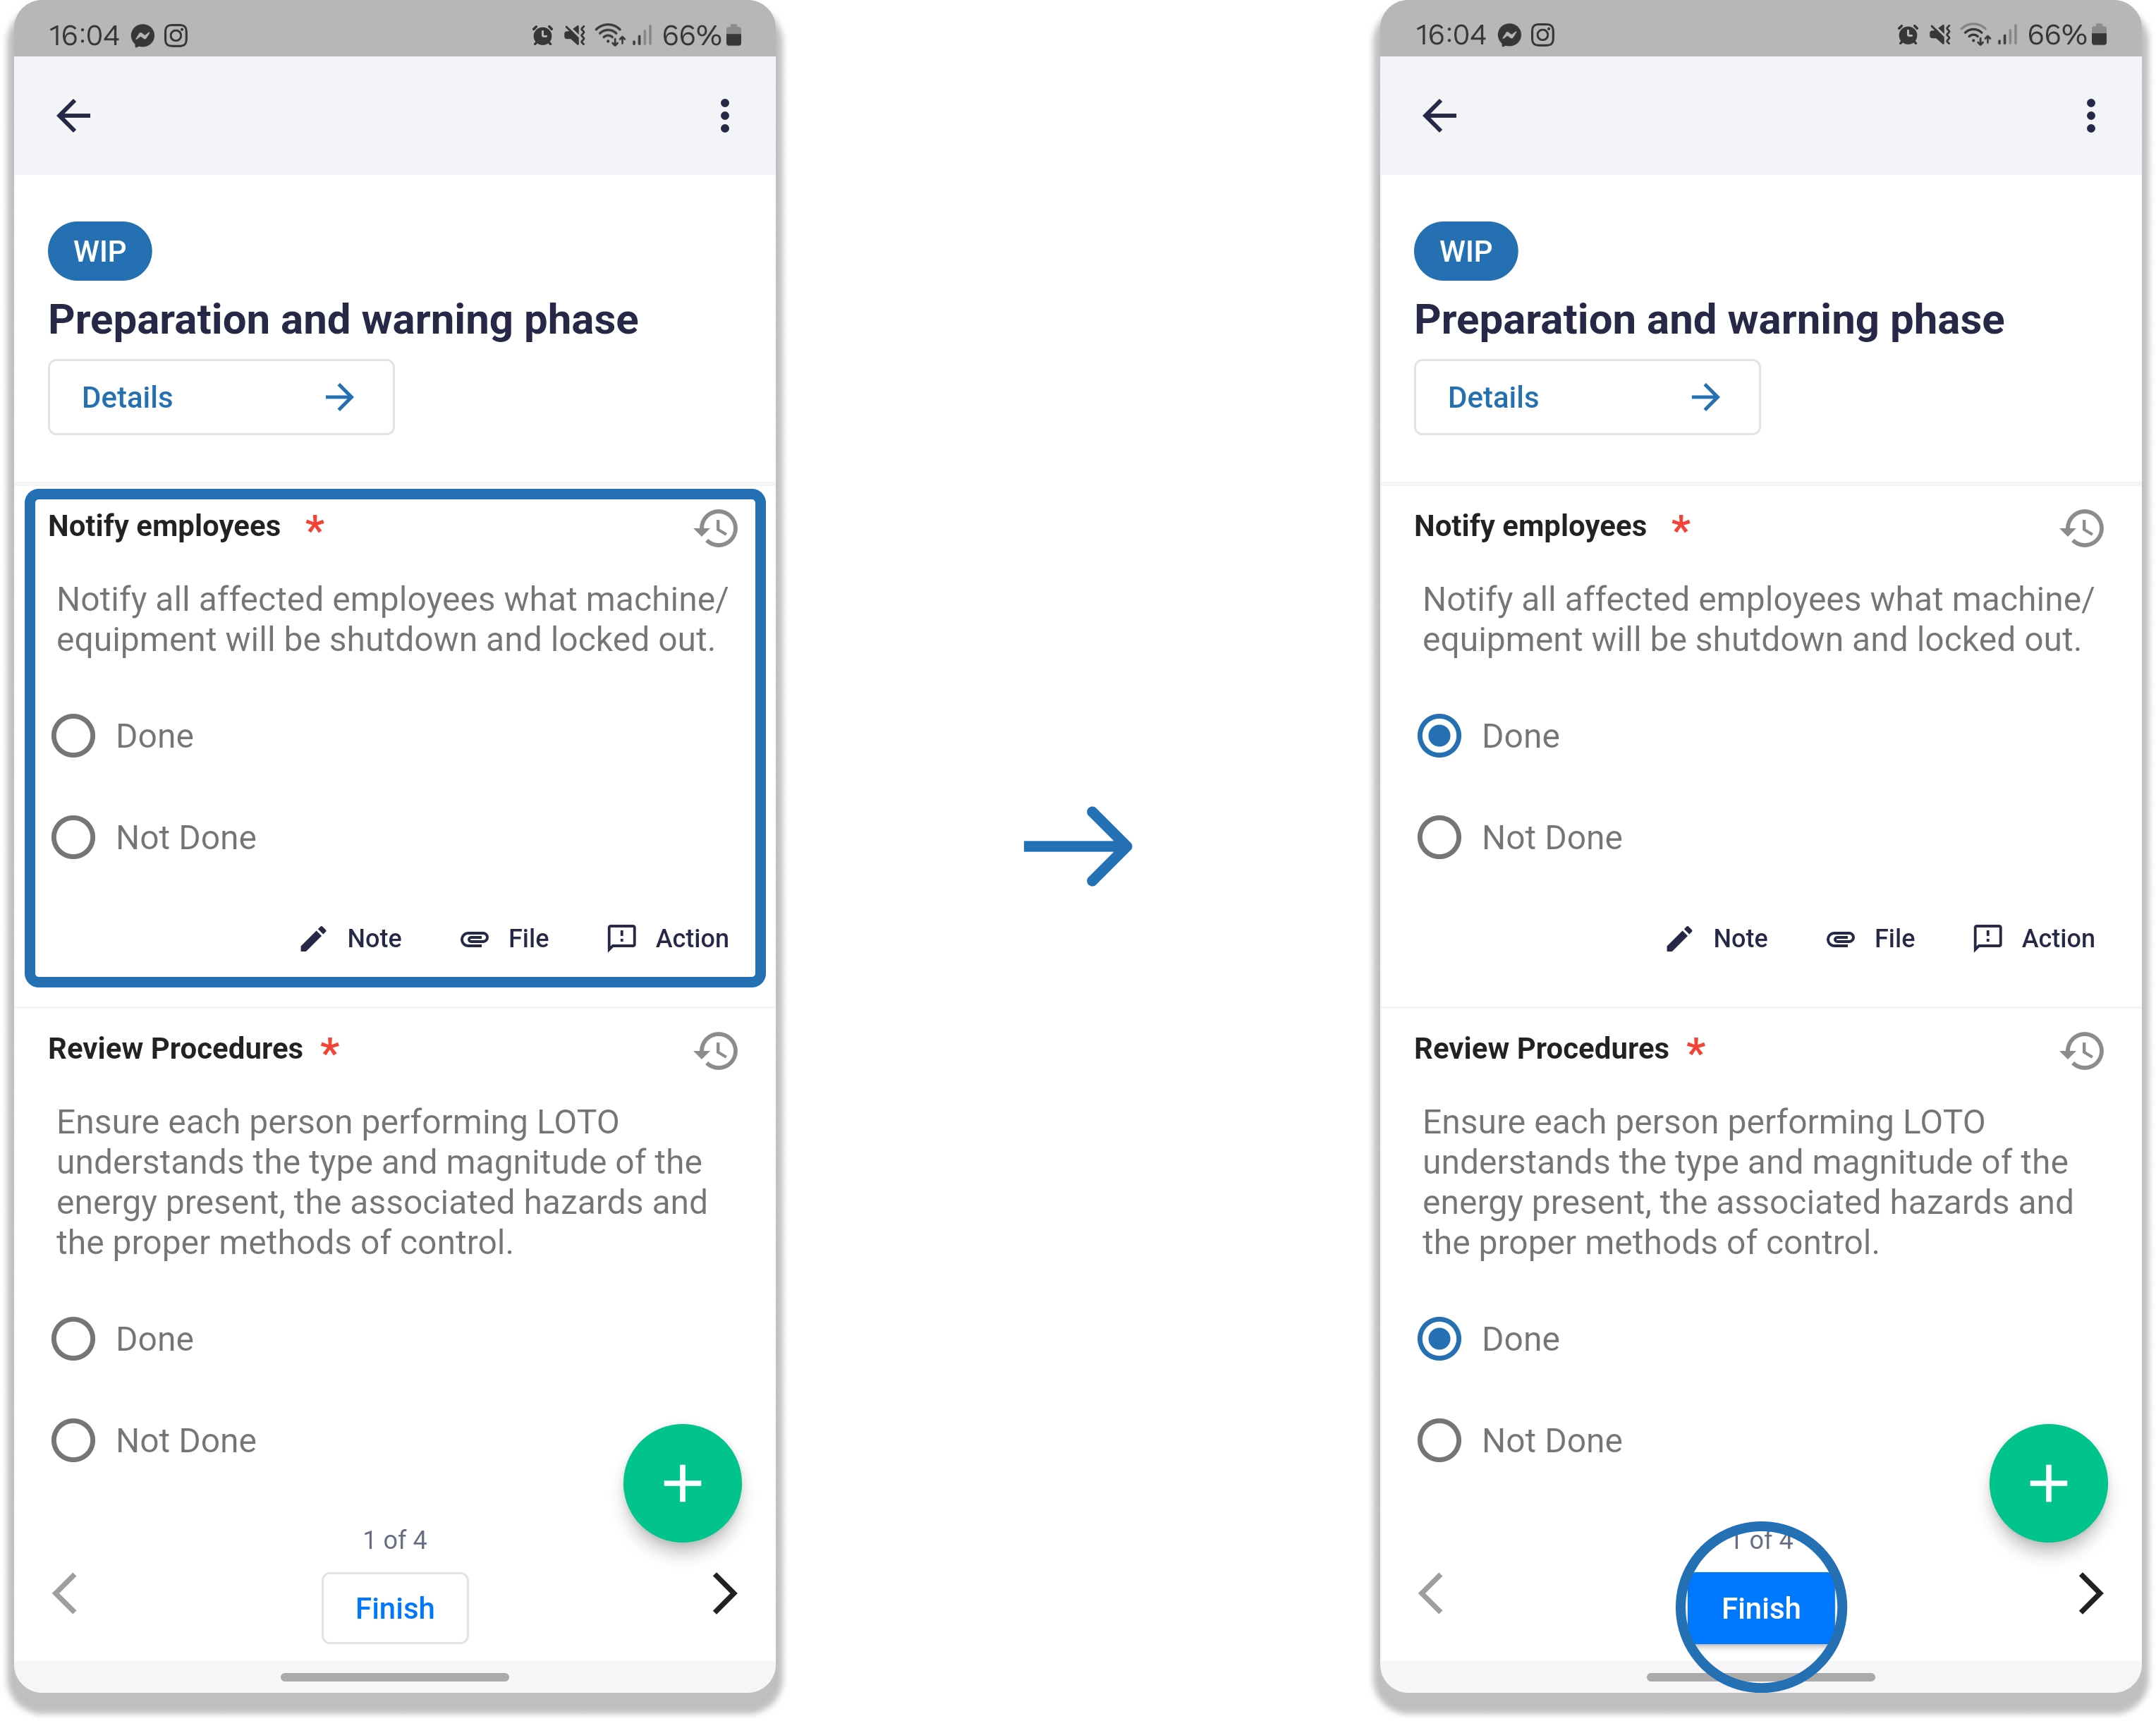
- Complete each step of the task by answering and following instructions.
- Once you have completed all the steps, click on “Finish”.
- You will be redirected to the next task.
- Add Notes: You can add notes to provide more information about the procedure.
- Add Files: Upload images, videos, and documents to provide execution evidences.
- Open Actions: Open actions to flag issues with machinery or procedures.
When you have completed all the tasks in the work order:
- A message will appear indicating that all tasks have been completed.
- Click “Finish” to finish the entire work order.
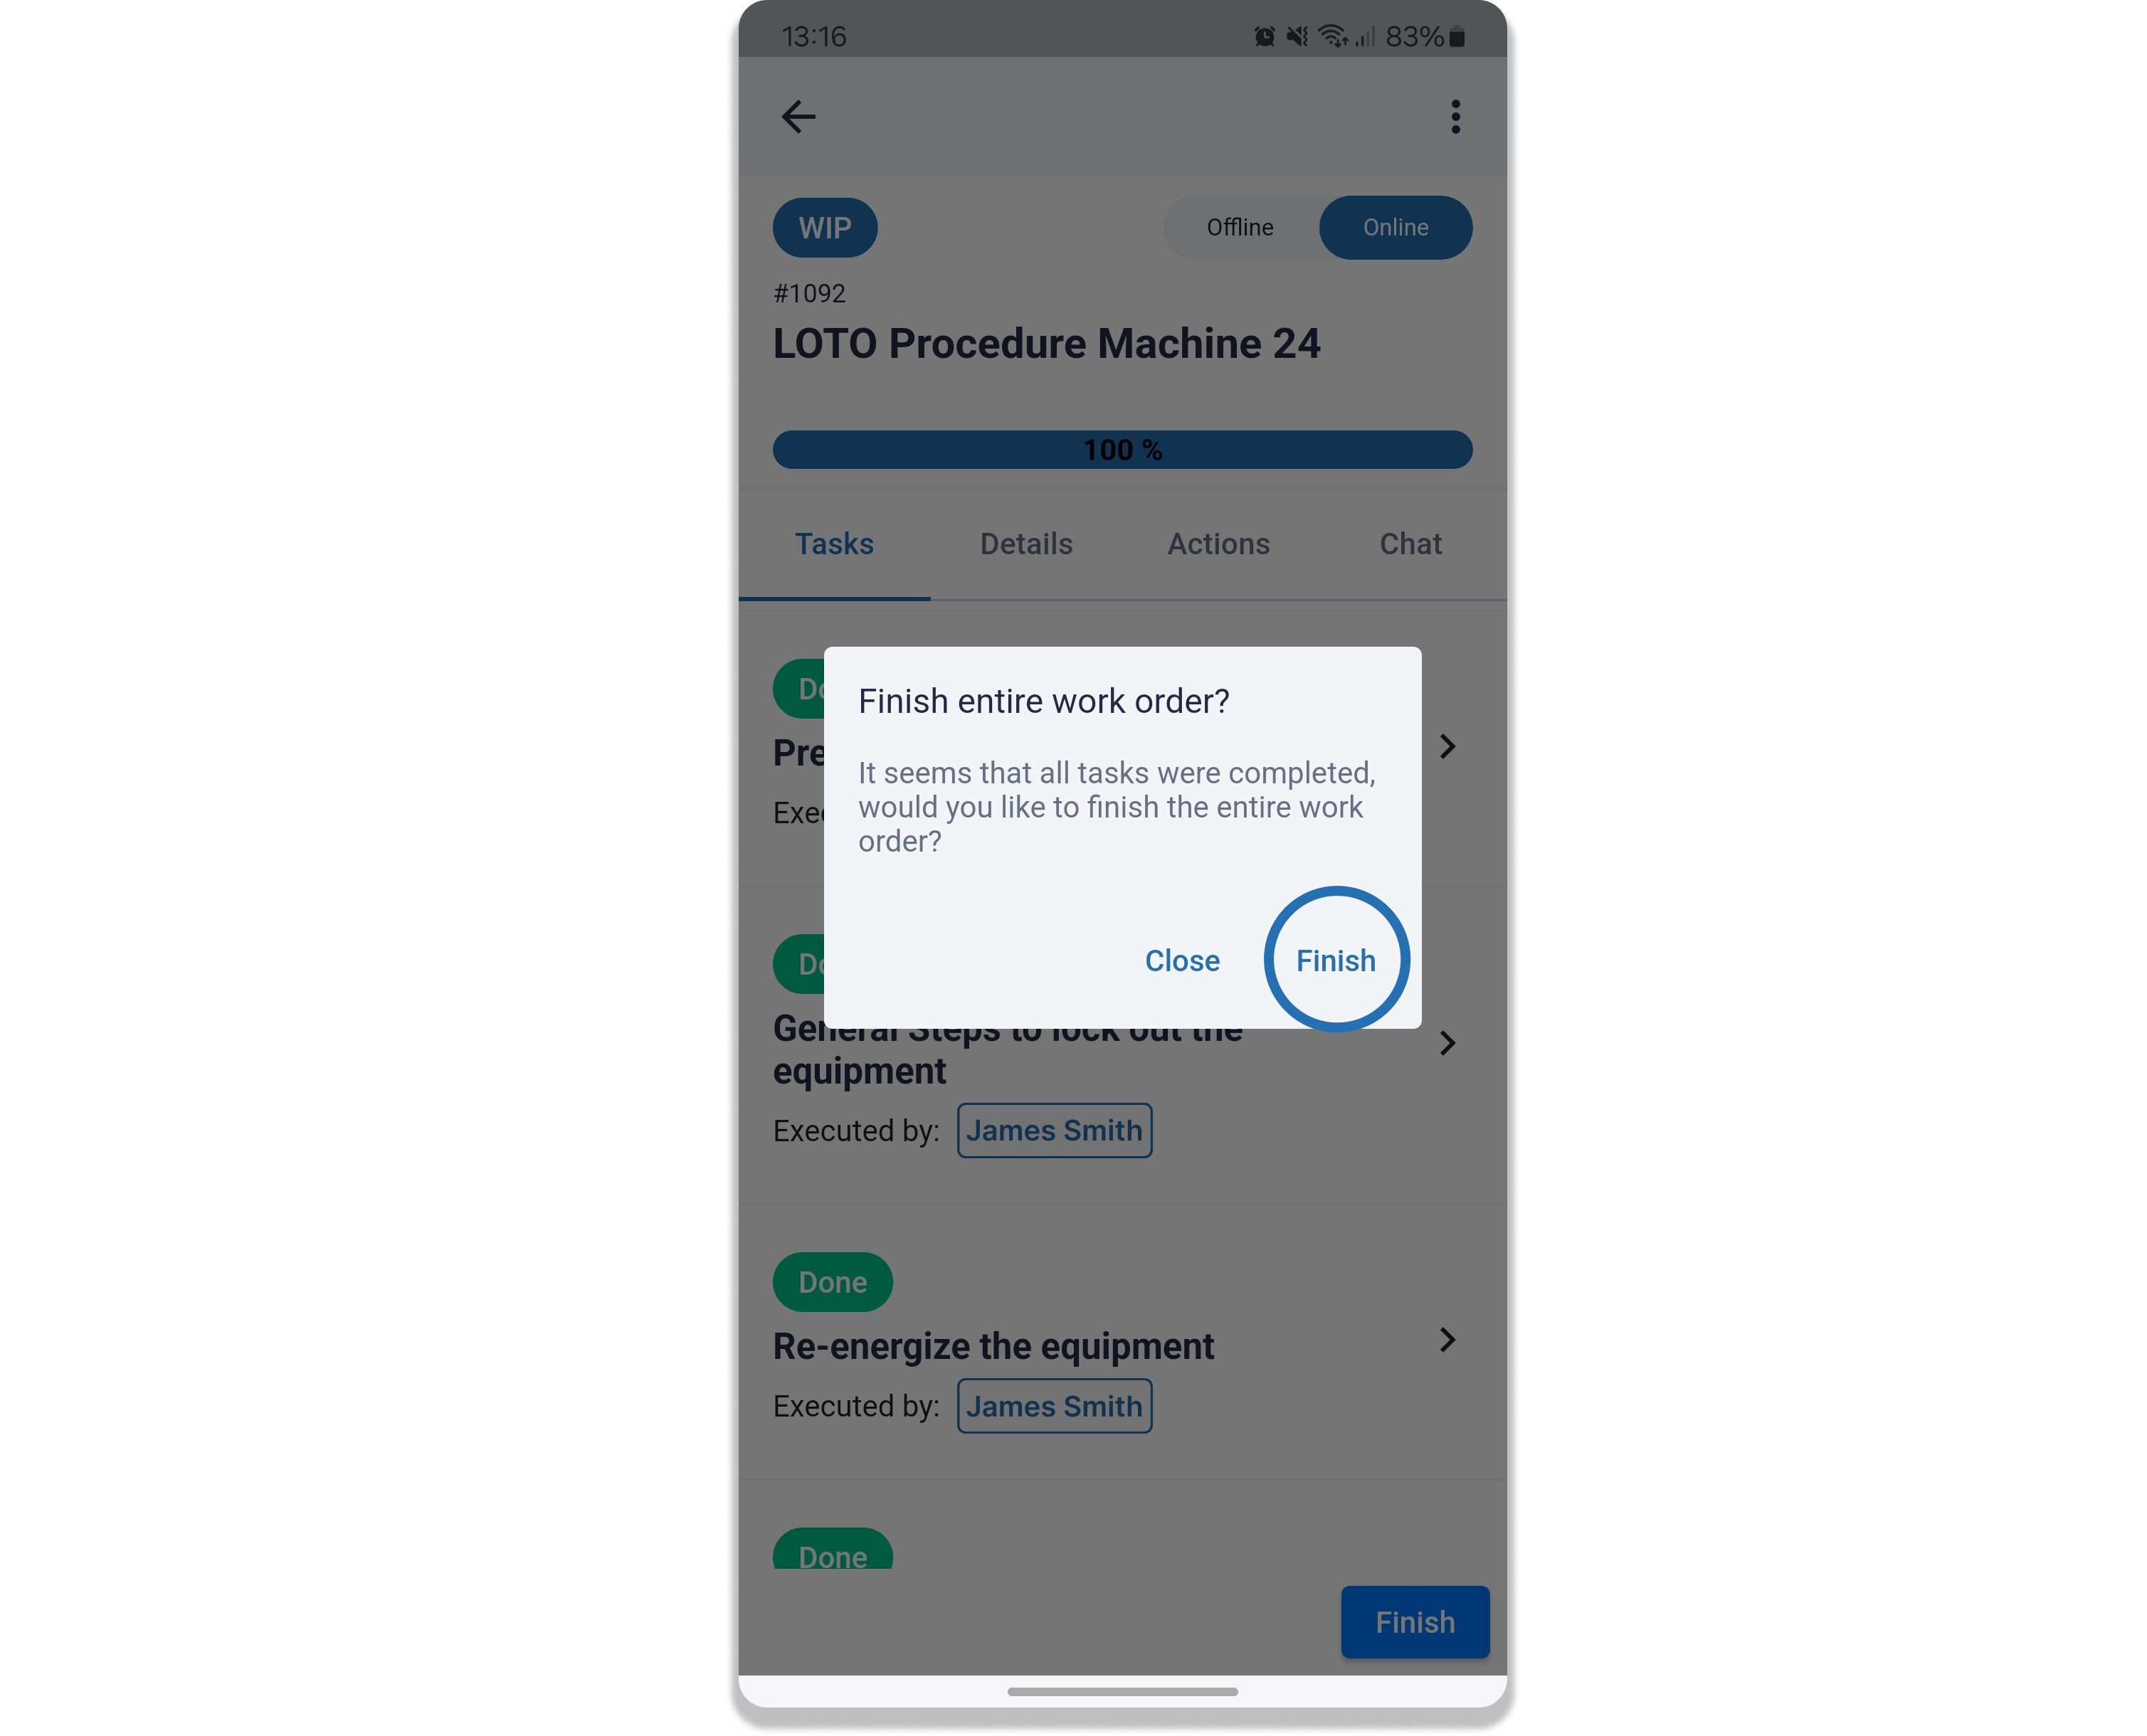
Once finished, the work order can be consulted in the “History” tab of your Agenda.
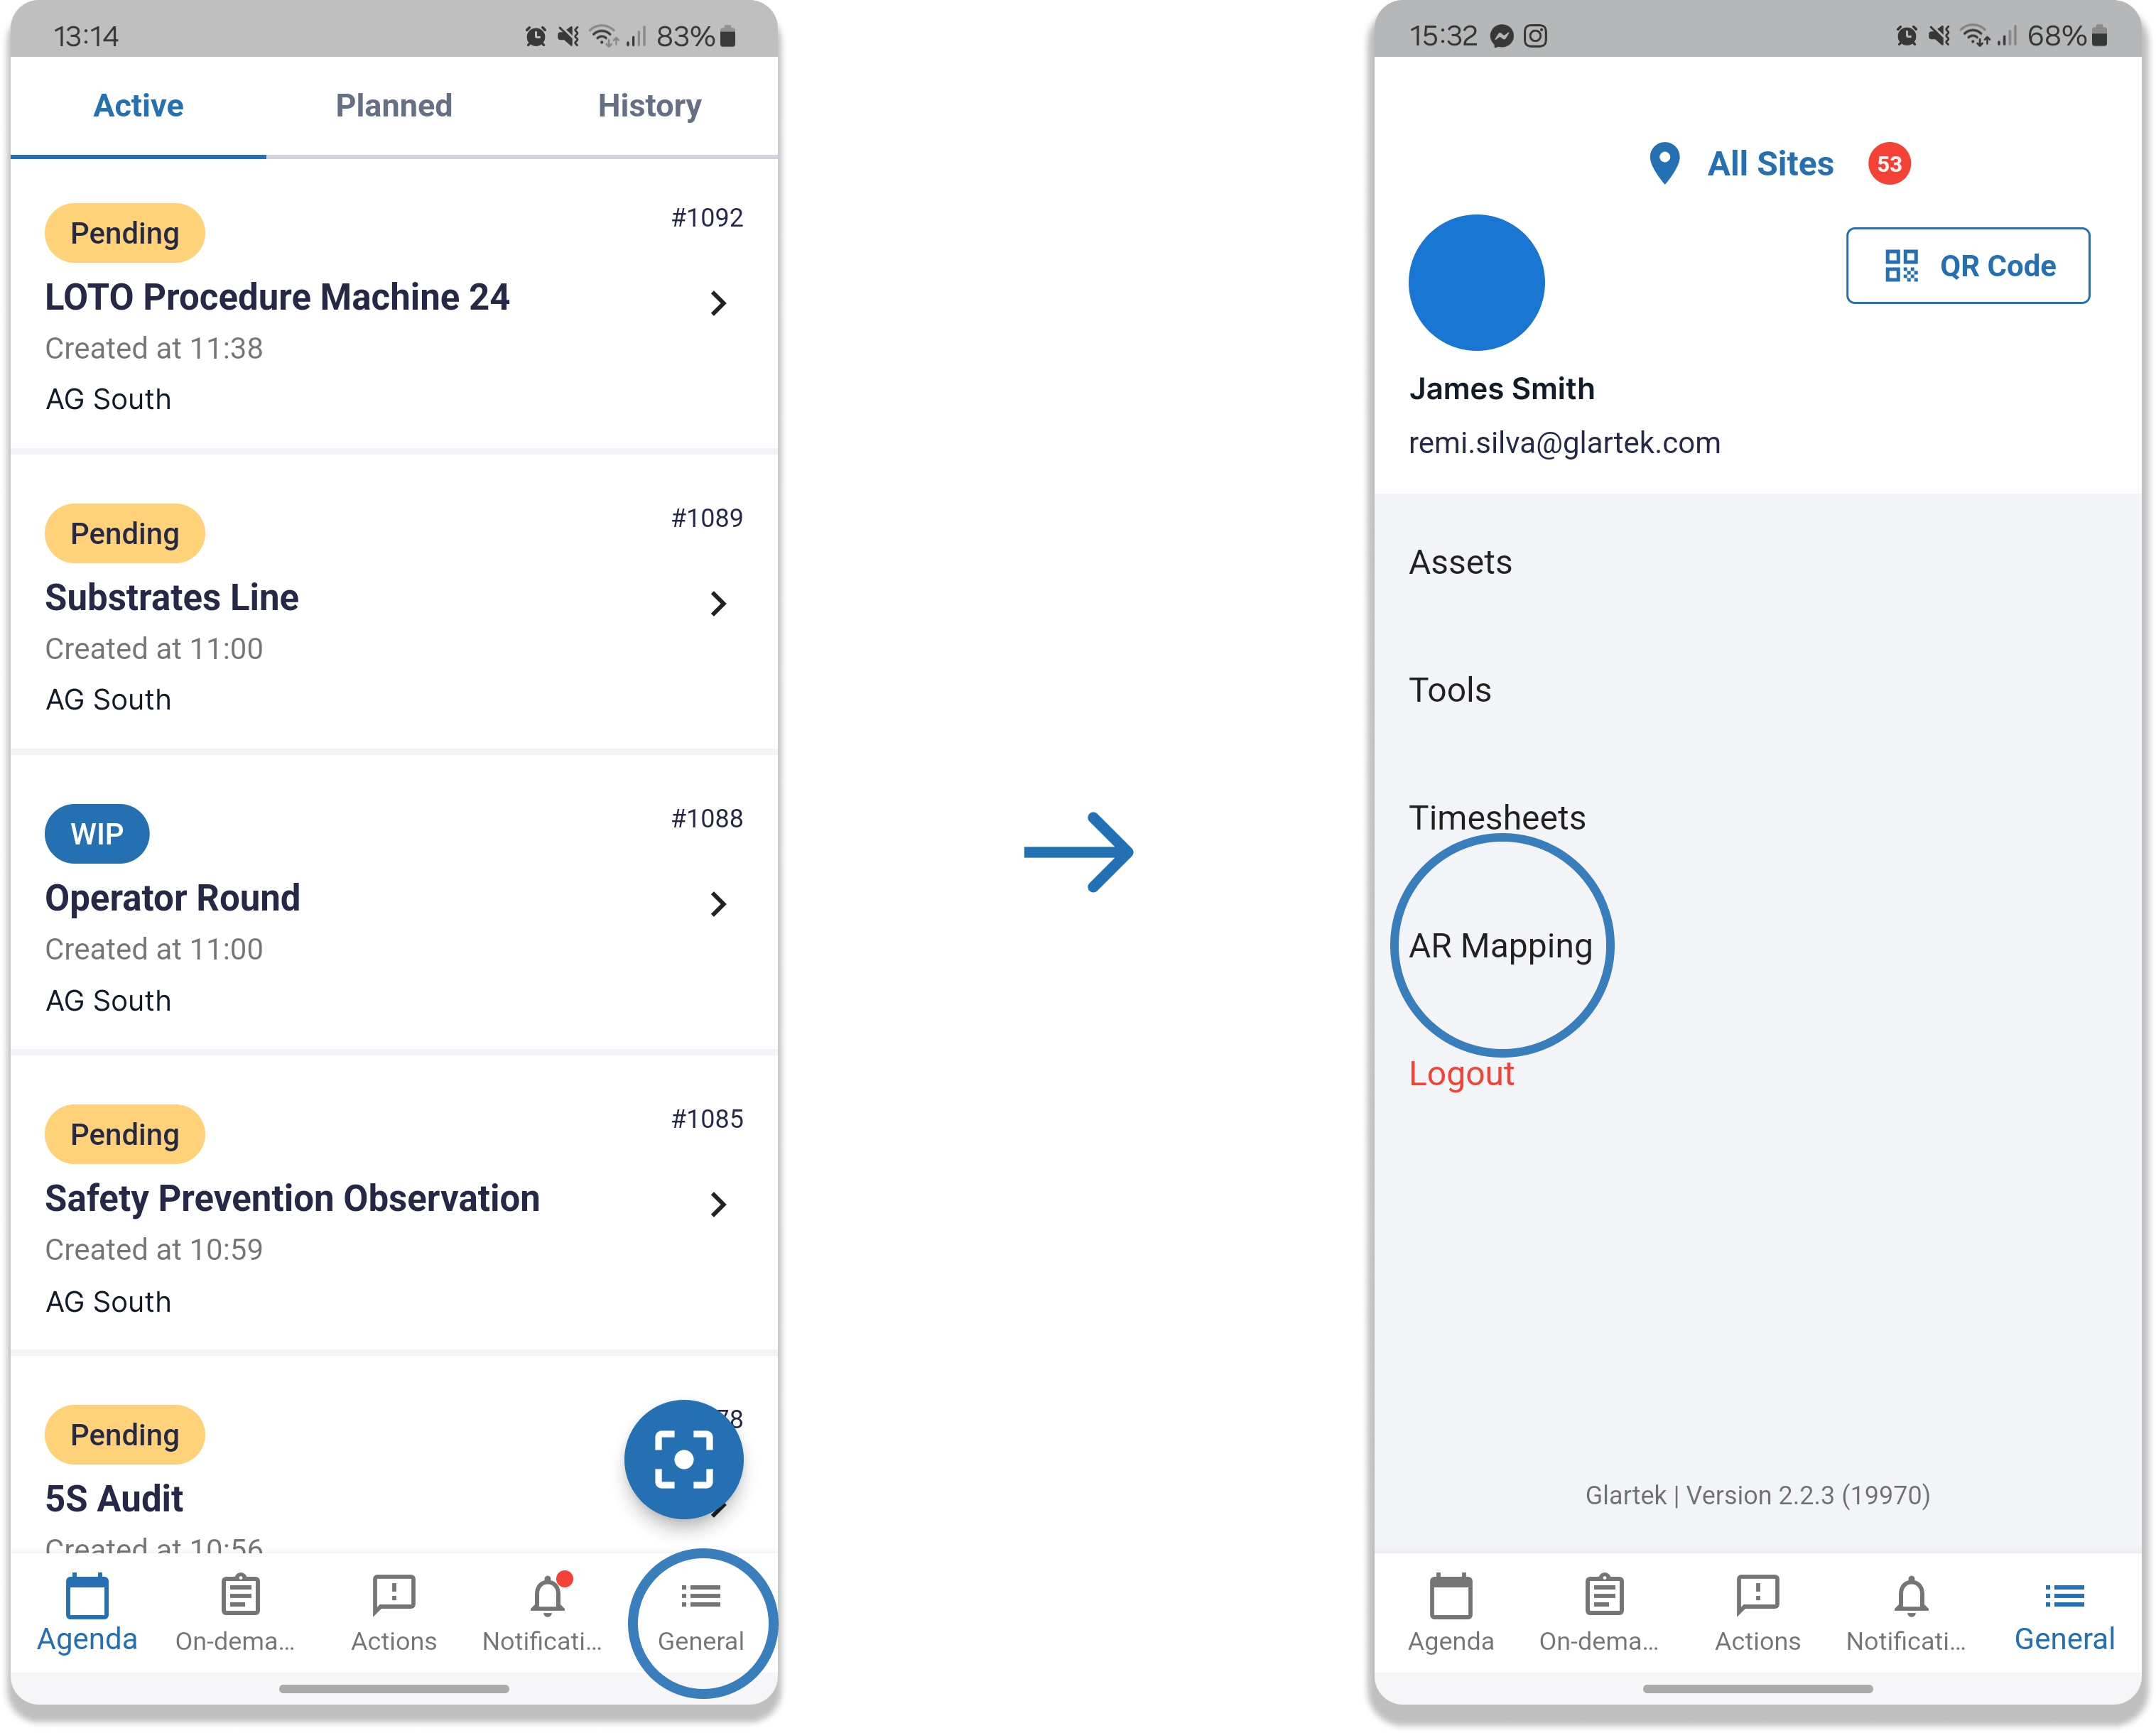
4. AR Mapping
Click on "General" tab, then select "AR Mapping".
4.1. Create Anchor
To create the anchor, follow the steps below:
- Click the “+” icon to enable anchor and bookmark creation options
- Click on the anchor icon, when you do, the anchor symbol will be visible at the top of the screen
- Select the position where the anchor will be located
- Confirm the position by clicking on the confirmation icon
- When confirming the position, move the phone until the mapping is 100% complete
- When it finishes loading, the anchor will change color, and will change from green to yellow.
When the anchor turns yellow, the anchor has been successfully created.
4.2. Create Marker
To create bookmarks, follow the steps below:
- Click on the “+” icon to enable anchor and marker creation options
- Click on the bookmarks icon
- Select the element you want to assign to the marker
- With the element selected, click the link to marker
- When selecting the element, tap the screen to indicate the position where the marker will be located
- When the position is chosen, the marker will be visible.
If you have any question please contact technical support.